Backcountry Safety Equipment 101
A huge thank you to Michael Sugianto for help with all of time images featured in this blog.
This summer while waiting for a ferry that we just missed I got to chatting with the car in front of us and to my delight he works as a superintendent with Parks Canada. I peppered him with questions about his favourite hikes, the best parks and even learned a thing or two about how to properly use frequent flier miles. But somewhere just shy of an hour into the conversation we stumbled upon backcountry safety. He told a story of learning to backcountry ski in Roger’s Pass, how (rightfully so) he got chewed out by a group from Canmore when he and his friends rode a far too dangerous line. That they went, tails tucked between their legs, took the classes, picked up the gear and got the certifications. With more people than ever getting out of the city into their own little pieces of paradise there has also been a vast upswing in Search and Rescue calls this summer. He told us stories of calls that the parks had been receiving, about people with so many SAR calls that the operators recognize the voices on the other side of the line, of people ill-equipped with no idea where they were going or the effort it would require, of heli rescues being wildly inappropriately requested for missing pets and, of course, the significant uprise in major incidents and fatalities. I like to jokingly refer to hiking as “walking at an incline for far too long” - but it isn’t, the dangers associated with leaving the, relatively, safe bubble of urban life are real. Below is the basic safety equipment that every hiker and backpacker should have with them (known as the Ten Essentials) and then a few bonus for more specialized terrain such as entering bear habitats, scrambling and hiking during forest fires.
The Ten Essentials:
1. Navigation
map, compass, altimeter, GPS device, personal locator beacon (PLB) or satellite messenger. My go-to combination is a physical map, some photos of the route on my phone (normally from a guide book - make sure that you research the route before heading out), the app MapOut with the route pre-planned and my Garmin InReach Mini.


Garmin InReach Mini
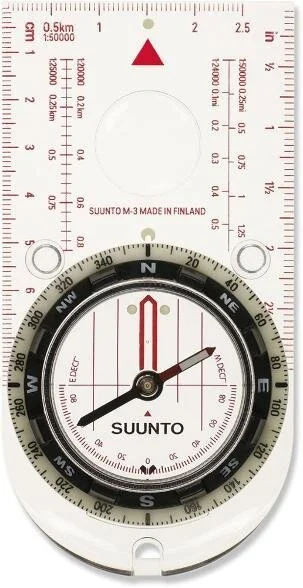
Suunto M-3 D Leader Compass
2. Headlamp
Plus extra batteries. I use a rechargeable headlamp and then have a battery operated as my backup. I will also bring the charge cable with me (along with my battery pack)

Petzl Actik Core Headlamp
3. Sun protection
Sunglasses and sunscreen

RAEN optics Remmy 49 Polarized Sunglasses
4. First aid
Make sure that you pack the approbate medical kit. There are 101 things that 101 people will tell you to add to your medical kit - I find that the pre-packaged ones cover the basics (make sure you re-stock if you pull anything out from them) and then with time add in things that you need. I like to have extra moleskin, a little tub with Tylenol/Aleve and some muscle relaxants in it (for some pre-existing injuries) and a few hand sanitizer packets.
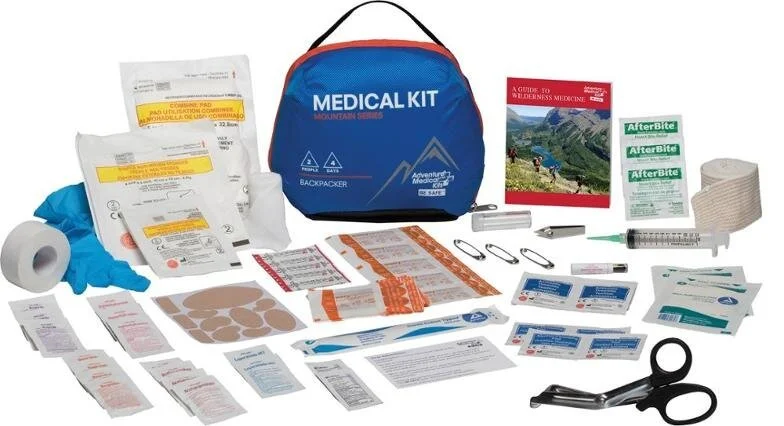
Adventure Medical Kits Mountain Series Backpacker Medical Kit

humangear GoTubb Small Containers
5. knife or multi-tool
I have a small Swiss army knife that someone saw I was missing and popped into the mail for me as well as a foldable knife.
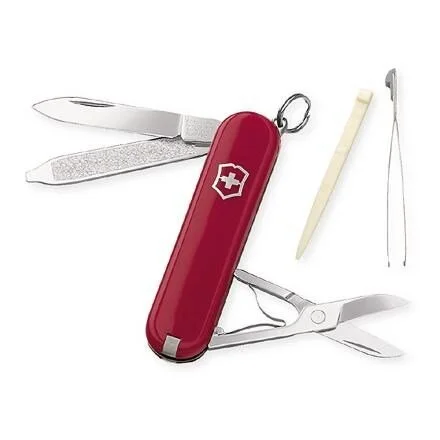
Swiss Army Classic Knife
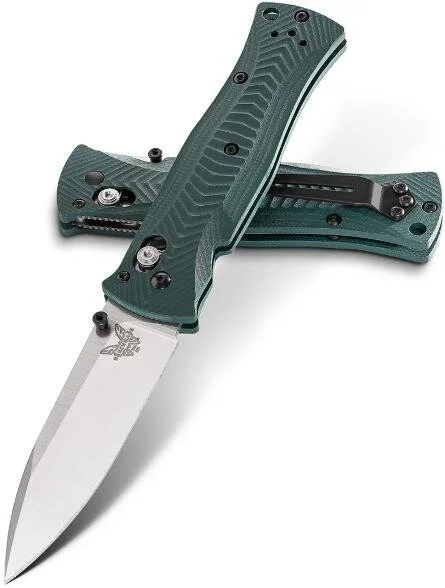
Benchmade 531 Pardue AXIS G10 Fine Blade Knife
6. Fire
Matches, lighter, and/or stove. Stove always for backpacking but make sure you have matches and a lighter even if your stove self-ignites because they always fail. Especially JetBoils.
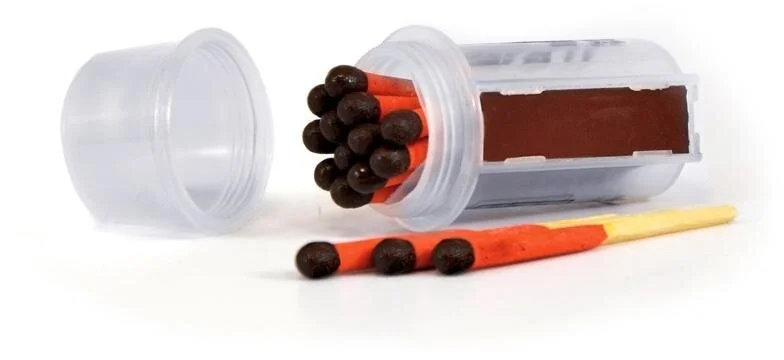
UCO Survival Matches
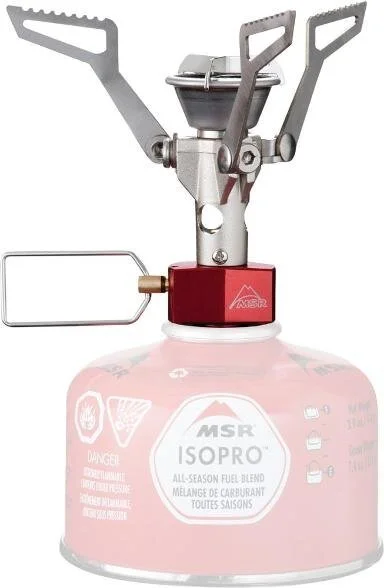
MSR PocketRocket 2 Stove
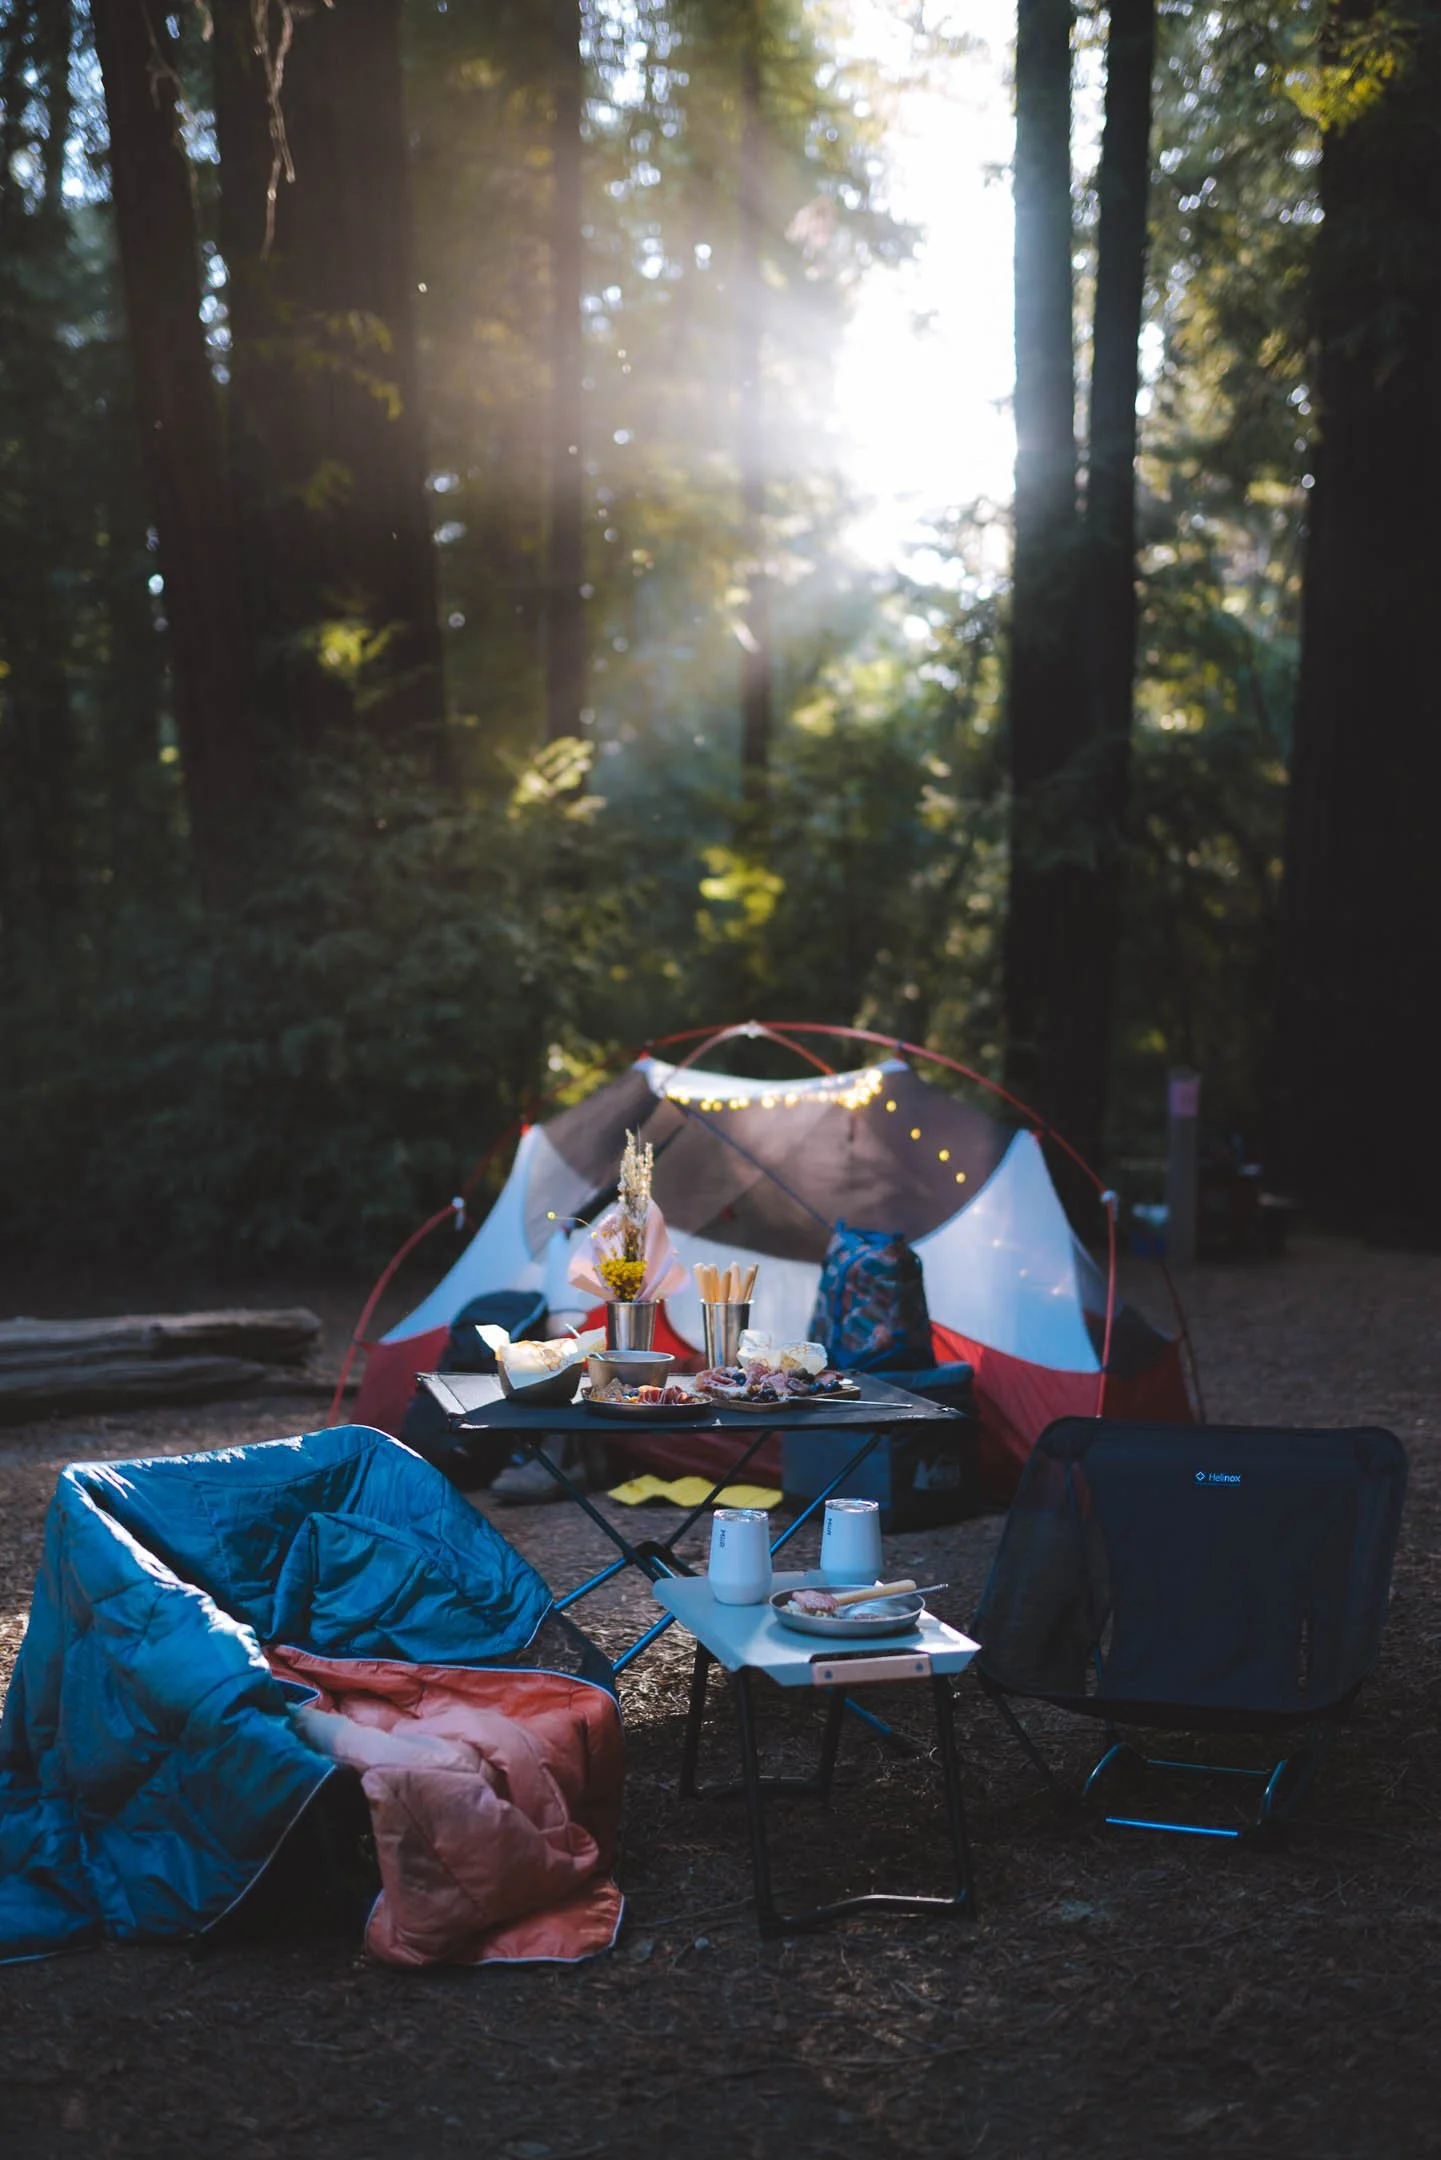
7. Shelter
I am terrible at this one. But even day hikers should carry an emergency bivy with them just in case.
8. Extra food
Always pack at least an extra day’s worth of food in case something causes your trip to go long (such as an injury or bad weather). It’s a good idea to pack items that don’t require cooking and that have a long shelf life. Things like extra energy bars, nuts, dried fruits or jerky are good.
9. Extra water
It’s crucial to carry enough water for your outing and have some method of treating water while you’re out there, whether that’s with a filter/purifier, chemical treatment or a stove for melting snow. When determining how much water to carry exactly, consider that most people need about a half liter per hour during moderate activity in moderate temperatures. You may need to carry more than that depending on factors like the outside temperature, altitude, level of exertion or an emergency
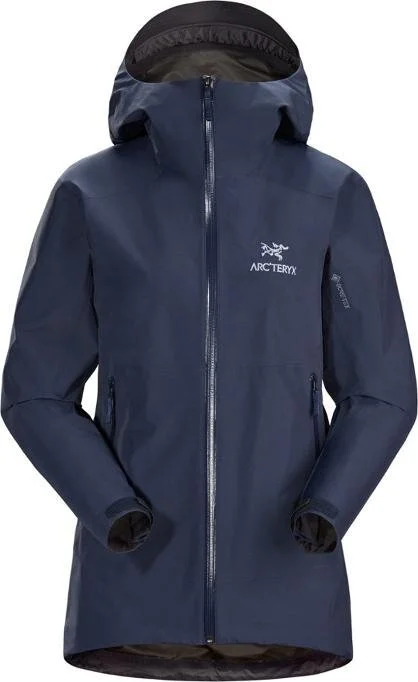
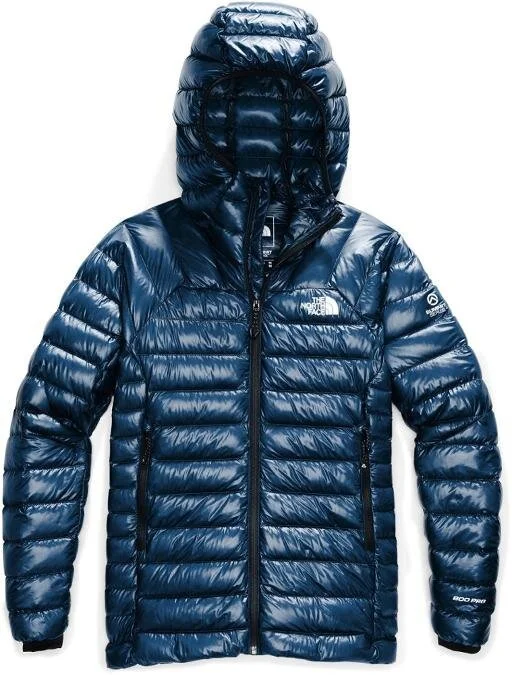
10. Extra clothes
Conditions can abruptly turn wet, windy or chilly in the backcountry or an injury can result in an unplanned night out, so it’s necessary to carry extra clothes beyond those required for your trip.
When deciding what to bring, think about what you would need to survive a long, inactive period out in the elements. Common options include a layer of underwear (tops and bottoms), an insulating hat or balaclava, extra socks, extra gloves and a synthetic jacket or vest.


extras
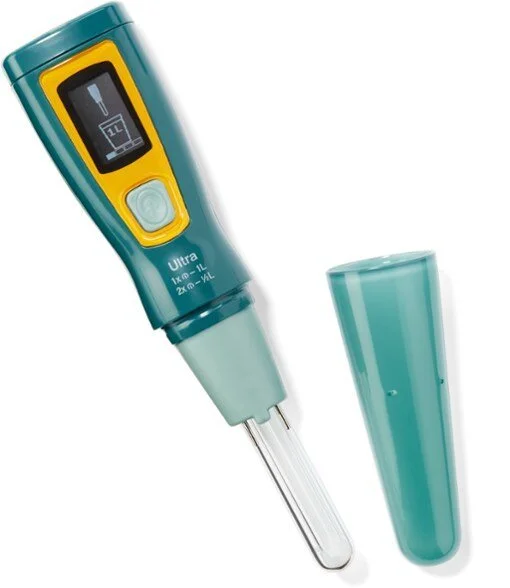
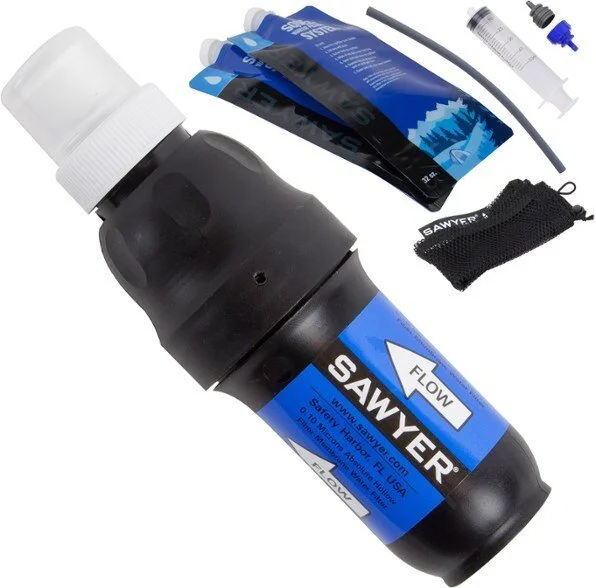
Water filtration system
I used to drink out of streams tip in the alpine. That was, until I saw a dead animal a few feet upstream from where I had just collected water. Ever since I have carried a UV SteriPen in my backpack on even the shortest of day hikes - it is quick and easy and kills the vast majority of things that could hurt me. If I know I will be near more stagnant water I will also bring a small squeeze filter as well.
Bear Spray
As a note, this is not like bug spray in which you douce yourself in the spray to deter bears - this is pepper spray. Please please please know how to use bear spray before carrying it. There are plenty of videos on YouTube and you can even purchase practise canisters. It is extremely rare that you would ever need to deploy bear spray (I have personally never in all of my years of hiking in grizzly country - knock on wood) but knowing the proper protocols for it will reduce your chances of firing too quickly/unnecessarily and causing an attack, or of improperly deploying the spray. This is a serious weapon that should only be used in emergencies.
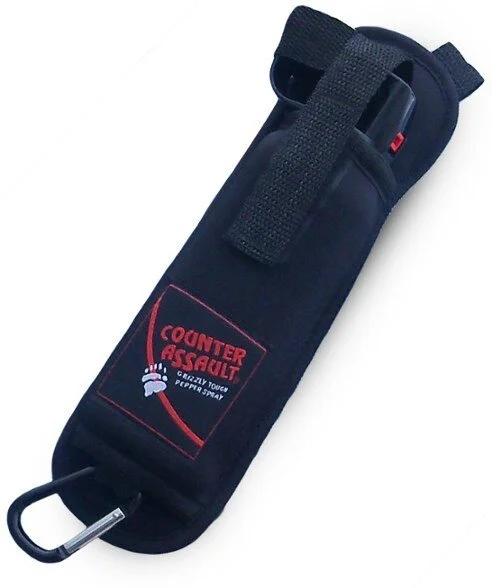
Counter Assault Bear Spray
Bear food storage
There are a few options for storing your food (from bears but also from hungry rodents) hen out in the backcountry in unestablished sites (in Canada this means almost everywhere that you are not paying money to camp you should be prepared with one of these options). I was initially taught to hang food - but ignorer to do this properly I would need to carry 50-100fett of rope (heavy) and also find two trees spaces far enough apart and tall enough - in the high alpine this is next to impossible. I have, countless times, witnessed improperly stored food by idiots unprepared campers. This not only puts those people in danger but all other campers and will condition bears to assosicalte campers with food. Lose - lose-lose situation there.
SO I opted for… a bear bin! These hard-shell plastic cylinders have lids that humans can screw on and off (some require a coin or screwdriver to lock and unlock). They are designed to fit into most backpacks and come in different sizes, so if you’re traveling solo, you can choose a smaller one.
If you’re backpacking in areas where canisters are required, be sure to use one. If a warden or ranger stops you on the trail and you don’t have one, you could be issued a hefty fine. In some national parks in the US, rangers loan or rent bear canister - in Canada you can rent them from MEC (and I assume other places). However, on high-demand summer weekends they may run out of canisters before you get there, so have a backup plan. It is very rare for bears to be able to open canisters, you don’t have to hang them (just toss them 50m from any tent away from water and cliffs), they make a great little seat at camp and a lot of bears have learned that bins aren’t worth the effort and are less likely to bother you.
The other option is a bear bag (like the ursack that I linked below) full disclosure I have never used one of these personally. While these bags can be left on the ground like a canister, you might want to tie the bag to a tree limb or hang it from a bear pole. From the REI website “If you’re uncertain whether to use a canister or bag, bring a canister for your most important food as well as a bear bag for your trash and least crucial items.” which I feel settles the bin vs bag debate.
If you do insist on hanging….
Tie a 50- to 100-foot rope to a weight (use a hand-size rock or fill your tent-stake bag with local rocks) and toss it over the tree limb or cable. It may take many tries to get it over.
Once over and back on the ground, untie the rock or tent-stake bag, and attach your food bag.
Hoist your bag 10 to 15 feet high so a standing bear can’t reach it, and make sure it’s at least four feet out from the trunk or pole.
Tie the other end of the rope to a tree trunk or pole to secure it.
Probably fall asleep because that is a lot of work. Get a bear bin.


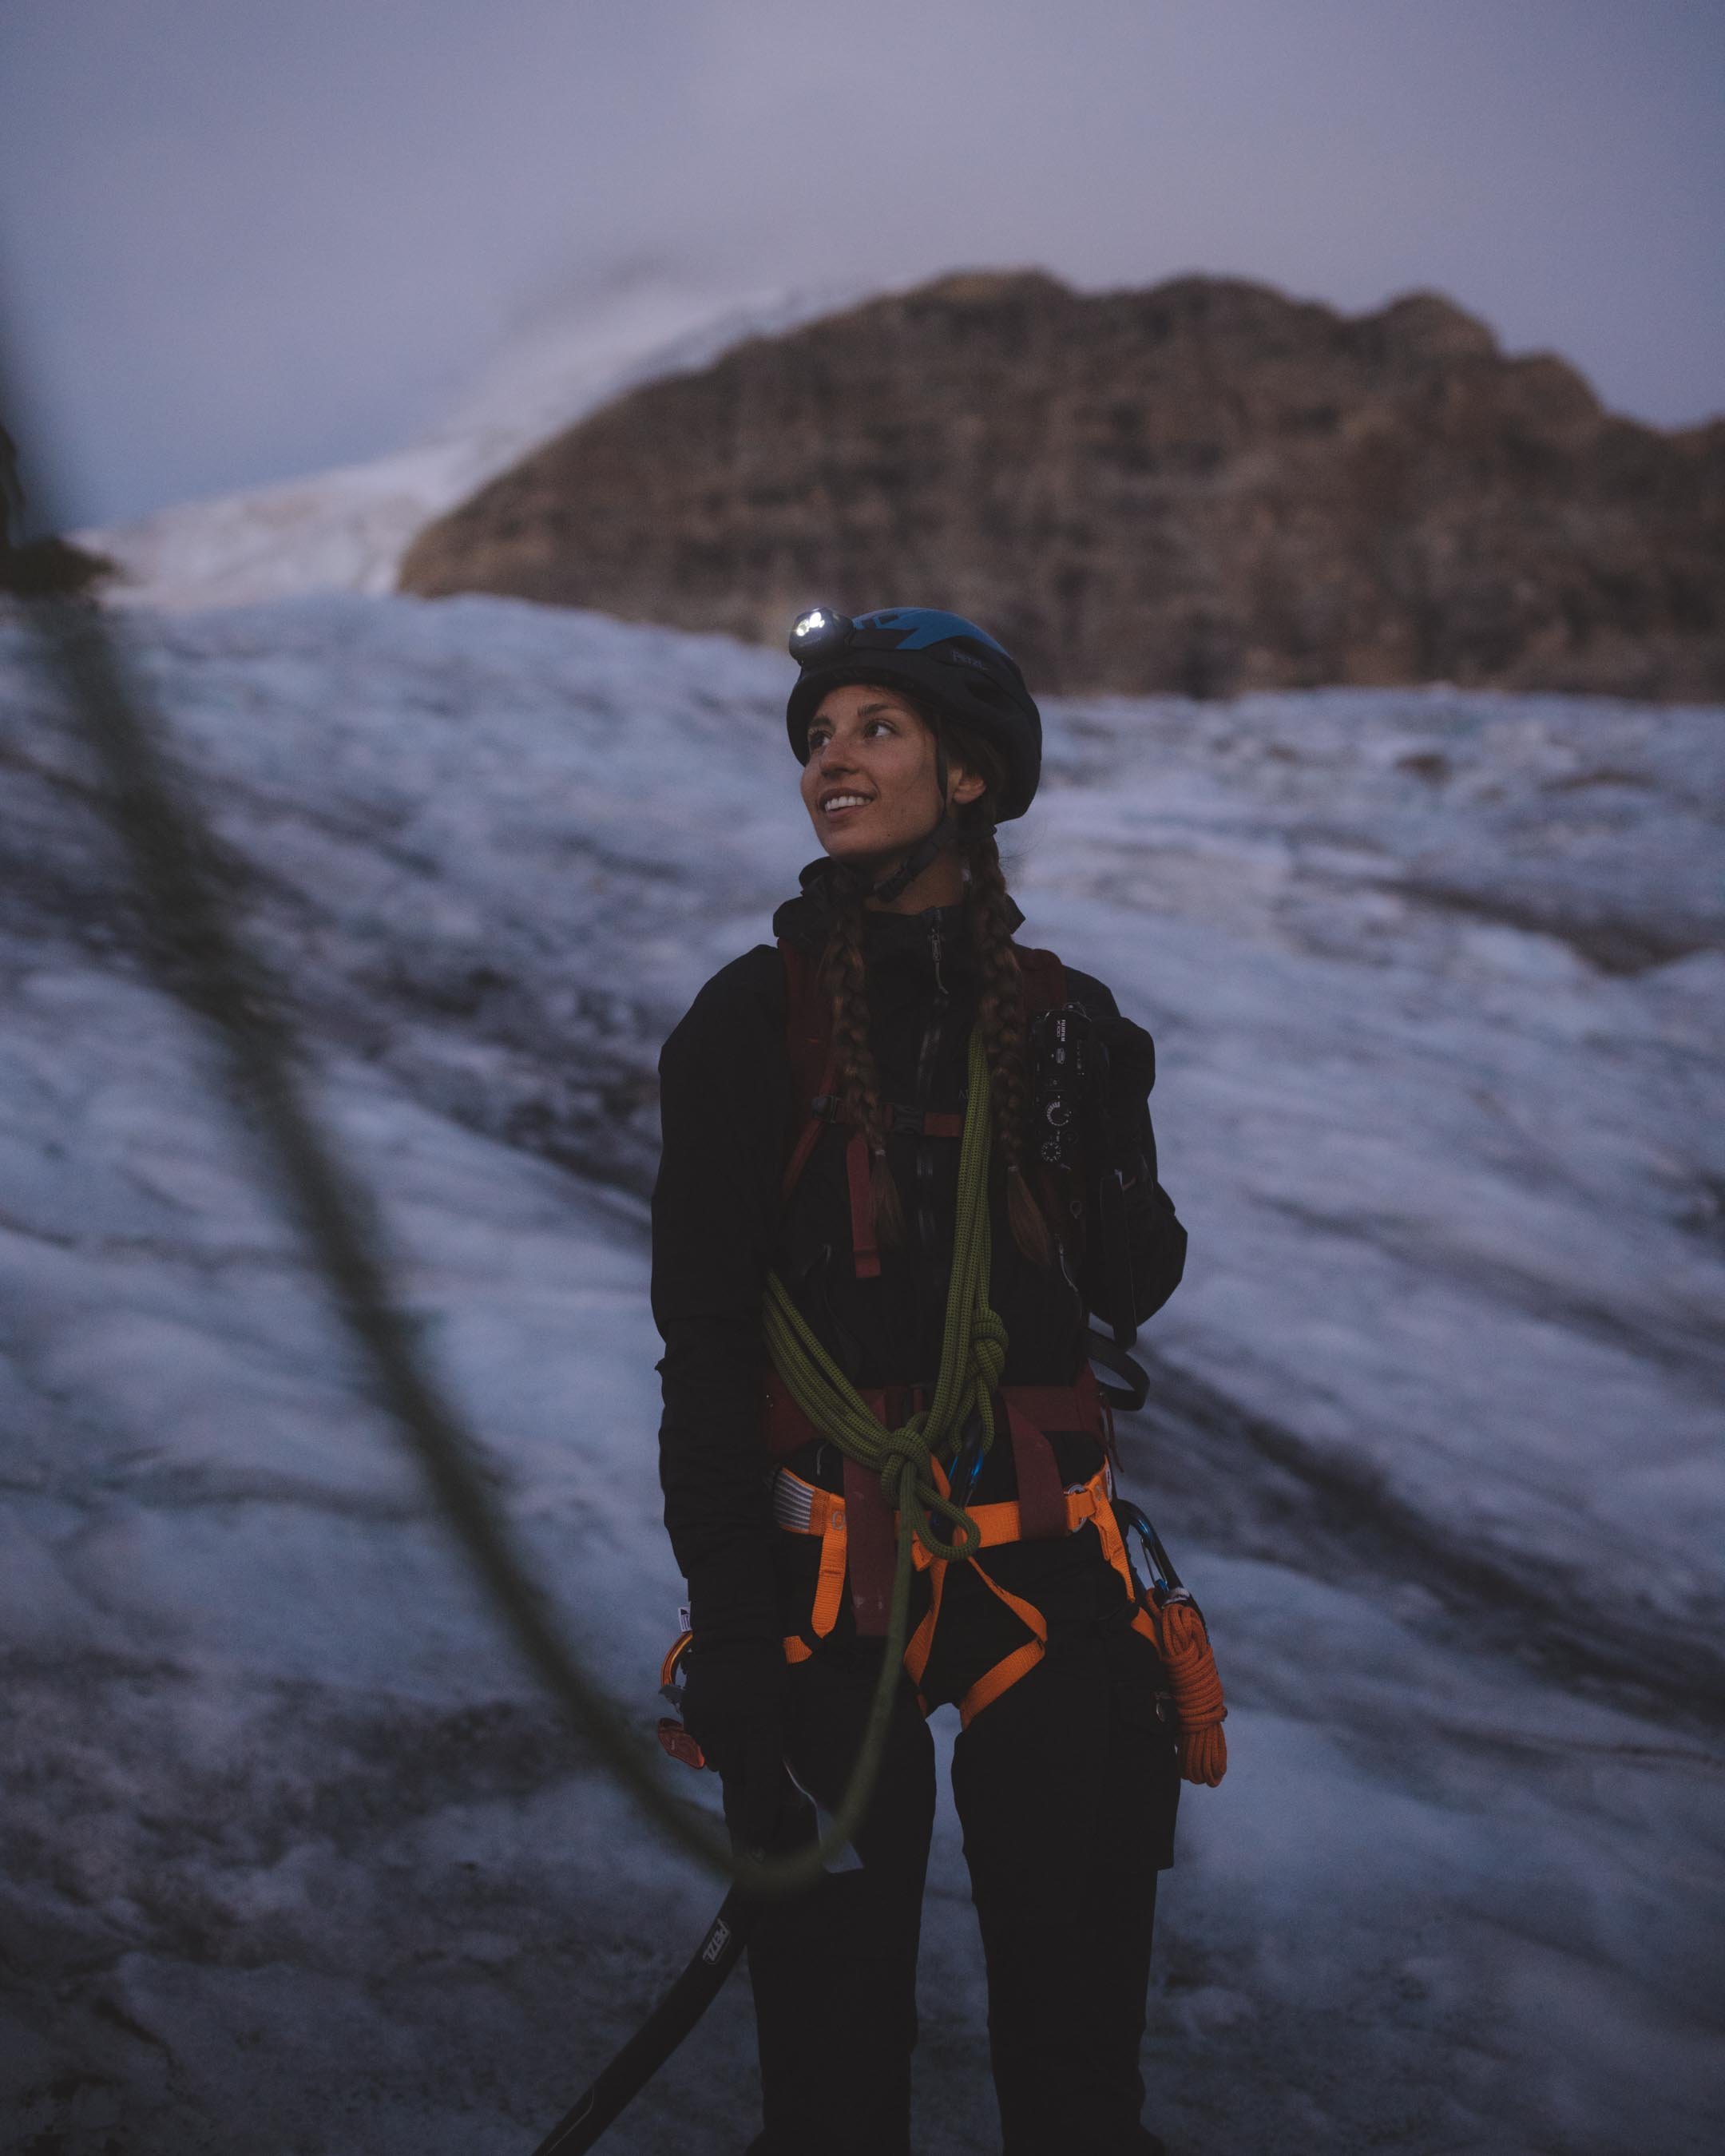
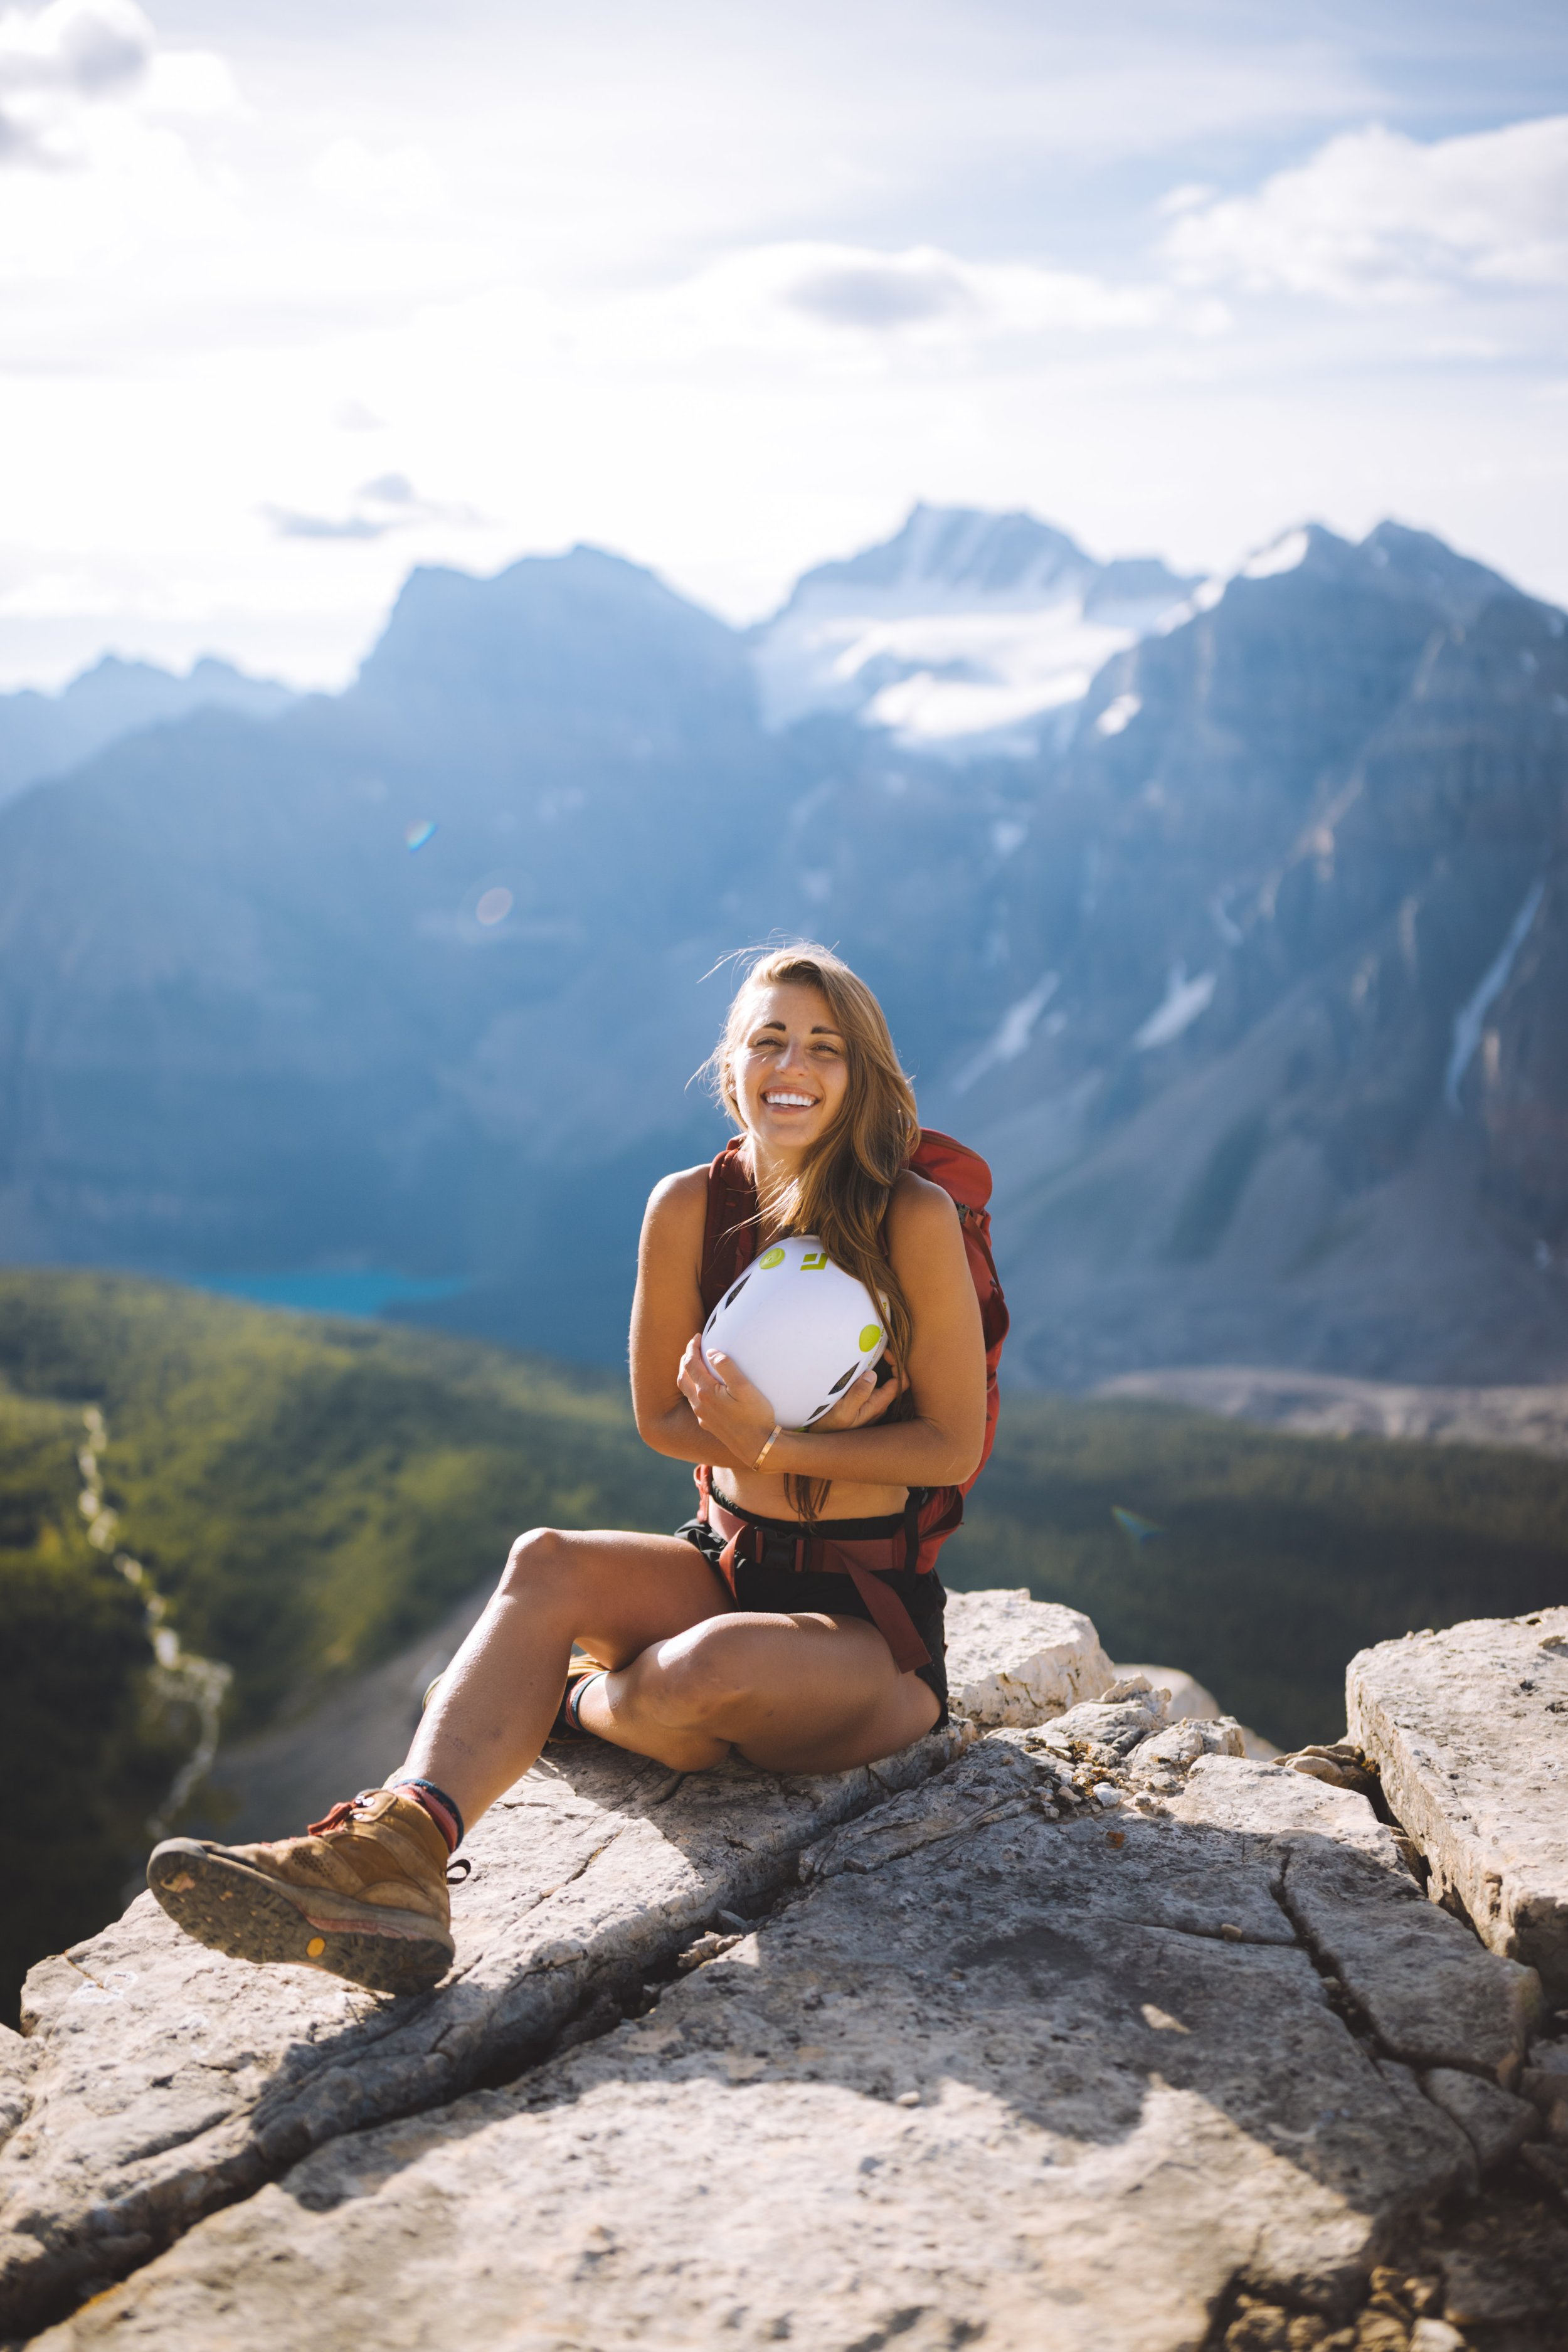
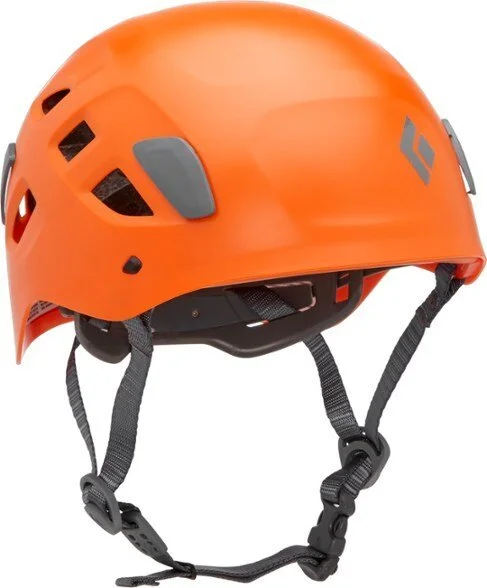
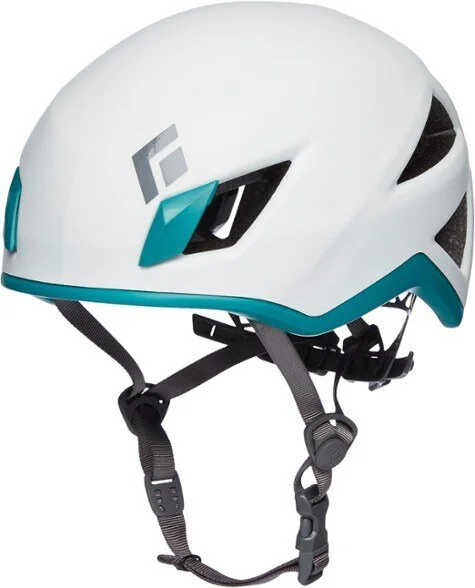
Helmet
I first bought a helmet for a hike that was known to have a “chossy chimney” - meaning a narrow passage with a lot of loose rock. I now bring it on all scrambles (yes even the easy ones) because with so many people in the mountains I don’t know the skill level of the groups hiking above me. Even with the earliest of alpine starts a lot of times I will be descending as another group ascends unknowingly(I hope) throwing rocks down onto me. They are relatively inexpensive and lightweight and in my opinion worth having on any hike/scramble/backpacking trip that includes loose rock or scree. Even if you are alone on the mountain that does not mean a bear or goat or sheep or pesky marmot or even strong winds can’t free a rock. It’s worth it.

Signal mirror
Rescue pilots might have difficulty spotting you, which is why having a mirror and knowing how to signal with it is important. (Practice before you go.) Some mirrors have special sights for focusing the signal. Flash it 3 times—the universal symbol of distress. Also, in situations where you don’t have a way to call for help electronically, you can use a signal mirror to try to catch the attention of any aircraft that are flying in to assess and fight the wildfire that threatens you.

Ultimate Survival Technologies StarFlash Micro Mirror
mask
Now that we have all grown accustomed to wearing masks and have moved on from being angry and uncomfortable… with forest fires in the forecast stay home. And if you can’t - wear a mask to help save your lungs from the fires. This also may be mandated for COVID-19 measures depending on where you live when passing other groups on the trail.
Reusable Trash Bag
Okay, this one is less for personal safety and more for the planet. I picked up this reusable bag, keep it in the side pocket of my backpack at all times and collect any trash that I find along the trail. It is a dry bag (which means no leaky garbage juices in your backpack) and having somewhere to put trash makes me pick up every piece I find.

*Please note that some of the links above are affiliate links, and I may earn a small commission on any purchase made - at no additional cost to you. As always, all ideas and opinions expressed in this post are entirely my own. Thank you for your support!