
Car Camping

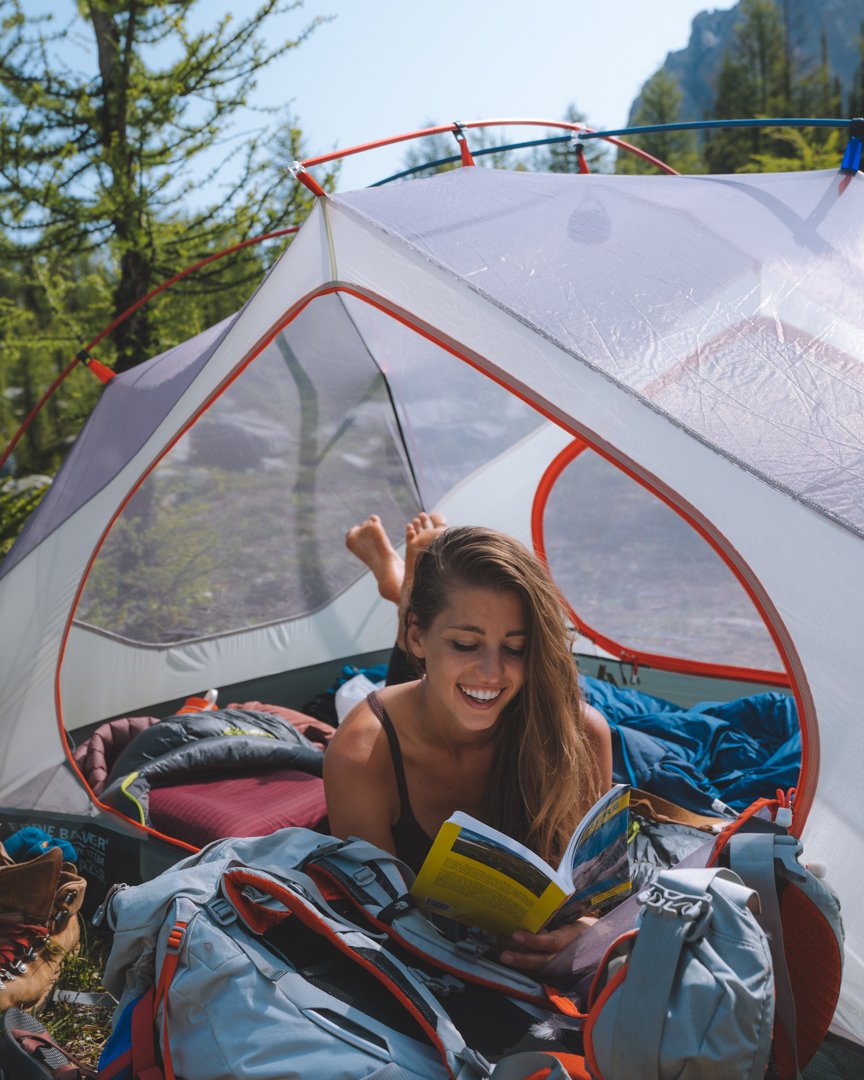
As soon as I began backcountry camping I forgot that there was any other way to camp. I tunnel visioned on things that would be lightweight, that would make me faster. I sacrificed comfort at night for ease of movement during the day. And then recently I remembered that camping does not need to be that way. That there were ways to spend nights under the stars that felt more like home. And so, I booked a campsite and parked the car fifteen feet away, and although I still used my backpacking tent, sleeping mat and and sleeping bag… I indulged in a few of the finer things in life while in-between the redwood trees. And by finer things - we all know I mean food. So I am harding my meal planning for a night of camping in style.
My car-camping kitchen essentials:
Eureka Ignite 2-Burner Camp Stove
Stanley Even-Heat Camp Pro Cookset
Helinox Table One Camping Table - Hard Top - Large
Rumpl Blanket - I have a synthetic one but find the down washes better which is very important around campfires
REI Co-op Cool Haul 24 Soft Cooler - I packed this with frozen water bottles and all of my perishable food, and three days later, a drive from Phoenix in 100°F to Big Sur and two nights camping and the ice was still mostly frozen when we got back to San Francisco.
Snow Peak Charcuterie Plate (double duty as a cutting board)
Hydro Flask Flatware Set (a little heavy for backpacking)
In the sake of not wanting to go out and buy an entire camping set up - I used my tent, sleeping bag, sleeping pad and pillows from my backcountry camping gear. As well, my Thermarest Seat Pad I use as a little tent front door mat when I have real chairs with me.

1. Charcuterie Board
Because you don’t need to haul it up a mountain inside of a backpack you can bring coolers filled with fresh food and bottles of wine that would typically not meet the weight requirement.
Supply List:
Snow Peak Charcuterie Plate (double duty as a cutting board)
Bee's Wrap Honeycomb Print Wraps - for cheese
MiiR Wine Tumblers - with lids
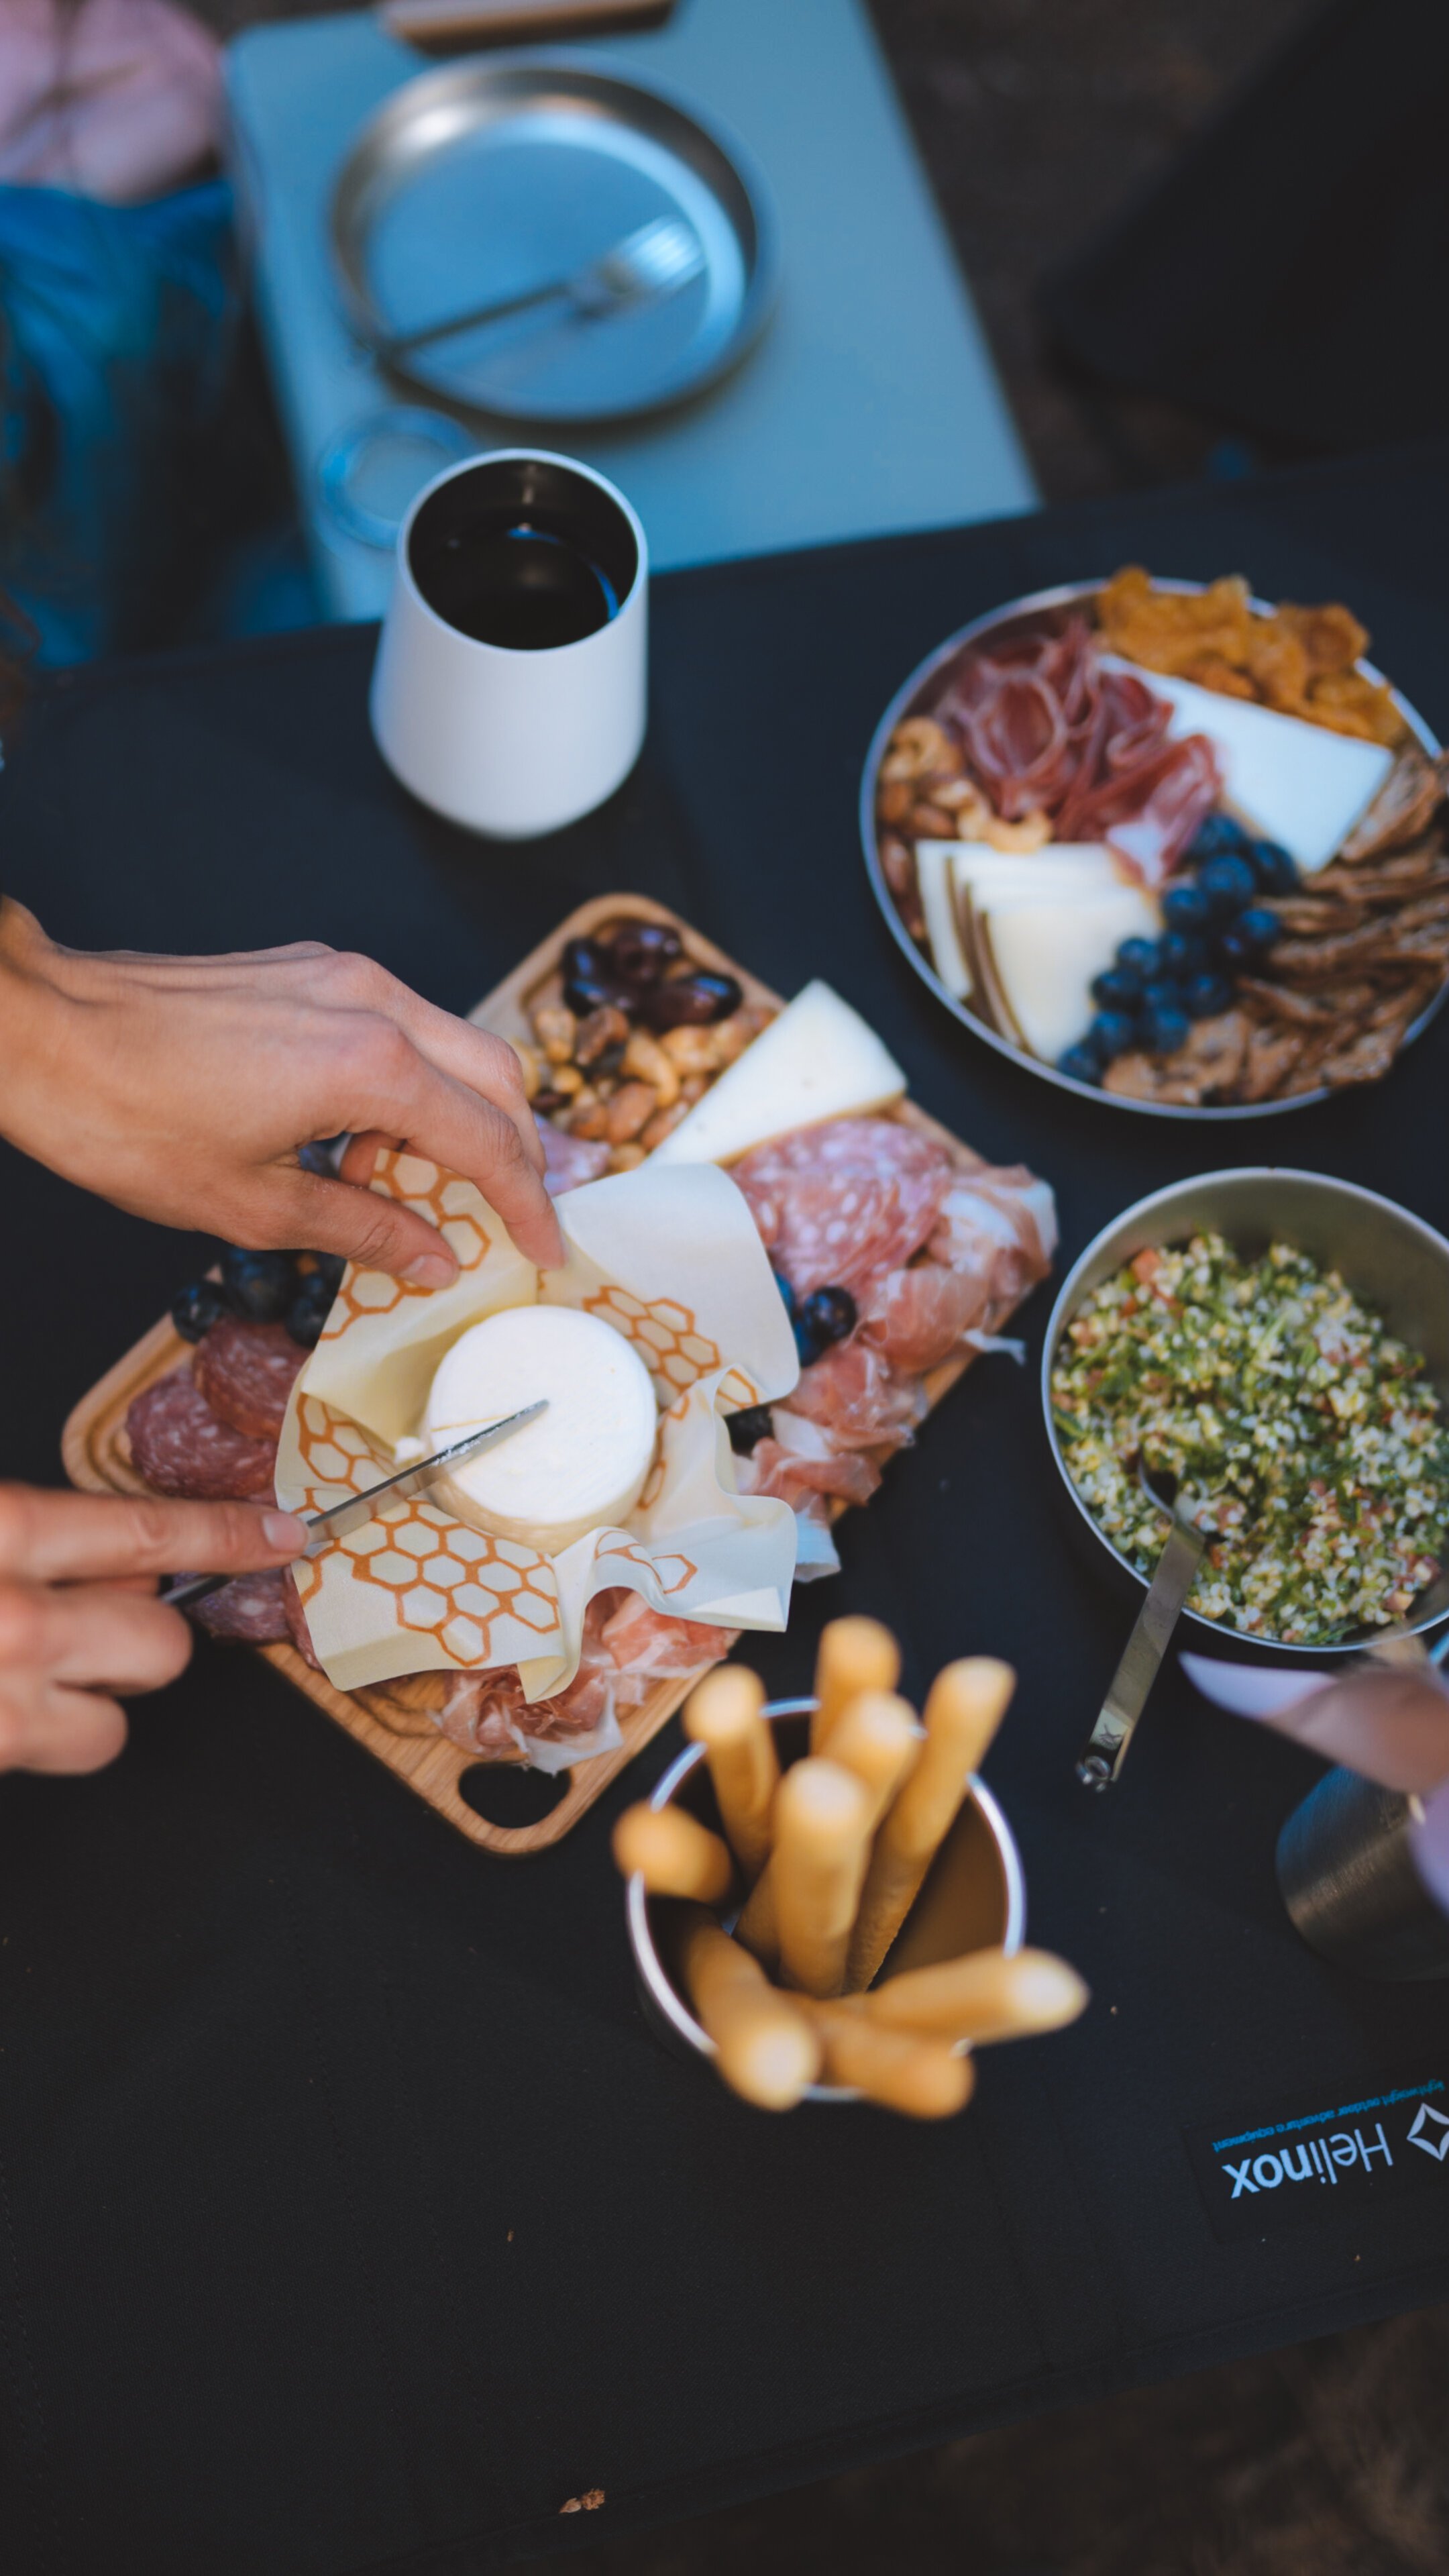

My go-to charcuterie board:
Cheese: 1 soft, 1 firm, 1 hard (aim for each to have its own unique texture)
Meat : 1 small salami, 1 large salami, 1 whole-muscle meat
Extras: aim for as much variety as possible: salty, sweet, spicy, acidic, savoury; pickled, dried, fresh, soft, crunchy
Note: aim for 4oz of meat and cheese per person (but know your audience, I eat a lot more than that) and remember to check for allergies and dietary preferences.
How to assemble like a pro:
Lay your cheese down (for this trip I did Marin French Cheese Petite Breakfast Fresh Brie, Iberico, Cabra Al Vino, and Manchego) they are your anchors.
Meats go in next (Calabrese Salame, Prosciutto,Capocollo and sausage this time) - hug them close to your cheeses.
Fill the gaps with your extras. I didn’t come from home where I would normally grab a handful of 101 things from the pantry/fridge - a quick stop at Trader Joes left me with cashews, smoked almonds, fresh blueberries, marinated olives and dried mangos and pineapples)
I try to keep my crackers separate - this way they don’t get soggy and are easier to pack up any extras. The breadsticks where a hit! But I also grabbed some rosemary and fig crackers and thinly sliced a sourdough baguette(I used the rest for avocado toast the following morning). Crunchy, sweet and soft was my thought process.
Side salad. I picked a tabbouleh salad but a greek salad or something light and fresh adds brightness to an evening of meat and cheese.
With charcuterie the norm of Austrian dinners - I learned long ago that a nice herbal tea after dinner is always a good idea. Sometimes this much cheese can take a toll on an unsuspecting digestive tract.

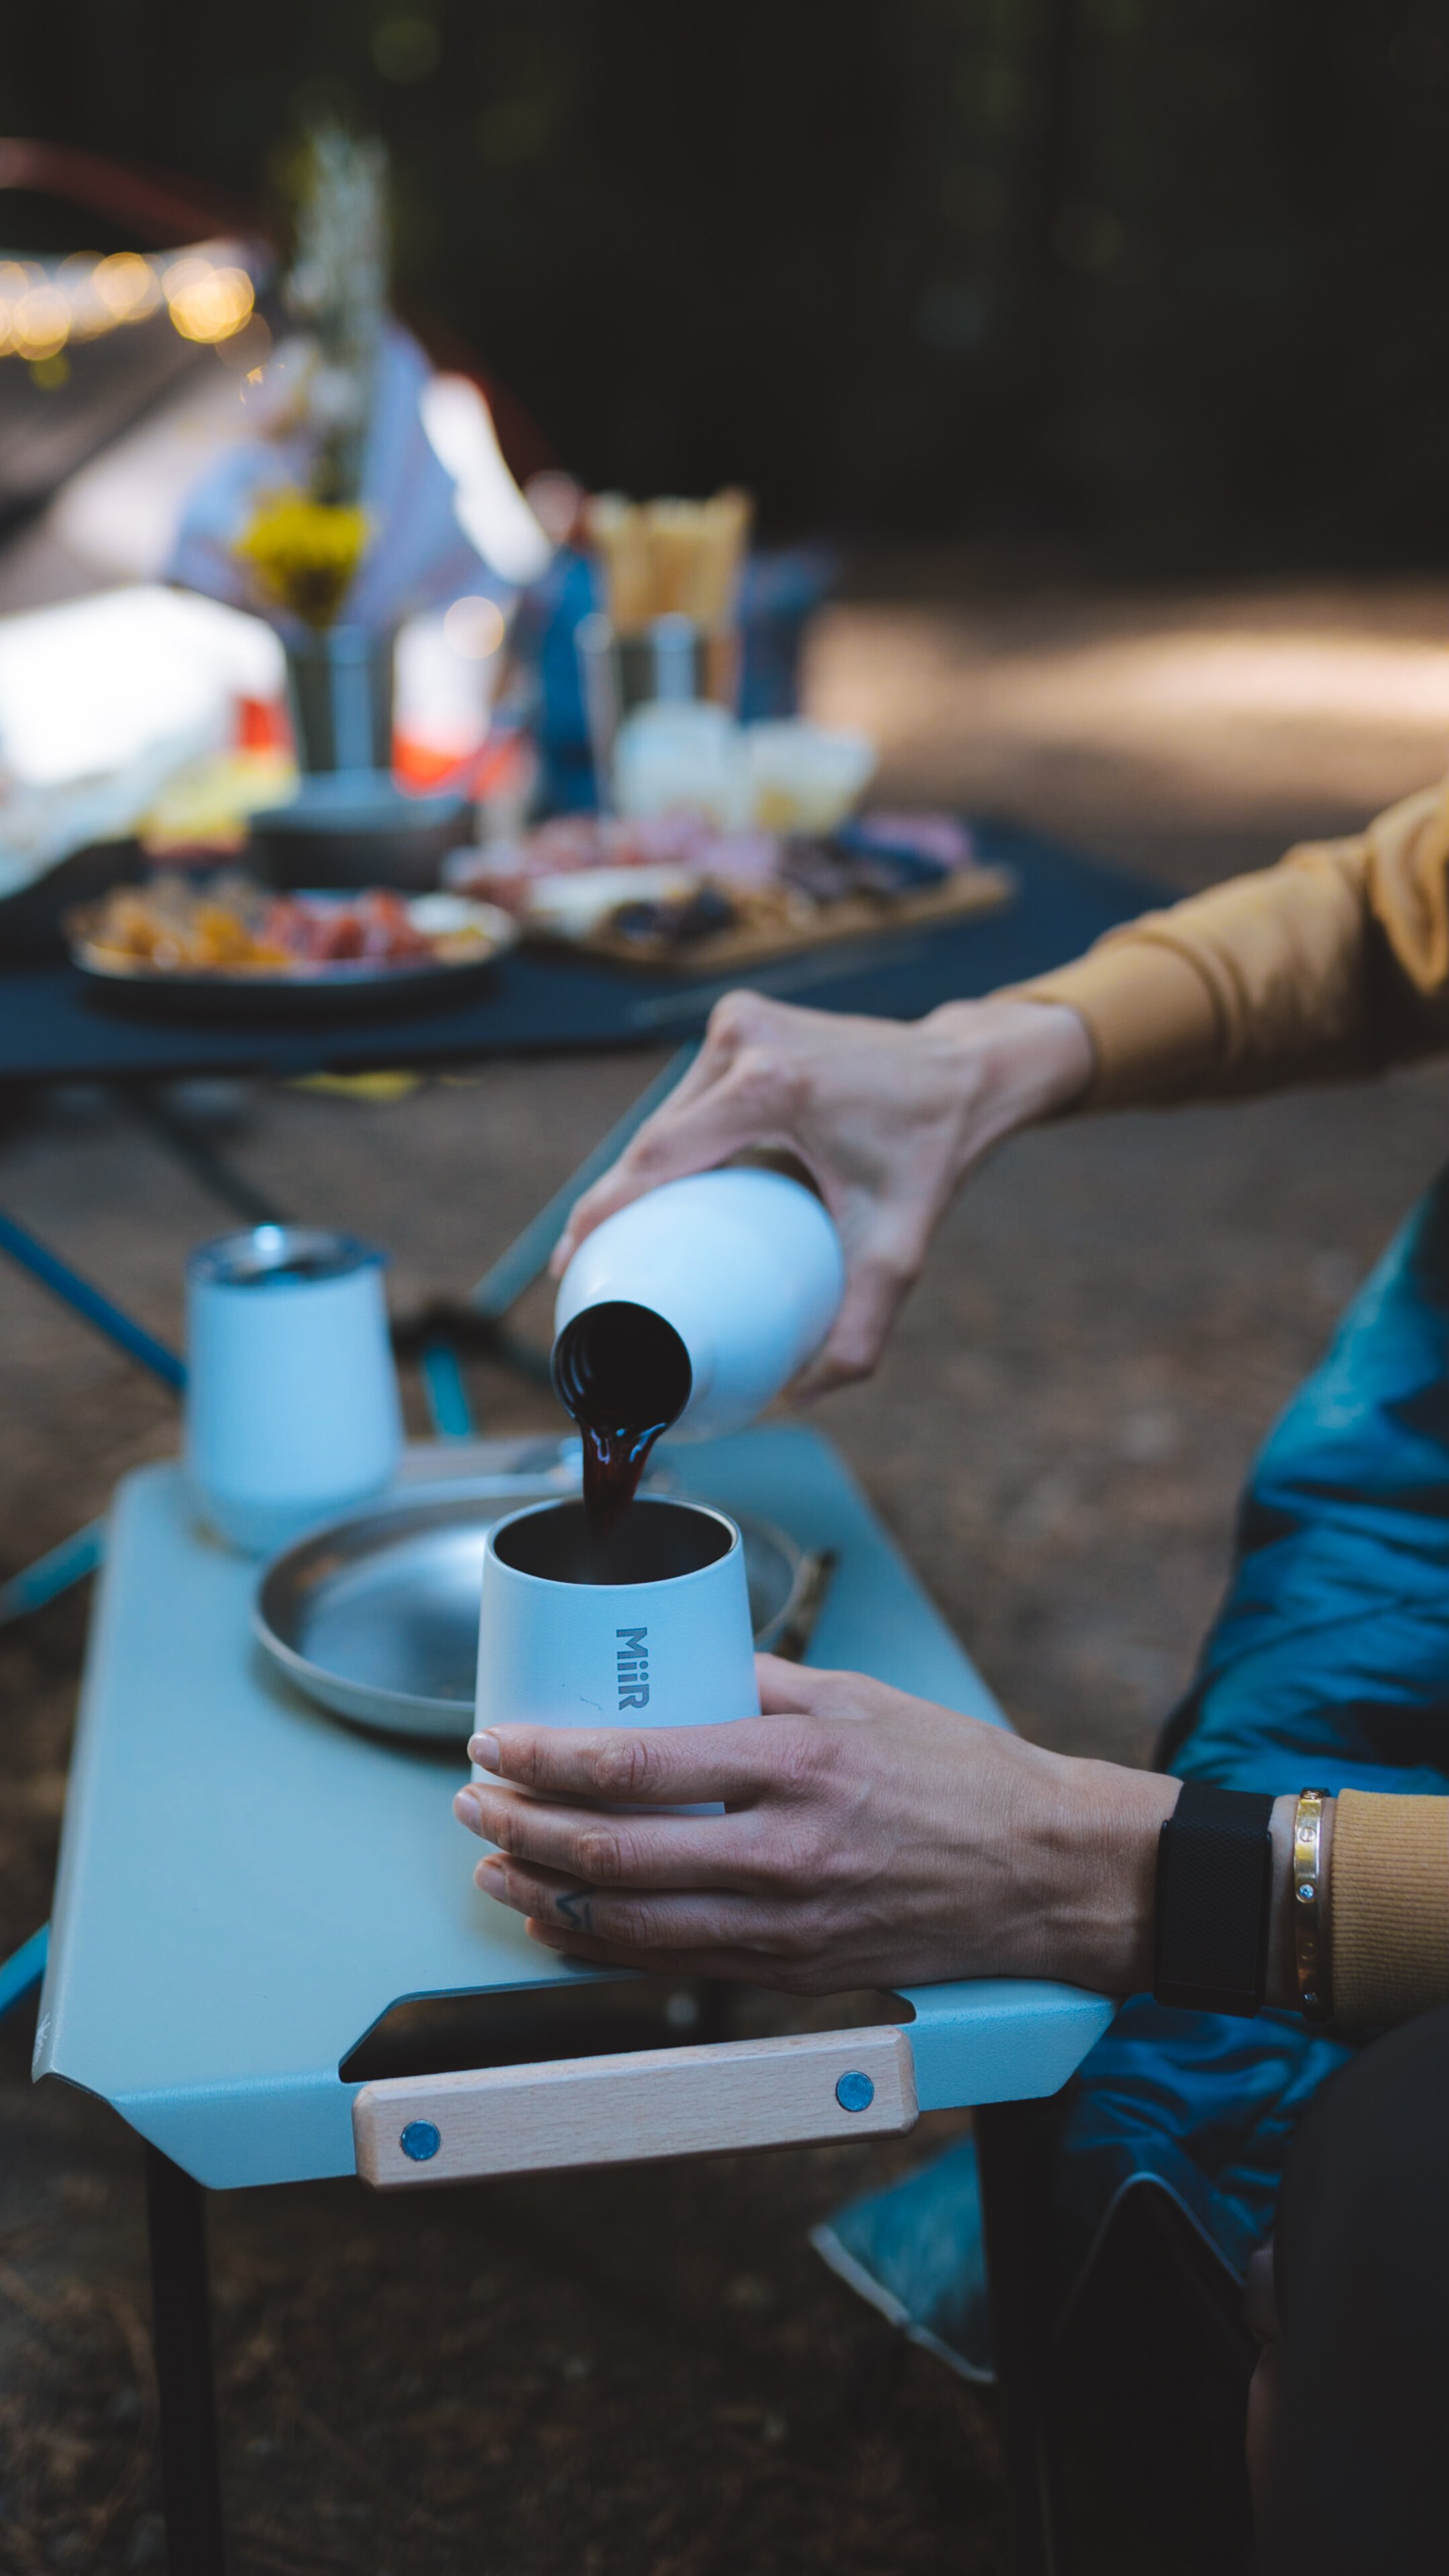
2. Coffee
Although I don’t bring my full coffee set up with me camping… it is nice to have a step up from instant.
supply list:
I try to swing by a local coffee shop near the trailhead to try something new and support local business. Ask them to grind beans specifically for your brewing method.
Eureka Ignite 2-Burner Camp Stove
Stanley Even-Heat Camp Pro Cookset
Fellow Stagg Pour-Over Kettle (note that the fog grey colour is a Fellow x Blue Bottle collaboration that can be found here but is often out of stock)


Recipe:
Two (generous) scoops of coffee beans ground for chemex (coffee shops can grind to whatever brewing method you use) - I got this number by weighing out my scoops at home and eye-balled 47g
I aim to have my water at 200-205°F (10° or so below boiling)- for this I boiled water in a pot and then transferred it into my little kettle. It worked like a charm!
Wet the filter, empty the chemex, add in the coffee grounds.
Pour in enough water that the grounds are all wet, watch it bloom (bubbles should come up) for about 30-60 seconds
Add in the rest of your water. I pull the filter out when the water hits the little bump on the chemex. Thus will be about 670g of water which is my goal.
Pop an extra stroopwaffle on top and enjoy!

3. Avocado Toast
I am not a big breakfast eater but when camping all sense of normalcy is thrown out the window and as soon as the sun sneaks up I am ready for breakfast. And like every millennial out there - there is nothing I would rather have than avocado toast.
Supply list:
Eureka Ignite 2-Burner Camp Stove
Stanley Even-Heat Camp Pro Cookset
Snow Peak Charcuterie Plate (double duty as a cutting board)
Bee's Wrap Honeycomb Print Wraps - for open avos
REI Co-op Pack-Away 12 Soft Cooler
Lodge Cast Iron Skillet - 6.5 in.
Serrated knife


recipe:
Eggs (I use both butter and a little EVOO in the pan)
Avocado
Tomatoes (I like mini heirlooms)
Sourdough baguette (toasted on the grill or not - that is up to you)
Trader Joe’s EBTB spice
Trader Joe’s Chili onion crunch
Bacon (optional)
I think this is pretty self explanatory (if you have questions just leave me a comment) - but the secret is really in the Chili Onion Crunch - there is not a breakfast sandwich that could not be elevated with this spicy, onion oil mix.

4. Breakfast Granola
Supply list:
Snow Peak Charcuterie Plate (double duty as a cutting board)
Spyderco Delica 4 Fine-Edge Knife
MiiR Food Canisters - these are insulate dead keep the yogurt cold


Recipe:
Greek Yogurt (I use plan but feel like count would be amazing in this)
Strawberries
Blueberries
Trader Joes’s Peanut Butter Protein Granola (or any granola, I like this on a lot)

bonus: s’mores
I learned this trick with a very expensive s’more making kit from Ventana Big Sur Glamping. But it was worth it becuase swapping out the graham cracker in a traditional s’more for a stroopwaffle is genius.
For this you will need:
Rolla RoasterMarshmallow and Hot Dog Roasting Forks - Pair
Gu Stroopwaffles (the coffee, coconut and original are all amazing)
Marshmallow
Chocolate (I like milk for this because it melts nicer)
Optional: peanut butter


How to:
Set up your stroopwaffle on the edge of the fire with (optional peanut butter and ) chocolate on top. Let that warm up while you toast your marshmallow. Some people like a second stroopwaffle to sandwich it together… I am just not one of those people
Bon Appétit & happy trails

*Please note that some of the links above are affiliate links, and I may earn a small commission on any purchase made - at no additional cost to you. As always, all ideas and opinions expressed in this post are entirely my own. Thank you for your support!


My love for spending time in the outdoors is only matched by my love for all things coffee related. I don’t remember when this began, my mom is a tea drinker and what my dad considers coffee is more akin to coffee bean flavoured water. It may have been when I was in high school - all of the cool girls worked at Starbucks and I was determined to do the same. And so I did, I spent year slinging over sweetened coffee drinks to teenagers who could likely not afford them. As time went on the balance of sugar to coffee in my drinks flip flopped and I became a snob of all things coffee related. And so, when I ventured into the outdoors I needed options that were better than the instant that my mother would add into chocolate cakes and lighter than lugging a parceling carafe thousands of meters up the side of a mountain. I have three tried and true ways to help you find a good cup of coffee no matter where you are.