Beginners Guide to Gear Maintenance
This blog is written in partnership with Nikwax
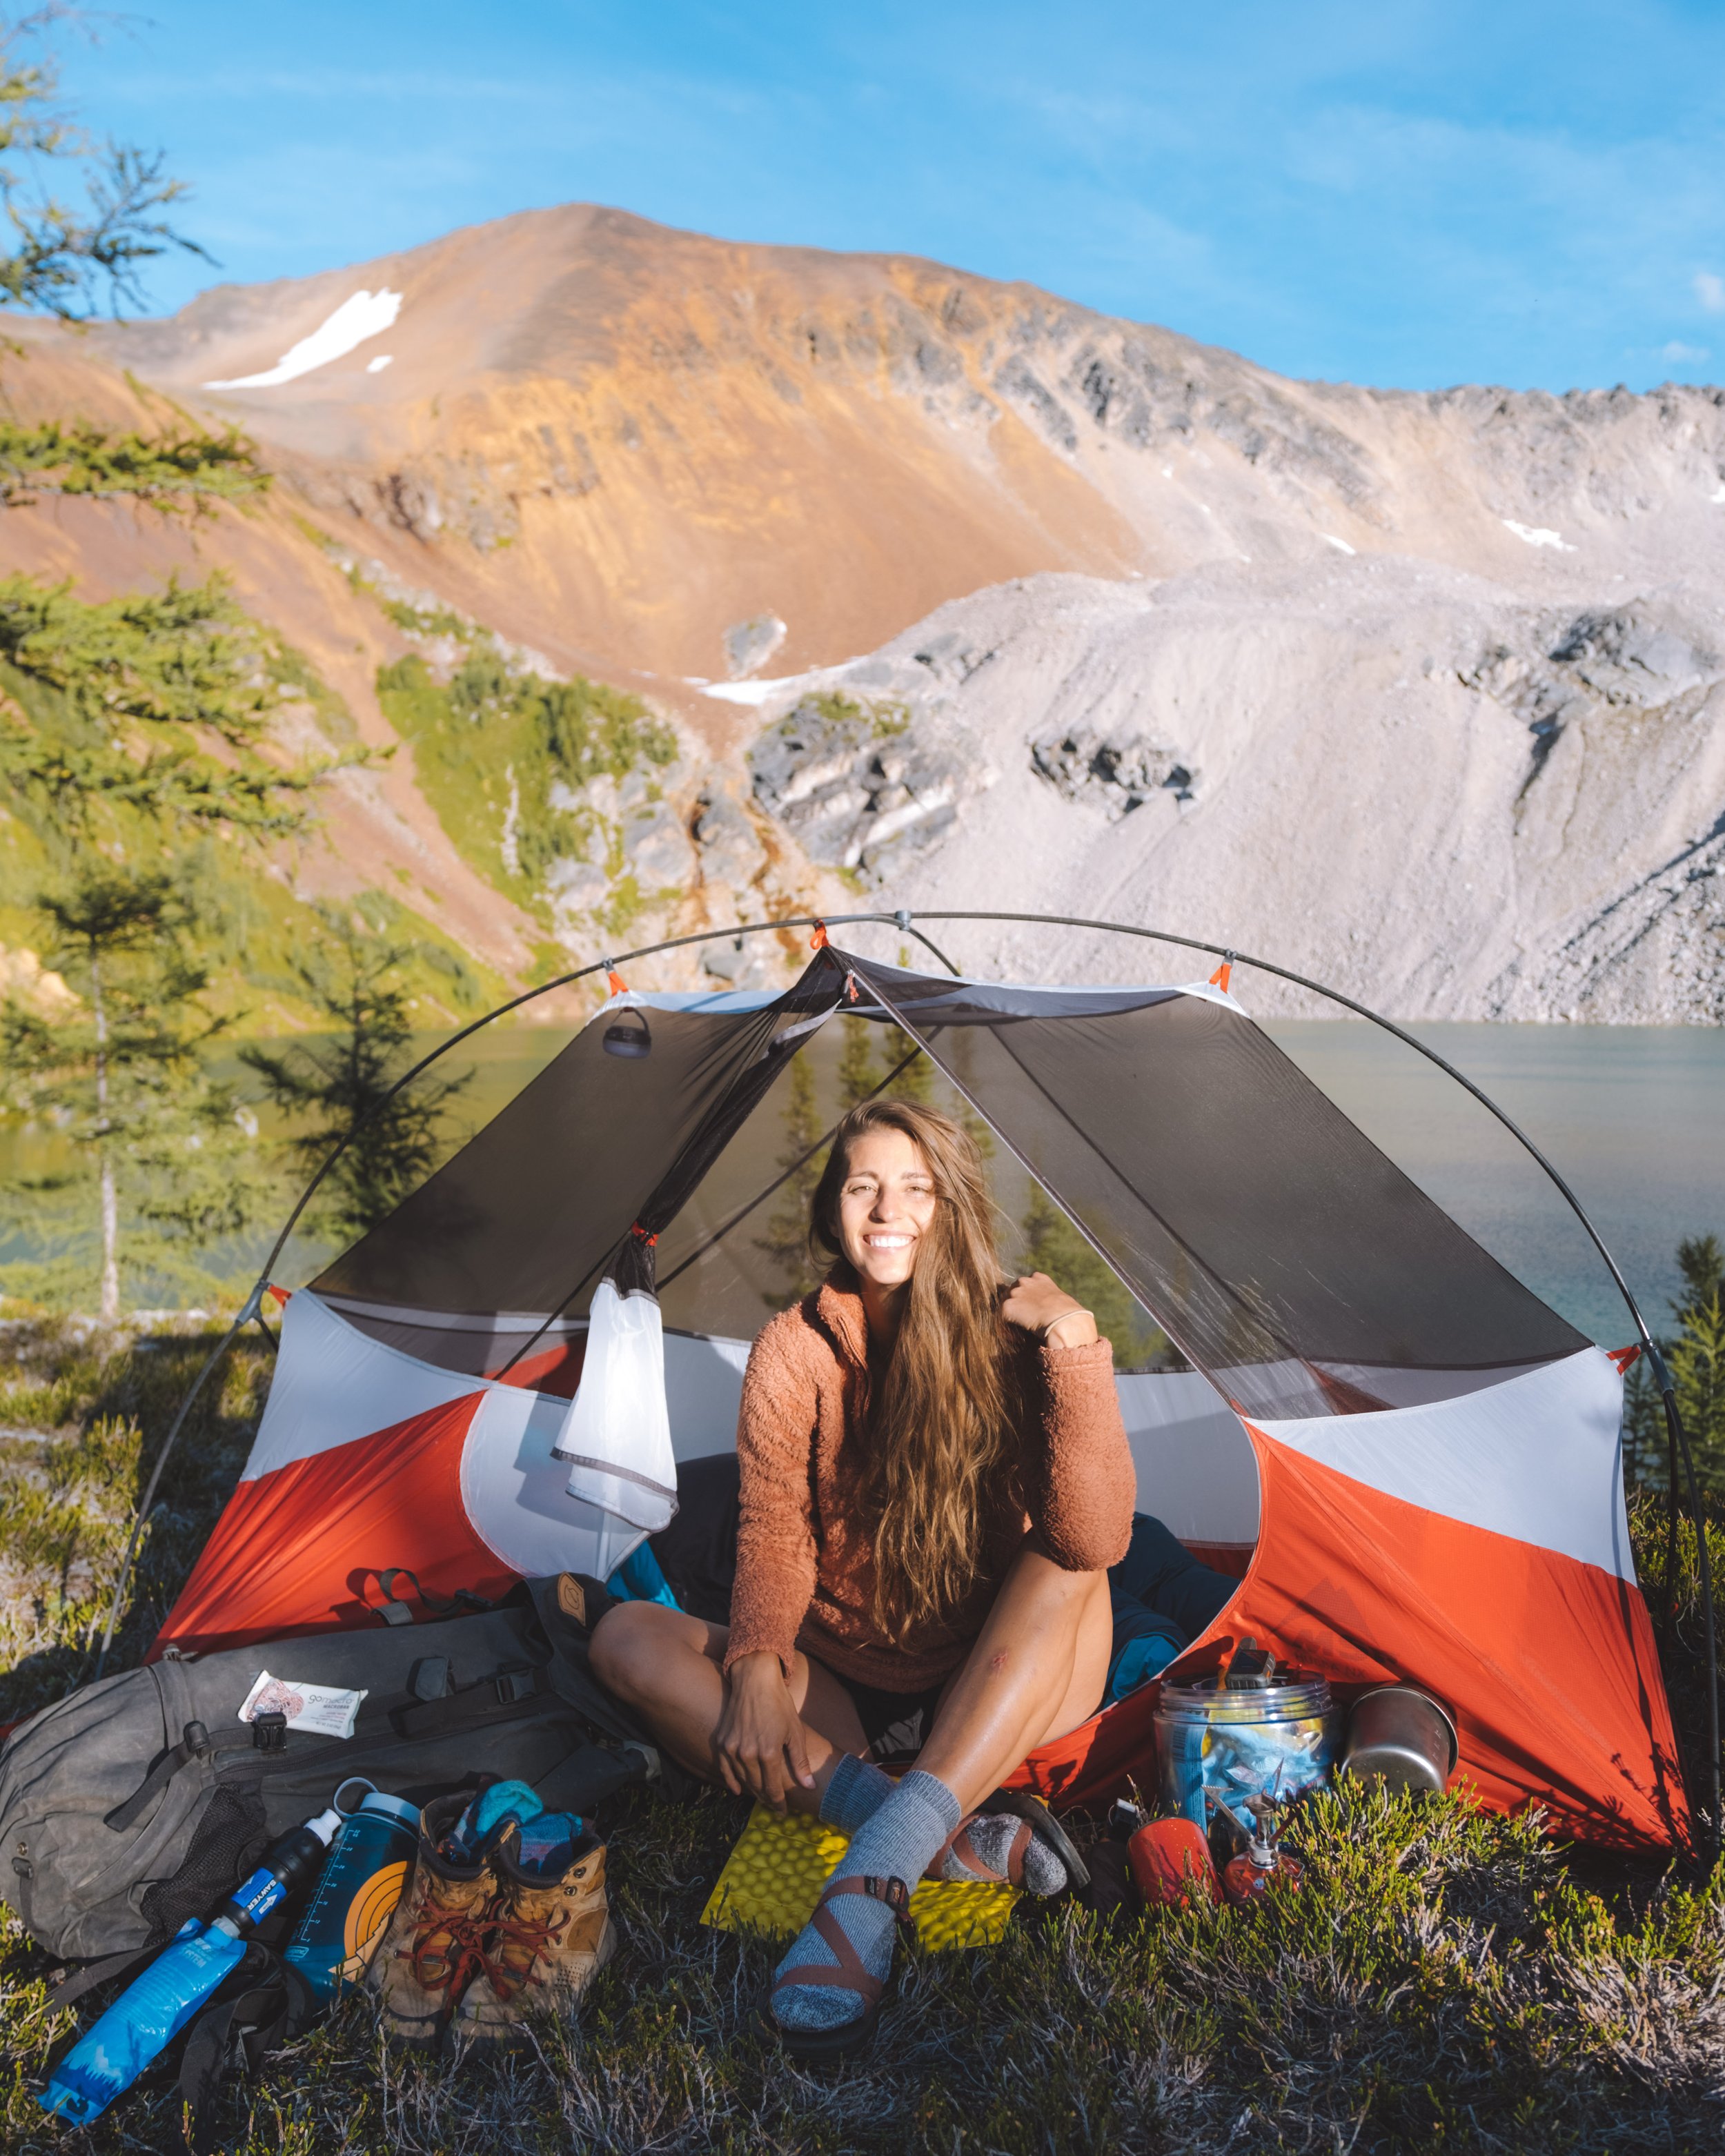
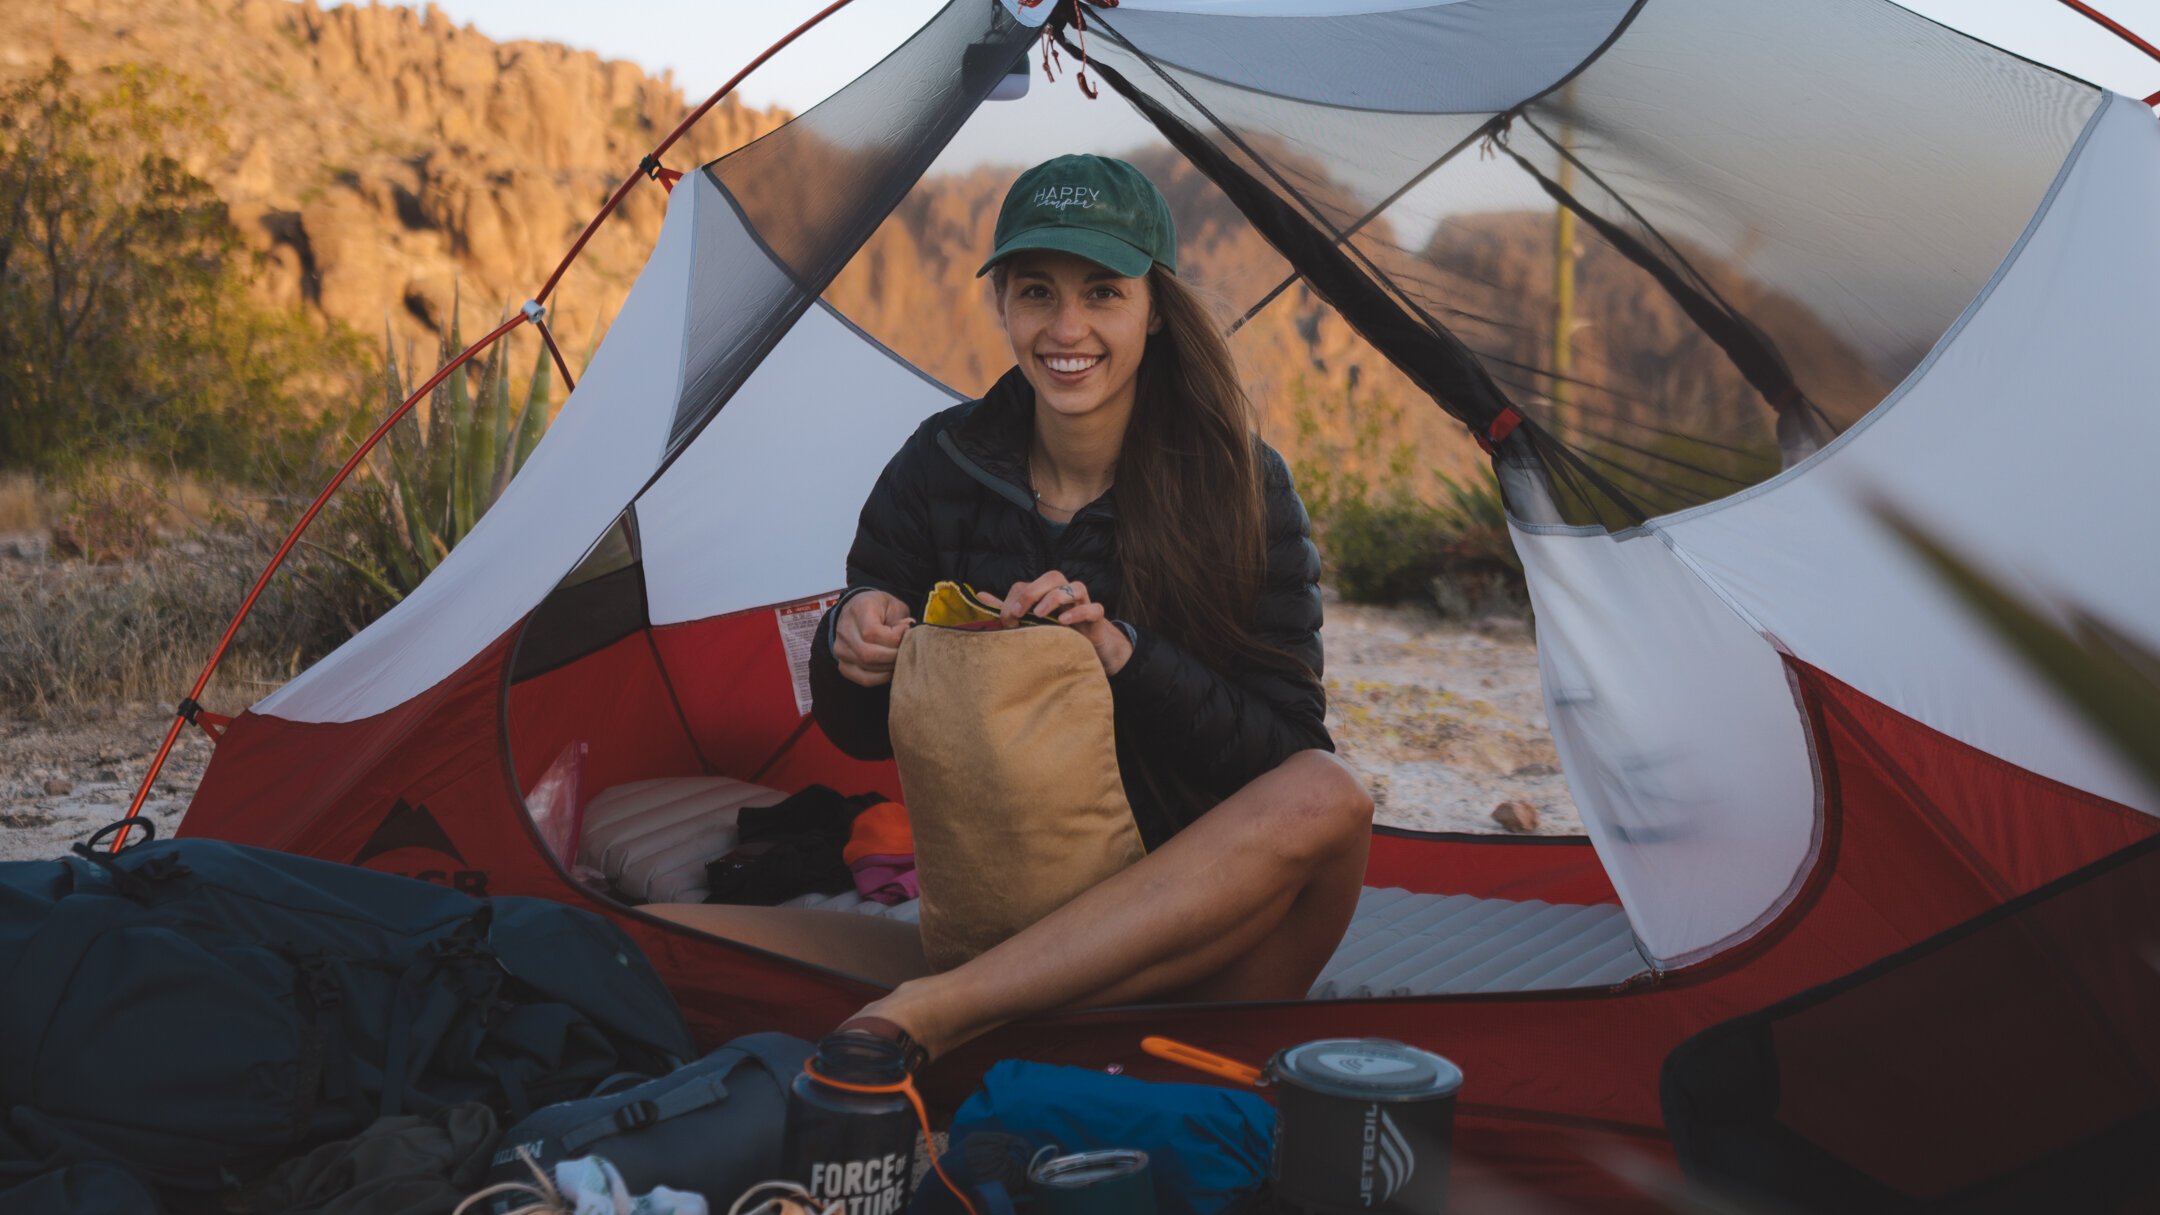
If you’re anything like me - purchasing new (or new to me) hiking and backpacking gear is a big financial investment, and I want to protect it and extend its life as much as possible. From the get-go there are things we can all do - like buying a footprint for our tents and liners for our sleeping bags. But inevitably, as time goes on and we use and love our tents, sleeping bags and outerwear (both shells and insulating layers), some basic and not so basic maintenance needs to be preformed. A few years ago a very helpful employee at REI in Seattle introduced me to Nikwax products and (metaphorically) held my hand explaining the ins and outs of outdoor gear maintenance. This has become an end of season ritual for me. Before my gear goes away for the winter ahead I take some time to inspect, clean and do repairs (or preventative steps) to all of my backpacking gear. I won’t say it is the most fun, it is sad to have another season of backpacking come to a close, but knowing that my gear is ready for the spring and that it will last much longer makes this all worth it. And so, I share with you do’s and do-not’s of maintaining your outdoor gear.
Tent:
UV exposure can, for many tent fabrics, hinder their performance. Doing basic maintenance will protect your investment (camping gear is not inexpensive) and extend its lifetime. Over time weathering, dirt and dust can cause water to be absorbed into the fabric of the tent itself, making the Durable Water Repellency (DWR) become less effective. It is at this point that you will find water leaking through vulnerable areas such as seams. When water, dirt or dust sits on the tent fabric it reduces its breathability. When breathability is reduced, water vapor inside the tent is no longer able to pass through the fabric, and instead condenses on the inside.
Note : Never machine wash or tumble dry tents!
Basic year-end cleaning
option one - the backyard method:
Set up your tent: Place the tent in an area that will drain easily and is free of excessive dirt or dust. Sweep/shake out the inside of the tent.
MixNikwax Tech Wash (100ml in 6L of water) to a bucket of water and mix until foamy.
Rub in well with a damp sponge or cloth, paying attention to excessively filthy areas.
Rinse with clean water.If re-waterproofing, stop here and see below
Dry completely: Allow to dry naturally while set up - ideally in a cool shaded area. Ensure it is completely dry before packing the tent away.
option two - the bathtub method:
Set up your tent and do a visual inspection: Look for extra dirty spots, tears, holes or other damage. This is easiest to do when set up. Sweep/shake out the inside of the tent.
Clean with soap: While set up, gently use a cloth or sponge and small amount of mild dish soap or, better yet, Nikwax Tech Wash to spot clean any extra-dirty areas.
Prep the tub*: Fill your bathtub with lukewarm water and add Nikwax Tech Wash (follow bottle’s instructions).
Prep your tent: Unzip the doors and turn the tent inside out.
Soak your tent: Immerse the tent and the rainfly in the tub. Again, follow the directions on the Nikwax Tech Wash bottle to see how long to let your tent soak.
Rinse thoroughly: Drain your tub and refill it with clean water(or run the shower over your tent). Repeat until the water runs clear.
Dry completely: Set your tent up or hang it in a cool, shaded area until it is completely dry.

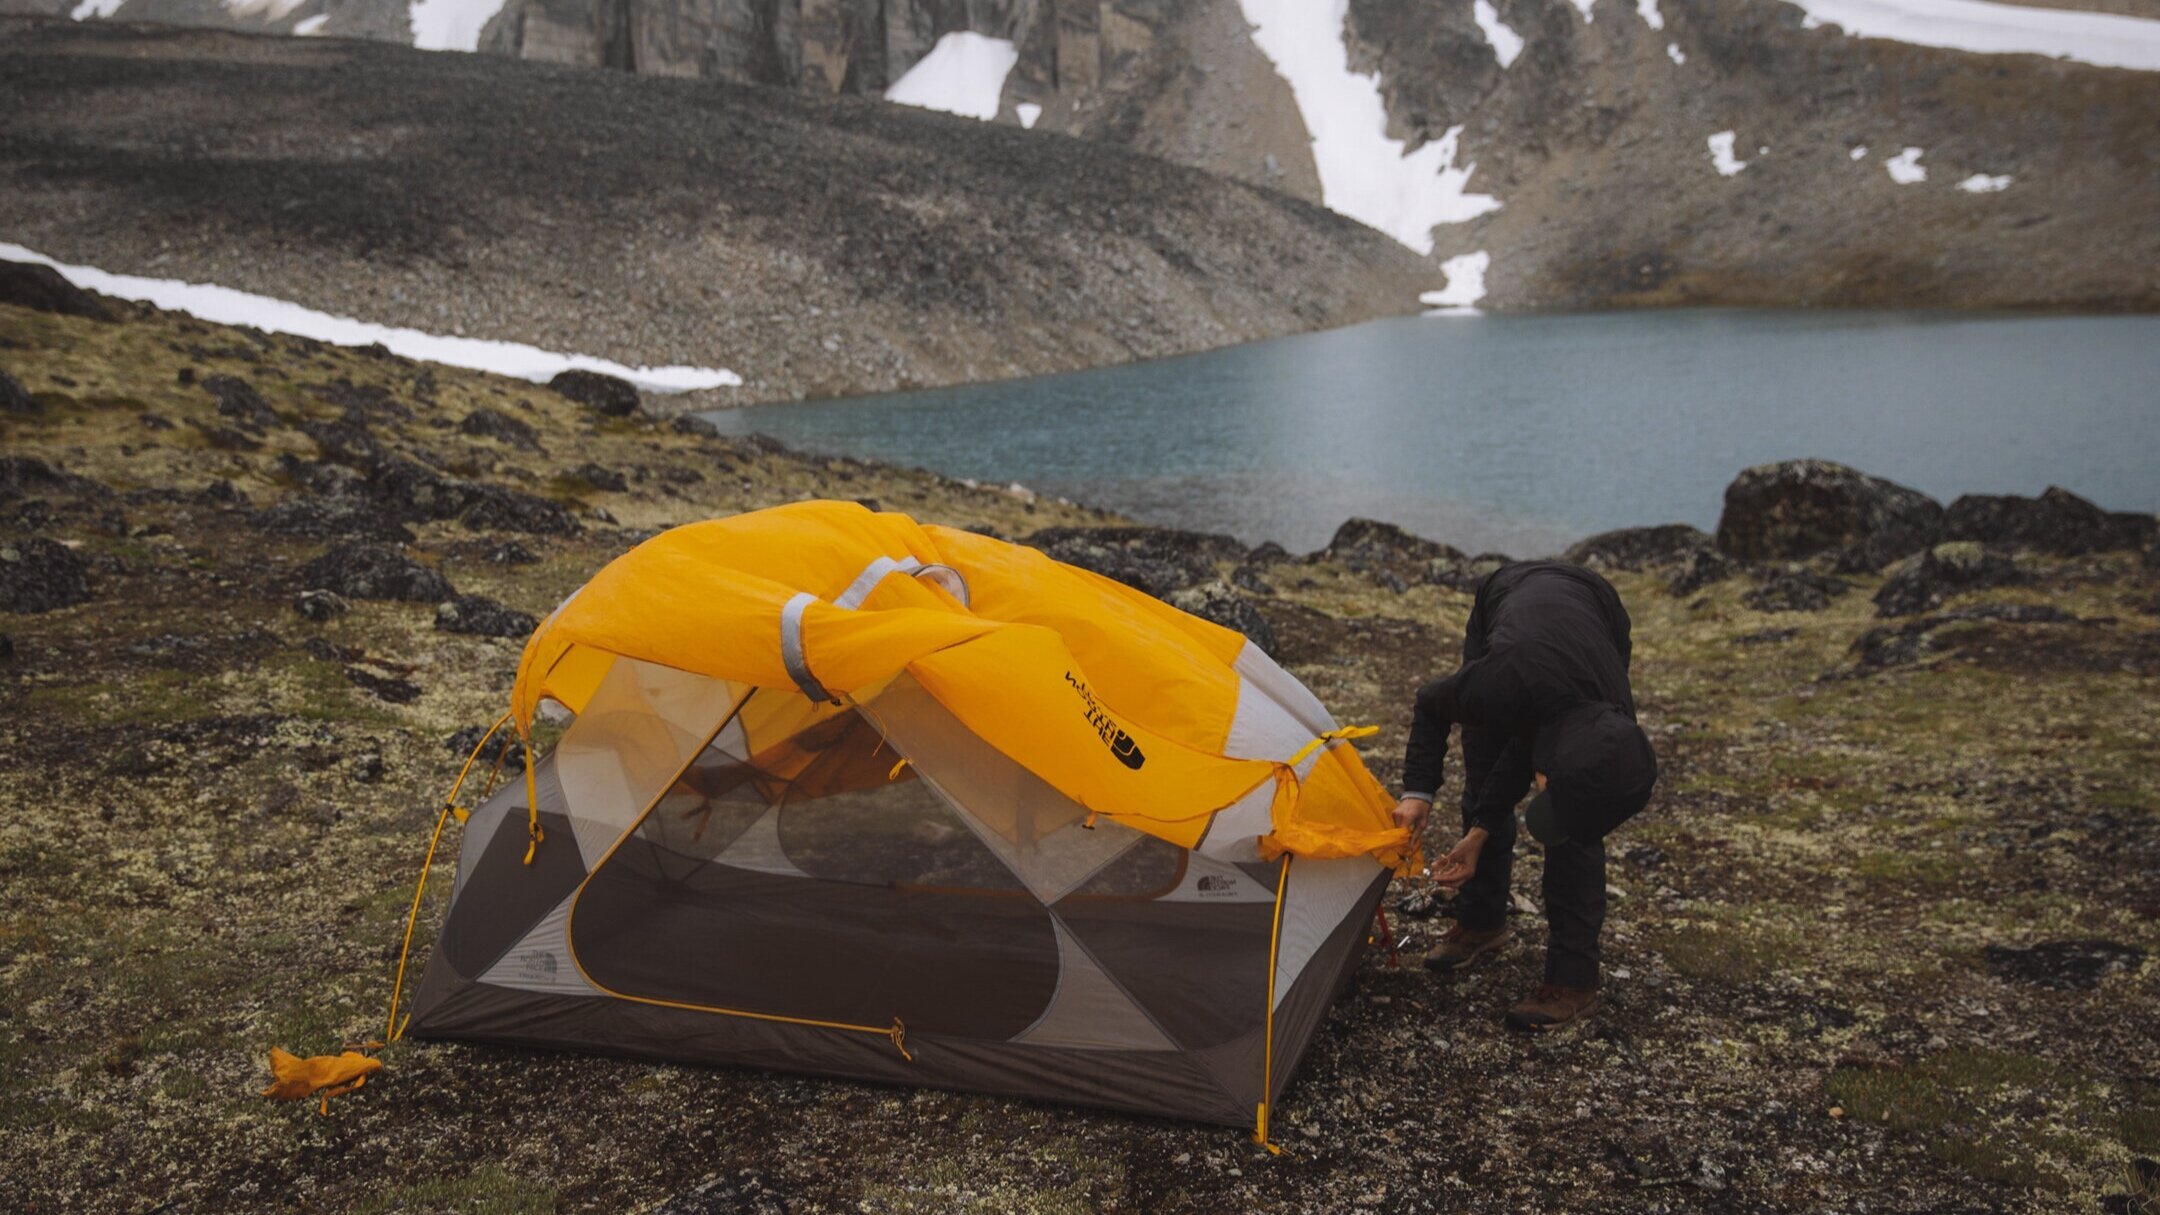
Waterproofing and UV protection
If rain isn’t beading up on your fly anymore (it should look like the above photo after a rainstorm), you can refresh the durable water repellent (DWR) coating
After cleaning your tent, while still wet and set up - apply the Nikwax Tent and Gear SolarProof Waterproofing Spray ensuring that you pay particular attention to any seams.
Wipe away any excess with a clean cloth.
Allow to dry naturally
A little more love
If your tent has mildew, mold or foul odours, use an enzyme cleaner, such as MiraZyme™. If doing this follow the directions closely for the enzyme cleaner, especially with regard to how long to soak the tent. Leaving a tent in a enzyme cleaner for too long can lead to the break down of a tent’s waterproof polyurethane coatings.
If there’s pine sap on your tent, carefully spot clean the tent with mineral oil prior to your year end cleaning. Ensure to rinse thoroughly.
If the zippers aren’t running smoothly, take a toothbrush and scrub out any sand, dirt or mud that’s trapped in the zipper teeth. You can start dry and add water if necessary.
For dirty poles, take a rag and wipe them down.

Sleeping bags [down or synthetic]
Washing Your Sleeping Bag
If your bag is losing loft and is darkened with grime, then by all means give it a full washing. If your sleeping bag has washing instructions printed on a label - follow those.
What not to do:
Never dry clean your sleeping bag. Solvents used in dry cleaning can strip the natural oils from down that help it retain loft. You can, however, have it professionally cleaned - just not dry cleaned.
Never use fabric softener, bleach or alternative-bleach products. Only use soaps specifically made for either the down or synthetic
Never wash a sleeping bag in a top-loading machine with an agitator. The agitator can strain or rip seams. A top-loader without an agitator is OK as long as you don’t notice your down floating to the top and staying there. If this happens switch to a front load washing machine. Washing and drying in the large commercial machines at the laundromat are the best way to go. Home washing machines can be too small and not allow enough room for circulation.


How to machine wash a sleeping bag:
Read your bag maker’s instructions (on a label or online).
Ideally use a front-loading commercial washer at a laundromat. The larger capacity ensures your bag is rinsed thoroughly. If this is not available to you, use a front-loading washer at home. However, avoid a top-loading washer with an agitator column because your bag could get damaged by becoming entangled or wrapped around it. In a pinch a top loading machine without an agitator can be used.
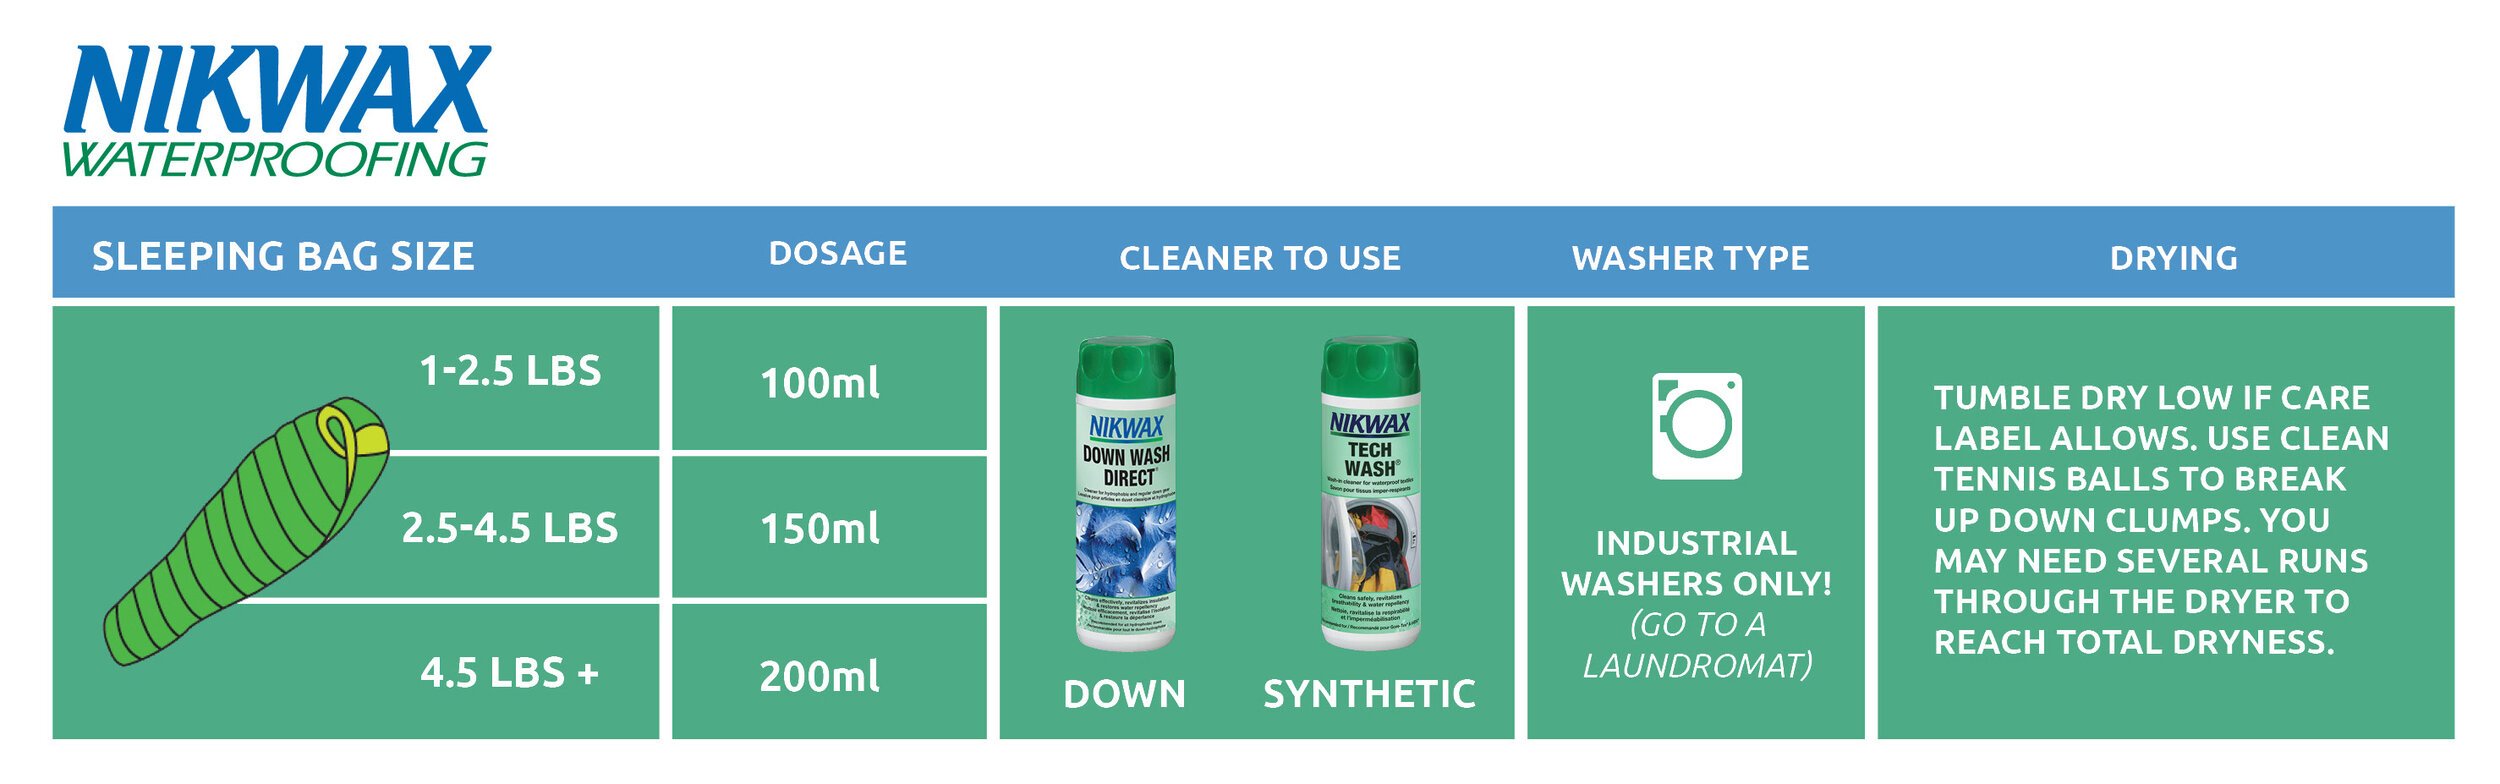
Wash with a gear wash that’s specifically formulated for your sleeping bag. Normal laundry detergent will lead to clumping or reduced loft and leave a film that acts as a hydrophilic agent. It is worth the investment to use products specifically created for stepping bags.
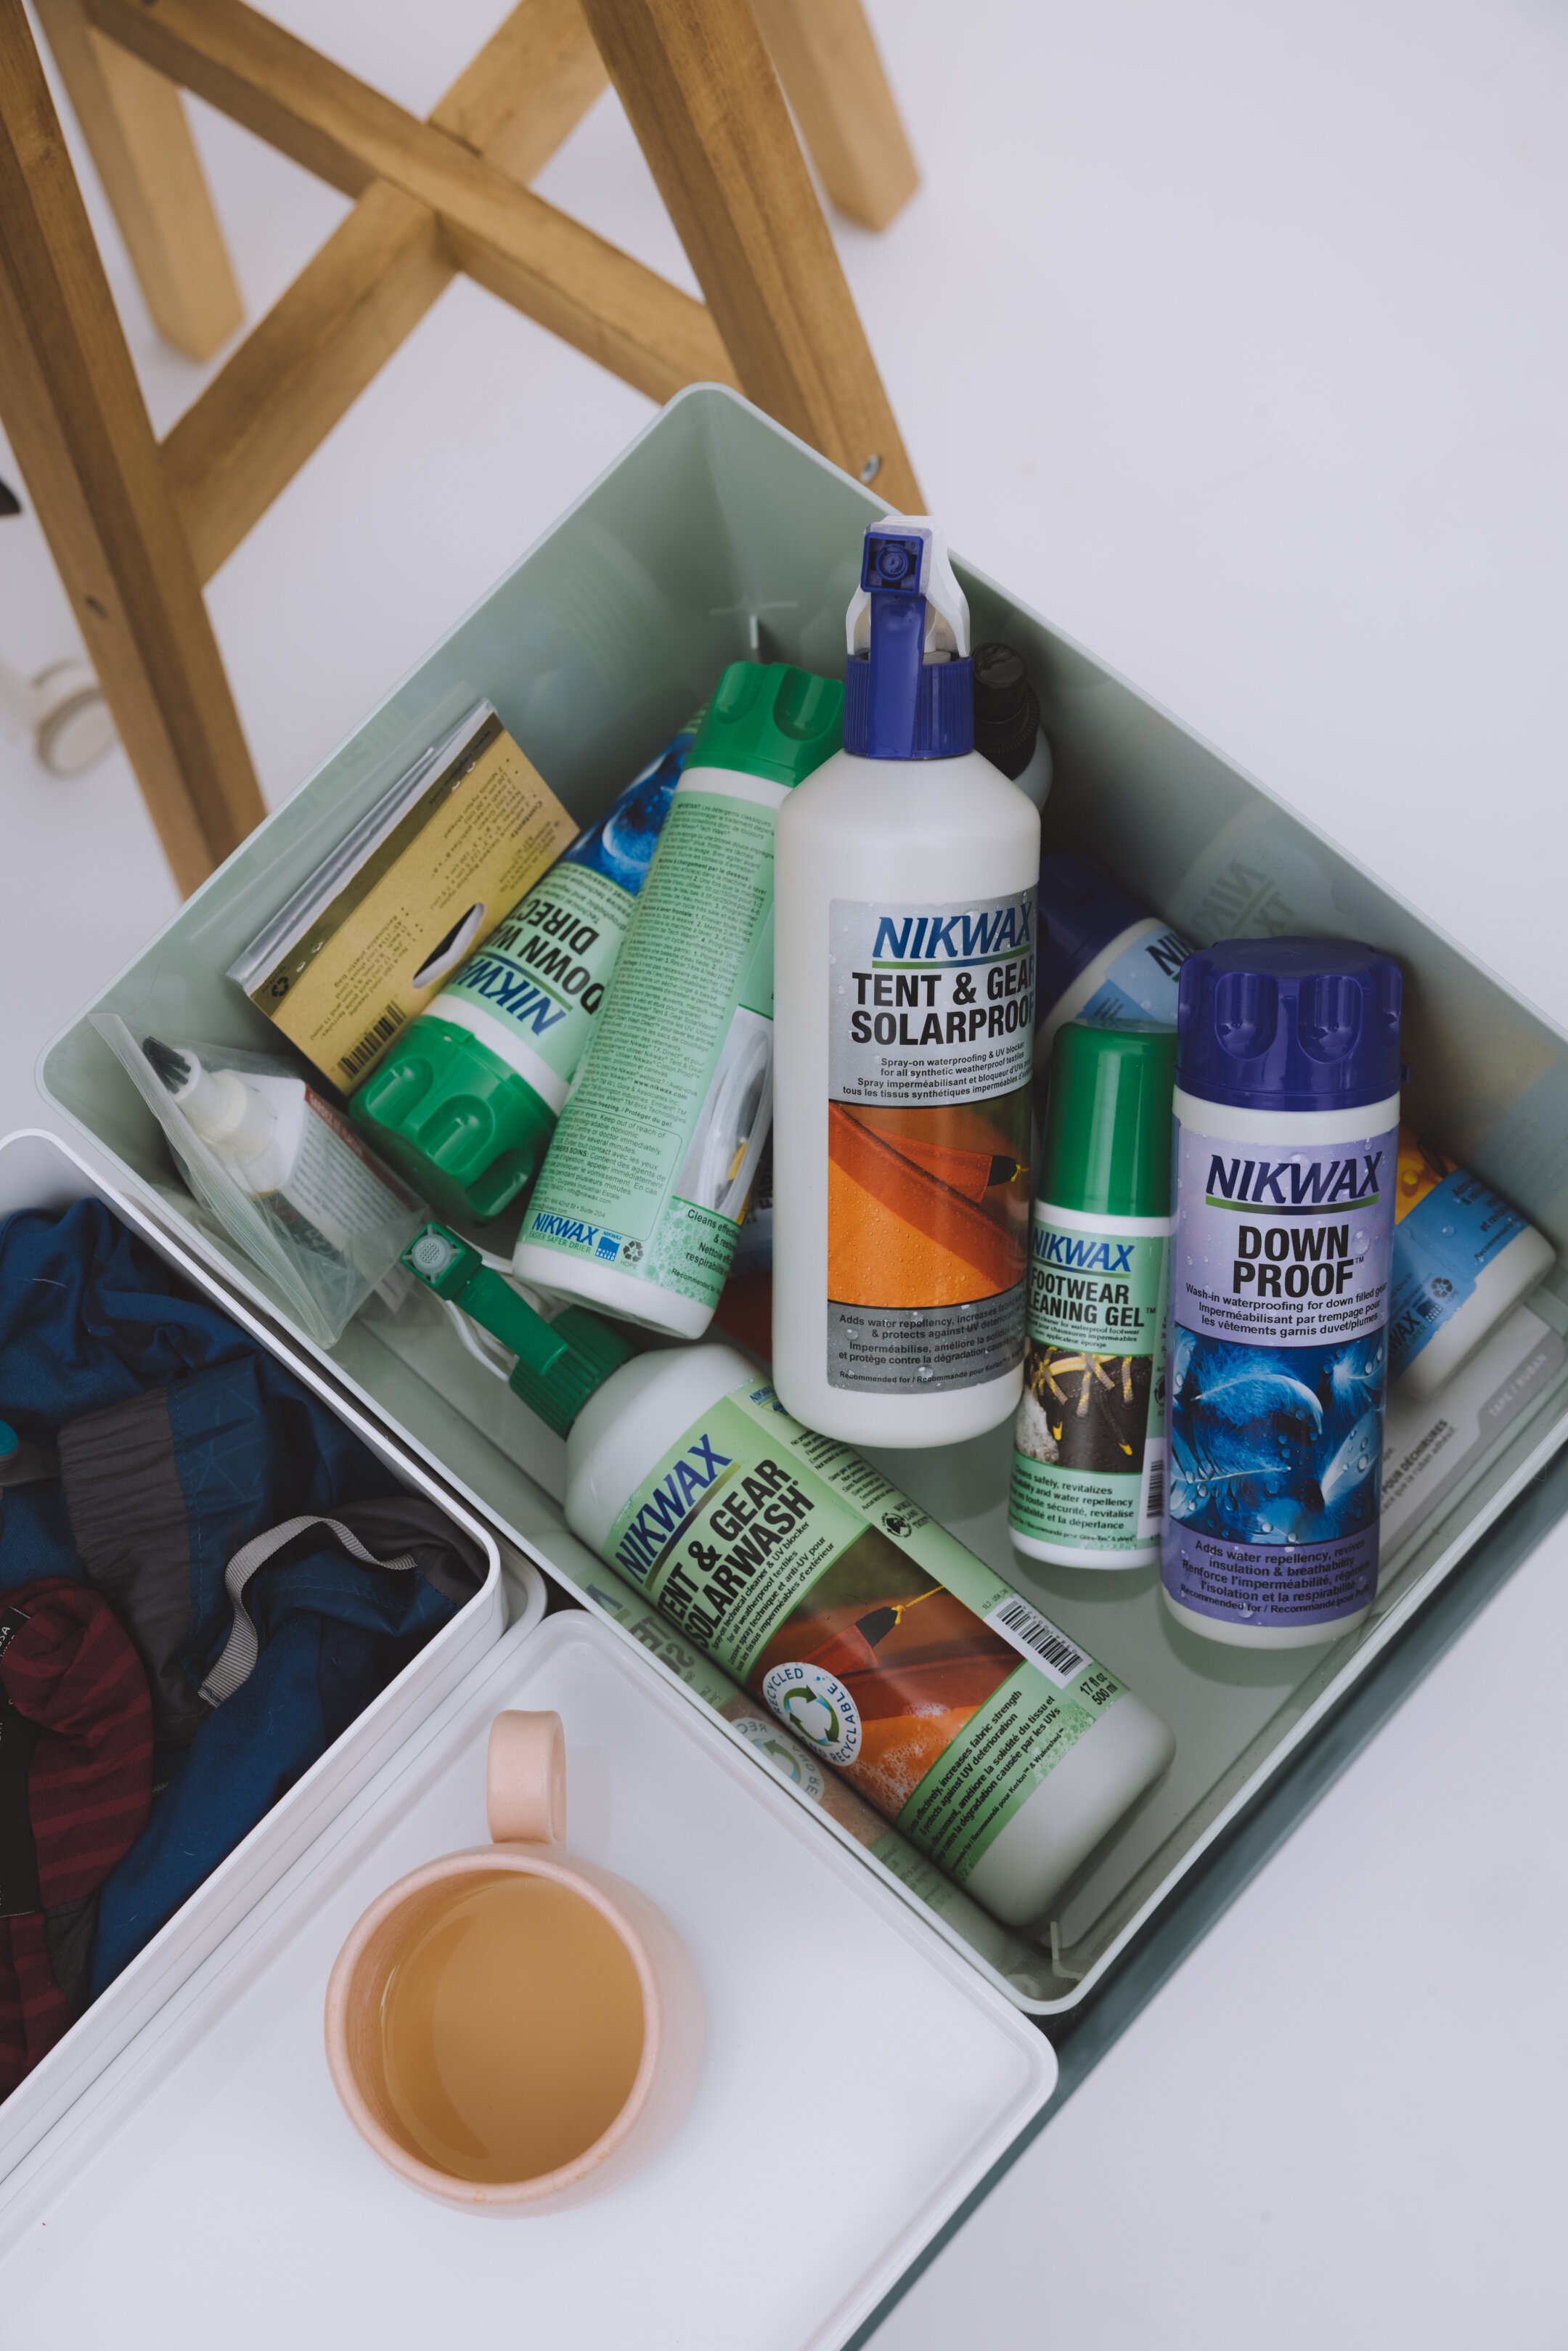
Down - I use Nikwax’s Down Wash Direct
Synthetic - I use Nikwax’s Tech-Wash
Unzip the bag completely. Empty any pockets.
Follow the bag maker’s instructions, which typically is to wash the bag in warm water on a gentle cycle. Their instructions>mine.
Rinse at least twice to thoroughly remove any cleaning agent. Residue left behind may prevent the down fibers inside the bag from lofting. Remove as much moisture from the bag as possible. If the outer bag is pooling water or feels spongy, put it through another spin cycle.
Down - it should feel like dense clumps in an almost empty sack (do not panic like I did, it will fluff back up - promise).
Synthetic - It should feel wet and damp, but not drenched.
Support the entire bag when removing it from the washer - baby it. This helps avoid straining and ripping the seams.
Proceed to the drying step.
Alternative: how to hand wash a sleeping bag:
Fill the tub with cool or lukewarm water and add Down Wash (for down) or Tech Wash (for synthetic). Avoid using too much soap; if it gets too sudsy, it’s harder to rinse out.
Lay the bag in the water and gently work in the soap throughout the entire bag. Rub together the most heavily soiled areas. Soak for up to one hour.
Drain the tub and press out any remaining water.
Re-fill the tub with cool water to rinse, work the soap out gently, leave for 15 minutes and drain. Press out any remaining water. Repeat until all the soap is out.
Gently squeeze out excess water and proceed to the drying step.
Drying Your Sleeping Bag
Set the dryer on low or no heat. If it’s too hot, the fabric (or even the synthetic fill) can melt. Note: machine heat varies, so check often to ensure it feels lukewarm to the touch.
If your care label allows: when a down bag (not synthetic) is nearly dry, add two or three clean tennis balls to the dryer. This will help break up any clumps of down as it spins and will help restore the loft.
Make sure your bag is completely dry before properly storing it for your off season to prevent mold or mildew.
If you choose not to use a dryer for your bag, lay it flat on a clean surface outside (such as grass or a beach towel) in the sun or partial shade. You may need to manually break up clumps of insulation as your bag dries.
Restoring DWR
The original DWR (durable water repellent) finish on a sleeping bag's shell eventually wears off (this may be years, depending on your usage). You can restore water repellency and help keep the bag cleaner if you reapply this finish with Nikwax TX-Direct Spray-On . Super easy to use — after washing a bag (you’re now a pro at this), but before drying it, simply spray on Nikwax TX-Direct. Wait for 2 minutes. Remove any surplus product with a damp cloth and proceed to drying instructions above.
Camp pillow:
Inflatable pillow (no down or synthetic)
Close the valve to make sure that water does not get inside the bladder. Regular laundry soap will work fine for these. Immerse the pillow into the soapy water and knead it gently with your hands.
Once you’re confident that the pillow is clean, repeat the above procedure with fresh clean water to rinse soap from the pillow’s fabric. Repeat until water runs clear.
Squeeze the excess water from fabric. Hang the pillow up to air dry.
Do not dry the pillow in a tumble dryer, as this could damage the bladder.
Make sure your bag is completely dry before properly storing it for your off season to prevent mold or mildew.
Pillows with Down or Synthetic
Close the valve to make sure that water does not get inside the bladder. Use a down soap such as Nikwax Down Wash . Supermarket laundry ‘soap’ will leave residue in the down which may prevent it from lofting properly. Add the Down Wash to warm water, immerse the pillow and knead it gently with your hands.
Once you’re confident that the pillow is clean, repeat the above procedure with clean water to rinse the soap from the pillow’s face fabric; you may need to rinse a couple of times.
Squeeze the excess water from the face fabric, then hang the pillow up to air dry. You should shake the pillow from time to time to prevent the down from forming into clumps. The down may take longer to dry thoroughly than the fabric of the pillow.
Do not dry the pillow in a tumble dryer, as this could damage the bladder.
Make sure your bag is completely dry before properly storing it for your off season to prevent mold or mildew.
Down and synthetic insulating clothing
Similar to sleeping bag care above down and synthetic jackets (or pants, onesies, blankets, hats etc…)
Wash: Unlike sleeping bags, as there isn’t a center-mount agitator, a special washing machine isn’t required for down clothing . If your home washer is large enough to handle the load - you are good to go. I aim for 2-3 down jackets in my front load washing machine at one time. I also will do an extra rinse and spin cycle to get all of the soap out of my insulation and then follow with a (third) spin to get as much access moist out before drying.
Down - Nikwax Down Wash Direct
Synthetic - Nikwax Tech-Wash
Note: you can not mix down and synthetic articles as they use different soaps.
Optional waterproofing : Before drying spray on Nikwax TX-Direct. Wait 2 minutes. Remove any surplus product with a damp cloth and proceed to drying.
Dry: Set the dryer on low or no heat. If it’s too hot, the fabric (or even the synthetic fill) can melt. IF you are washing down, when it is nearly dry, add two or three clean tennis balls to the dryer. This will help break up any clumps of down as it spins and will help restore the loft. Make sure your clothing is completely dry before properly hanging/storing it for your next adventure.

Gore-Tex clothing
Wash
Put your jackets in washing machine. Top loading machines can accommodate up to five jackets, for a front loader up to two.
Add Nikwax Tech Wash.
Top-loading machine : add three full caps (150ml) of Tech Wash for 1-3 jackets, or five full caps (250ml) for 4-6 jackets.
Front loading machine : add two capfuls (100ml) of Tech Wash for two jackets. Note: If you live in an area with hard water, toss in an extra capful of Tech Wash. If you have an HE machine, use about half the recommended amount.
Run your washing machine on cold.
Voila!


re-waterproof
If your garment looks like the image on the right (above) that is called wetting out and means that your DWR coating needs a little help and is no longer keeping you dry. Thankfully this is an easy fix, after cleaning with Nikwax Tech Wash:
Top-loading machine : let the machine fill first and then add up to 3 jackets and 300ml of TX.Direct Wash-In. Run a heavy cycle with warm heat.
Front-loading machine : add a maximum of 2 jackets and 200ml of TX.Direct Wash-In. Run a heavy cycle with warm heat.
Check your label for drying advice. Nikwax does not require heat for activation.
Note: if you are looking to clean and waterproof you can buy Nikwax Hard-shell Outerwear Cleaner and Waterproofing together as a duo pack here.


*Please note that some of the links above are affiliate links, and I may earn a small commission on any purchase made - at no additional cost to you. As always, all ideas and opinions expressed in this post are entirely my own. Thank you for your support!