
Beginners Guide to outdoor Gear Storage
IN PARTNERSHIP WITH REI
All images featured in this blog were taken by Christopher Amat at Studio 1130
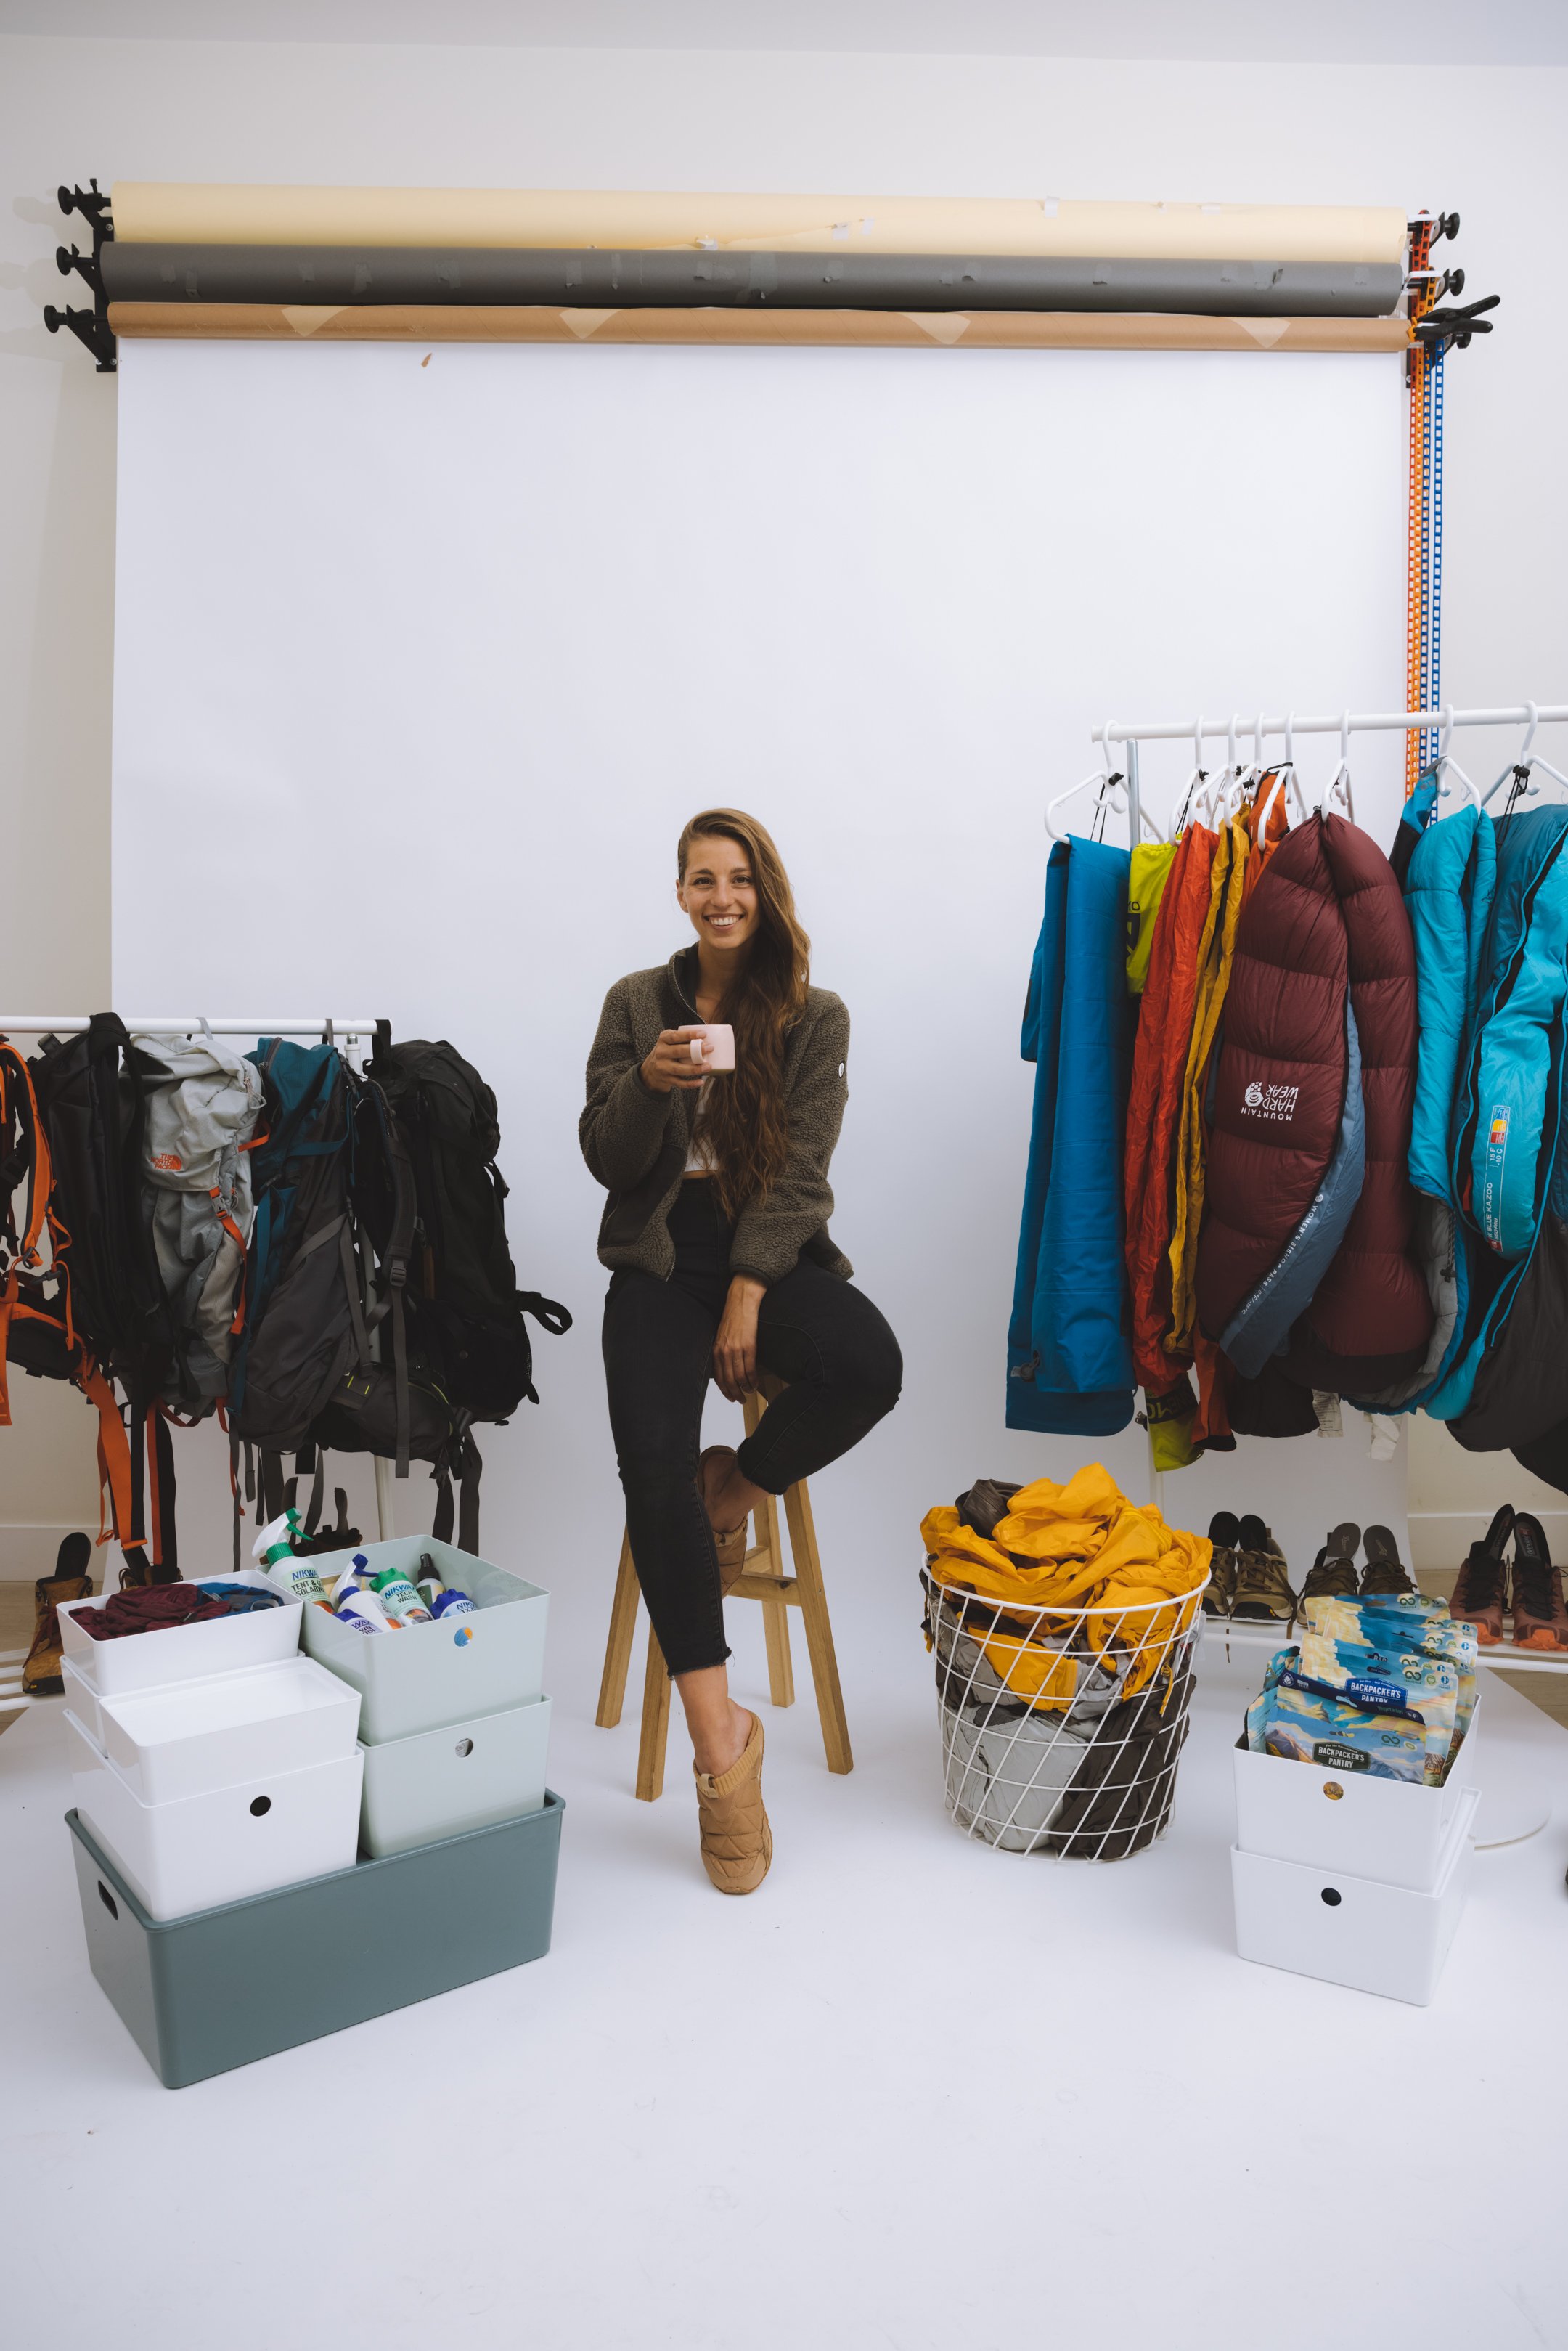
My least favourite time of year is the end of hiking and backpacking season in the northern hemisphere. But there is always an inevitable turning point where the season makes its move from summer to winter and with that, I am forced to pack up all of my camping gear and put it down for winter hibernation. The first few years I got into the outdoors I invested a lot of money into my gear but didn’t know how to store my gear properly and then the following late spring as the alpine began to thaw I questioned why my tent was no longer waterproof (and had a very poignant smell as I pulled it out of its stuff sack for the first time) and why my sleeping bags no longer kept me as warm as they once did - as they promised to. So I dug deep into the internet and jumped down a rabbit hole or two and compiled my own end of season gear storage checklist. And as time went on my system grew more elaborate and my gear corner turned into a full walk-in gear closet. If you are getting ready to say goodbye to your gear for the season, or looking for a few tips and tricks to help you keep your gear organized (and build out a system) for quick access year round - I think I might be able to help.
Step 1: Sort
Start with a clean slate - pull everything out of storage (a great time to clean your gear closet/garage/basement/corner). Divide your gear into categorical piles. Put camp kitchenware together, water filtration and storage together, the ten essentials together, etc. This will help you see exactly how much of each type of gear you have and will help you navigate the types of storage you need.

Step 2: Discard
Sort through each pile of like items, setting aside anything you no longer want or need. From clothing that no longer fits to gear duplicates (from that time you forgot your sleep pad on a camping adventure and needed an emergency backup) to hobbies that you picked up but that didn’t quite stick. No judgement here - just remember you need to store everything you keep.
If the equipment is still useful, gift it to a friend, donate it or (if it’s valuable) sell it secondhand. A great place to do this is with the new REI Member Trade-in program where REI Co-op members can trade in gently used gear for REI gift cards. You don’t need to be near an REI store for this - you search your items, fill out a form and REI sends you a shipping label to send them in. Click here for more information and some FAQ about the program.
If it’s broken, determine whether you can repair it or have it repaired.
If it’s really beyond help, make sure to recycle it properly.
Step 3: Assess
Now that you have paired down and parted with gear that no longer serves you time to take the next step. Take an inventory of what you have and what you are missing for the upcoming season. Having this list handy allows you time to research what you actually want/need, watch out for these items to go on sale (I will always let you know my go-to REI pieces when they go on sale) and peruse the REI Good & Used section of their website for consigned pieces that may be looking for a home just like yours. Reusing and re-homing gear is the most sustainable option.
If you’re looking for a few lists of gear, check out the gear section of my website for a variety of activities and checklist resources.

Step 4: make a plan
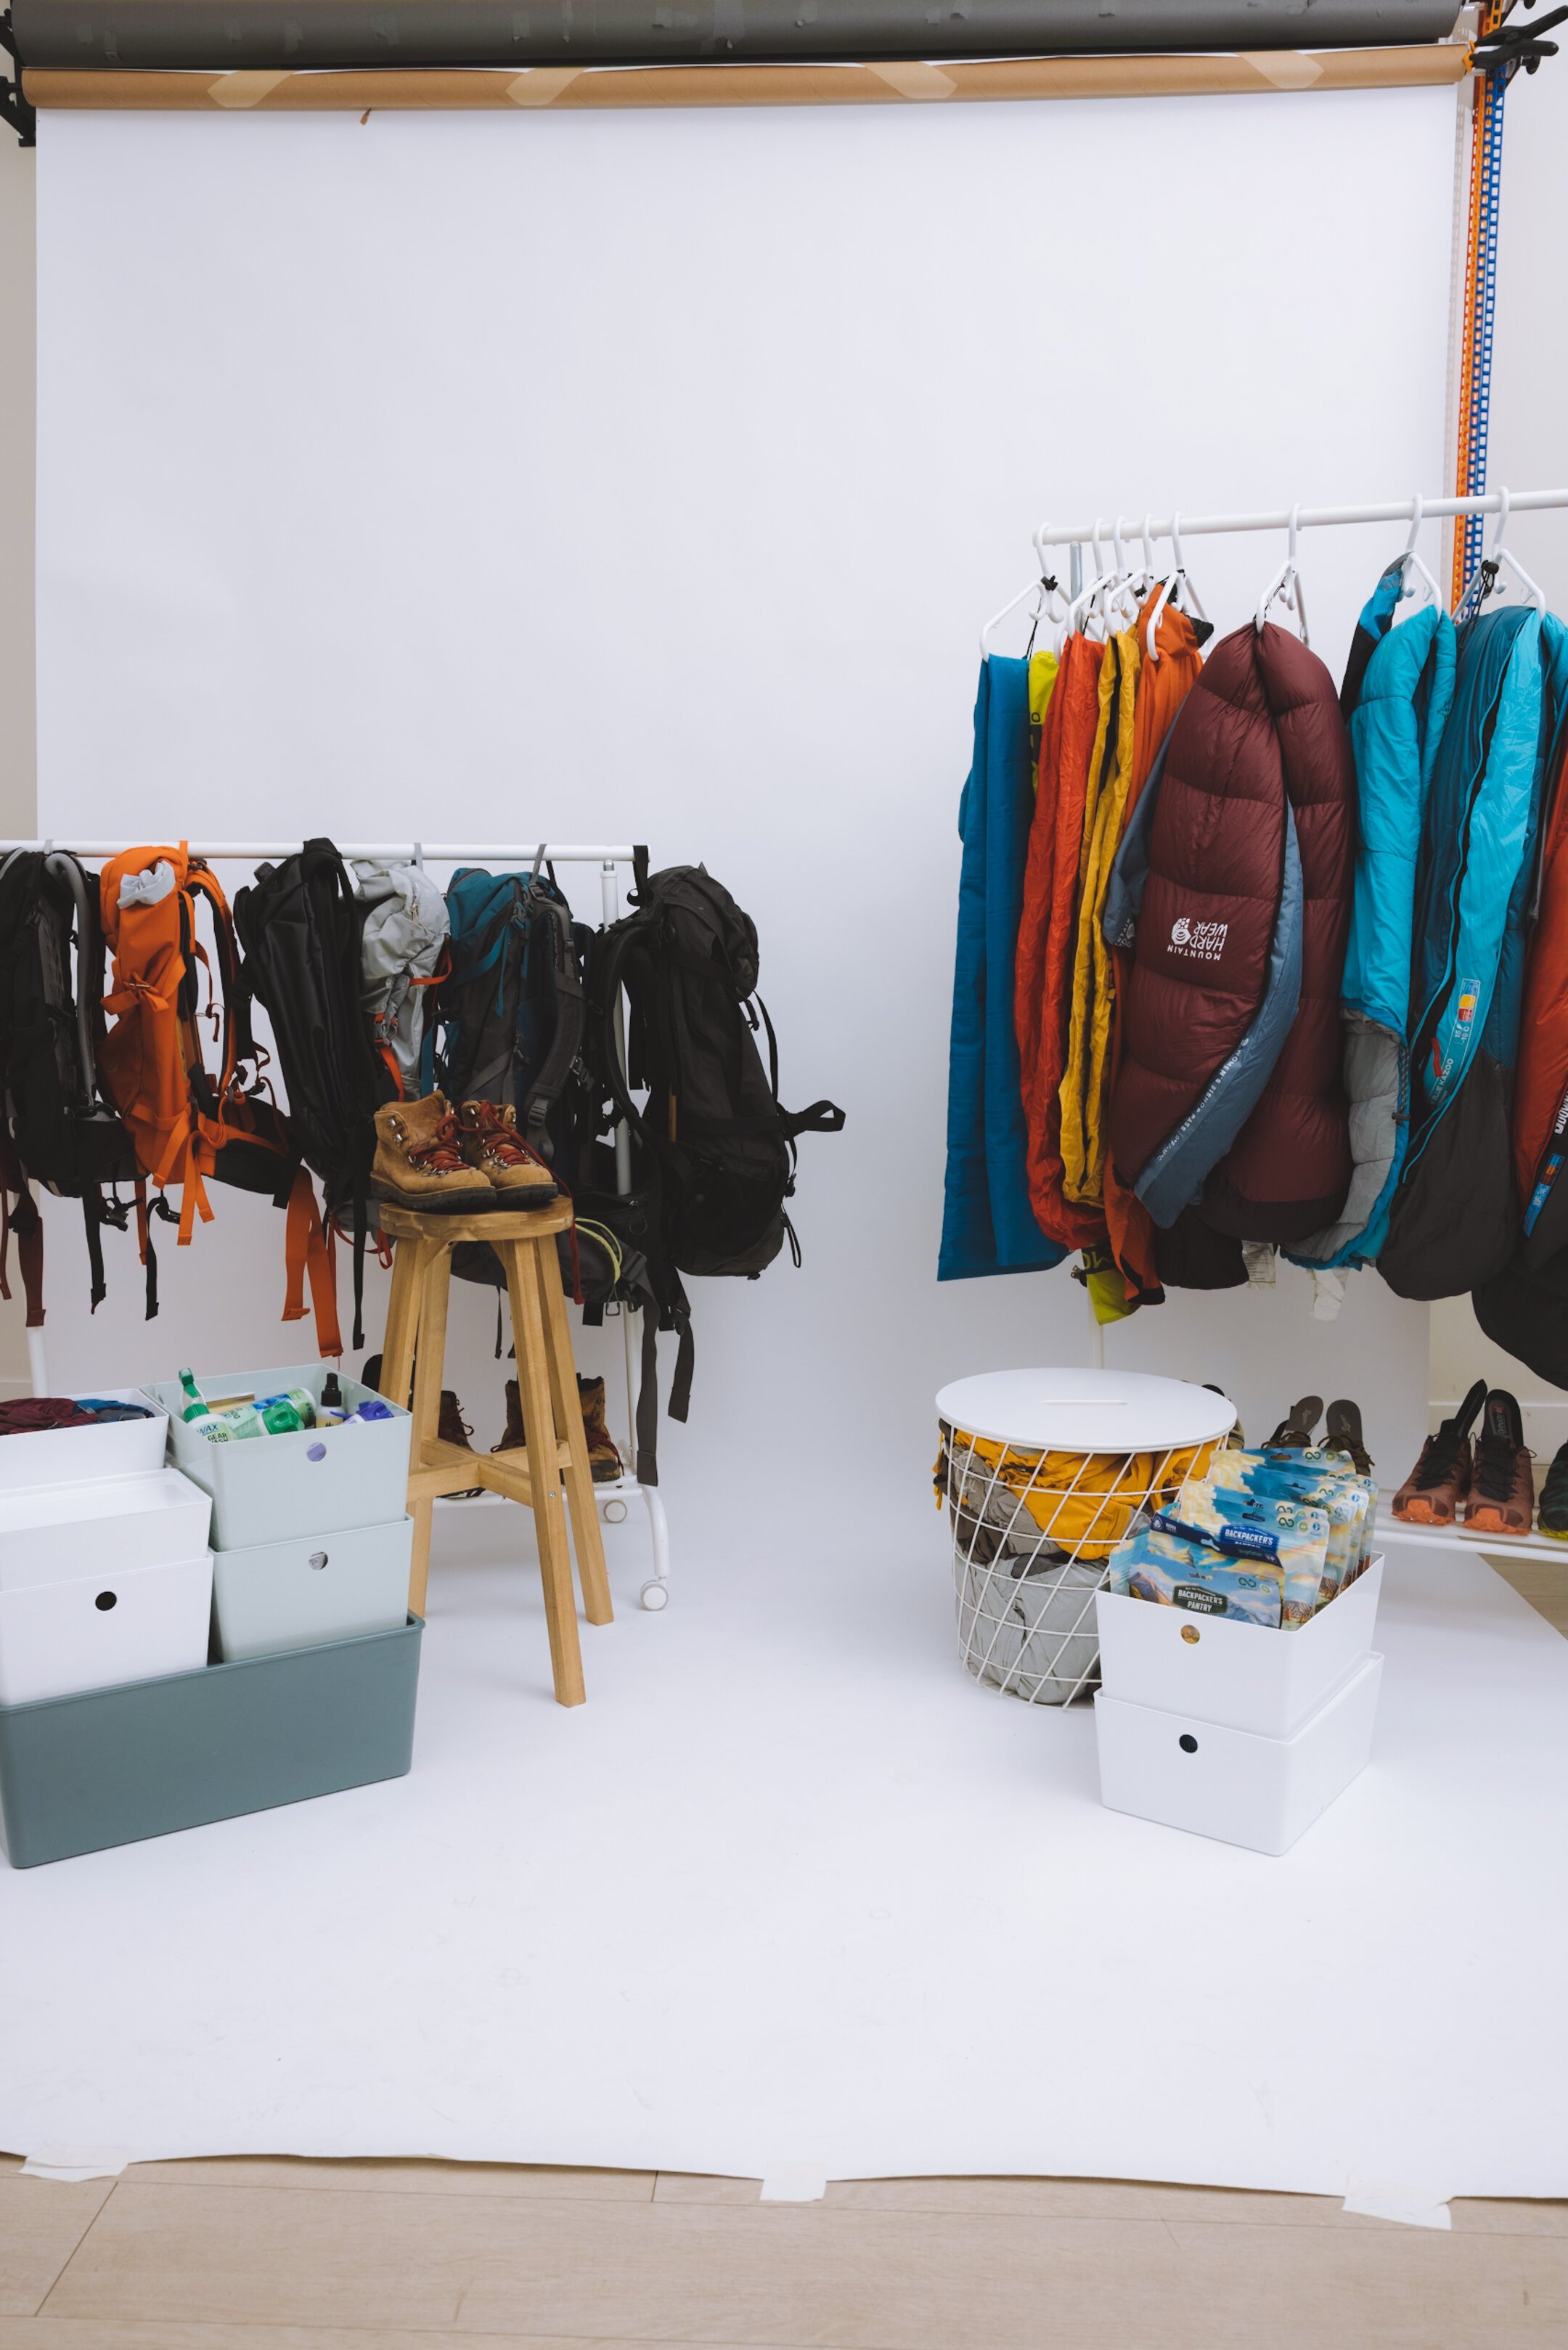
How much space do you need (and what you have): How much space do you have to work with - does it need to be split up? I store my current season large items in my in-building storage unit. My off-season larger bulky items find a home in my parents’ garage (thanks mom and dad!) and my bedroom walk-in closet has long since been converted into my gear storage for smaller items I use often.Note: Moisture and temperature extremes are hard on some gear, so for items such as clothing, tents and sleeping bags, avoid damp basements and unheated (and uncooled) spaces like garages and attics. Ideally, find a dedicated space in a closet or under your bed instead.
What are your storage options: Your gear will navigate this question (thanks to your mental notes from sep one). A pegboard is great for hanging things such as climbing gear. Bins are ideal for smaller items that may get lost/misplaced easily or - Do drawers make sense? What about a closet? The best storage is what you already have.
Label anything that isn’t visible: I use opaque bins and got a lot of use out of my label maker. This way when they re up on the top shelf of my closet I know which one has my water filtration in it and which one is camp stoves. It makes it easier to find what I am looking for when I am in a rush and makes my post-backpacking organization a breeze. I also made a small inventory checklist to go on the outside of each bin. This way I know what should go in there and if anything breaks or goes missing I can find or replace it before I need it again.
Step 5: before you put it away - clean and dry your gear

Step 6: store your gear properly
The most important thing for long term gear storage is to ensure it is cleaned and completely dried before putting it away for long periods of time. For me, things like clothing and jackets are worn year round and their storage is more intuitive. But for gear like tents, sleeping bags, sleeping mats, backpacks and footwear - the storage is a little bit more nuanced so I outlined a few best practices to protect these investments. As with all of your gear, it is important to find a dry, cool spot in your home to store these pieces like a gear closet, under your bed or in your garage. This means avoiding damp or hot locations like a basement, attic or car trunk.

Tents
After cleaning and year end maintenance (for a full guide click here) make sure your tent is completely dry and follow these three steps for ideal long term storage.
Keep it loose: Pull it out of it’s stuff sack - we want tent fabrics to relax and breathe. I use a basket but an old pillowcase or large mesh bag will work well.
Reduce tension: For tent poles, break the poles down by starting in the middle and working toward the ends. Collapsing poles down like this evenly distributes tension along the cord. Ideally you would store your tent poled partially or fully assembled - but very few people have the space for that.
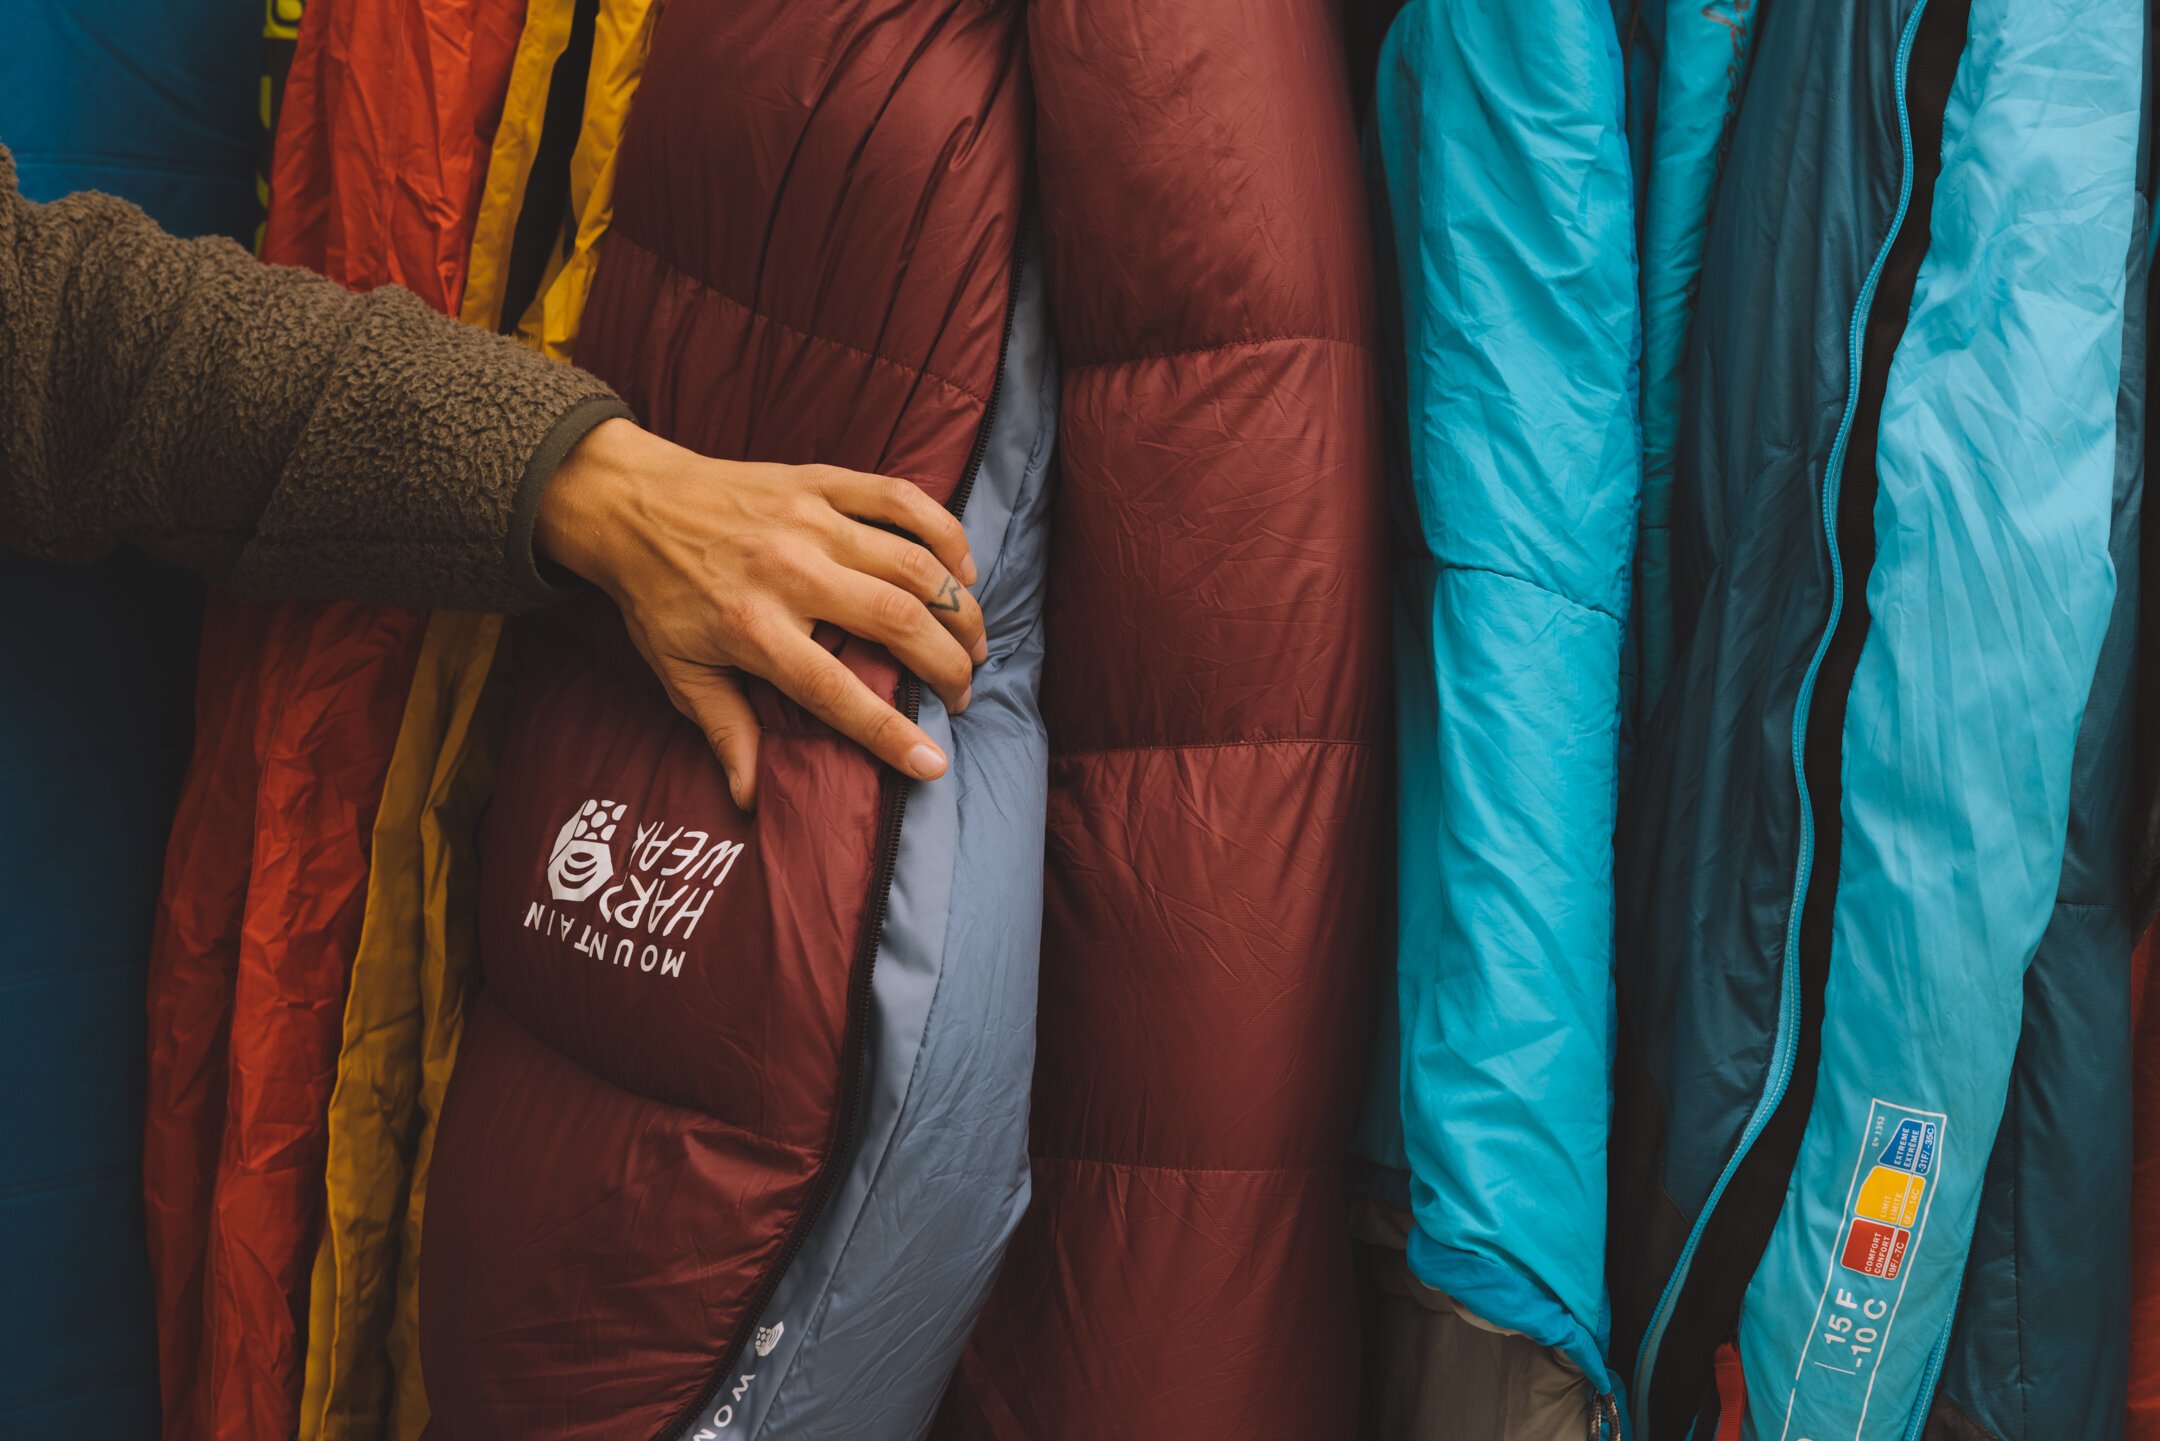
Sleeping Bags
There are two recommended storage options for your sleeping bag.
Place them inside giant, breathable sacks
This method requires quite a bit of space in your gear closet. But if you have excess space - the best storage sack is the jumbo storage bag that most bags are sold with (if your bag is older, or has been lost along the way you can purchase replacements here or a king-size pillow case will work in a pinch). These bags keeps things contained without compressing the fill, and also allow ample air circulation.
Hang them
Most sleeping bags have small loops located either at the toe end or mid way - these are for hanging your bags vertically. I opt to use hangers given the space I have. I will loop the compression bags as well as the larger mesh bags with the bags on each respective hanger which helps me when I am running behind.
Sleeping Mats
How to dry your pad :
Exterior: If you come home from a rainy trip and didn’t have time to let your gear dry. Simply inflate your pad and let it air dry. Do this inside or in a shaded area as UV rays will, over time, degrade the material.
Interior: Moisture that accumulates inside your met can lead to unwanted mold growth on the inside. Every so often use a source other than your lungs(such as a hair dryer on cold) and partially inflate and deflate your sleeping pas a few times to dry out the inside. I try to remember this after every few trips - especially if I can see internal condensation.
How to store your pad at home:
Self-inflating foam pad: Leave it semi-inflated with the valve open. This is ideal for both the foam’s long-term resiliency and for air circulation inside the pad.
Air pad: Hang it in a closet with the valve open. And when you’re on the trail avoid creasing it along the same lines every time to reduce wear.
Camp Pillow
Similar to seeing mats store your camp pillows out of their compression sacks - flat or loosely rolled up with the valve open. Any trapped moisture (from condensation) can weaken the bladder and also lead to mold and mildew in your pillow.
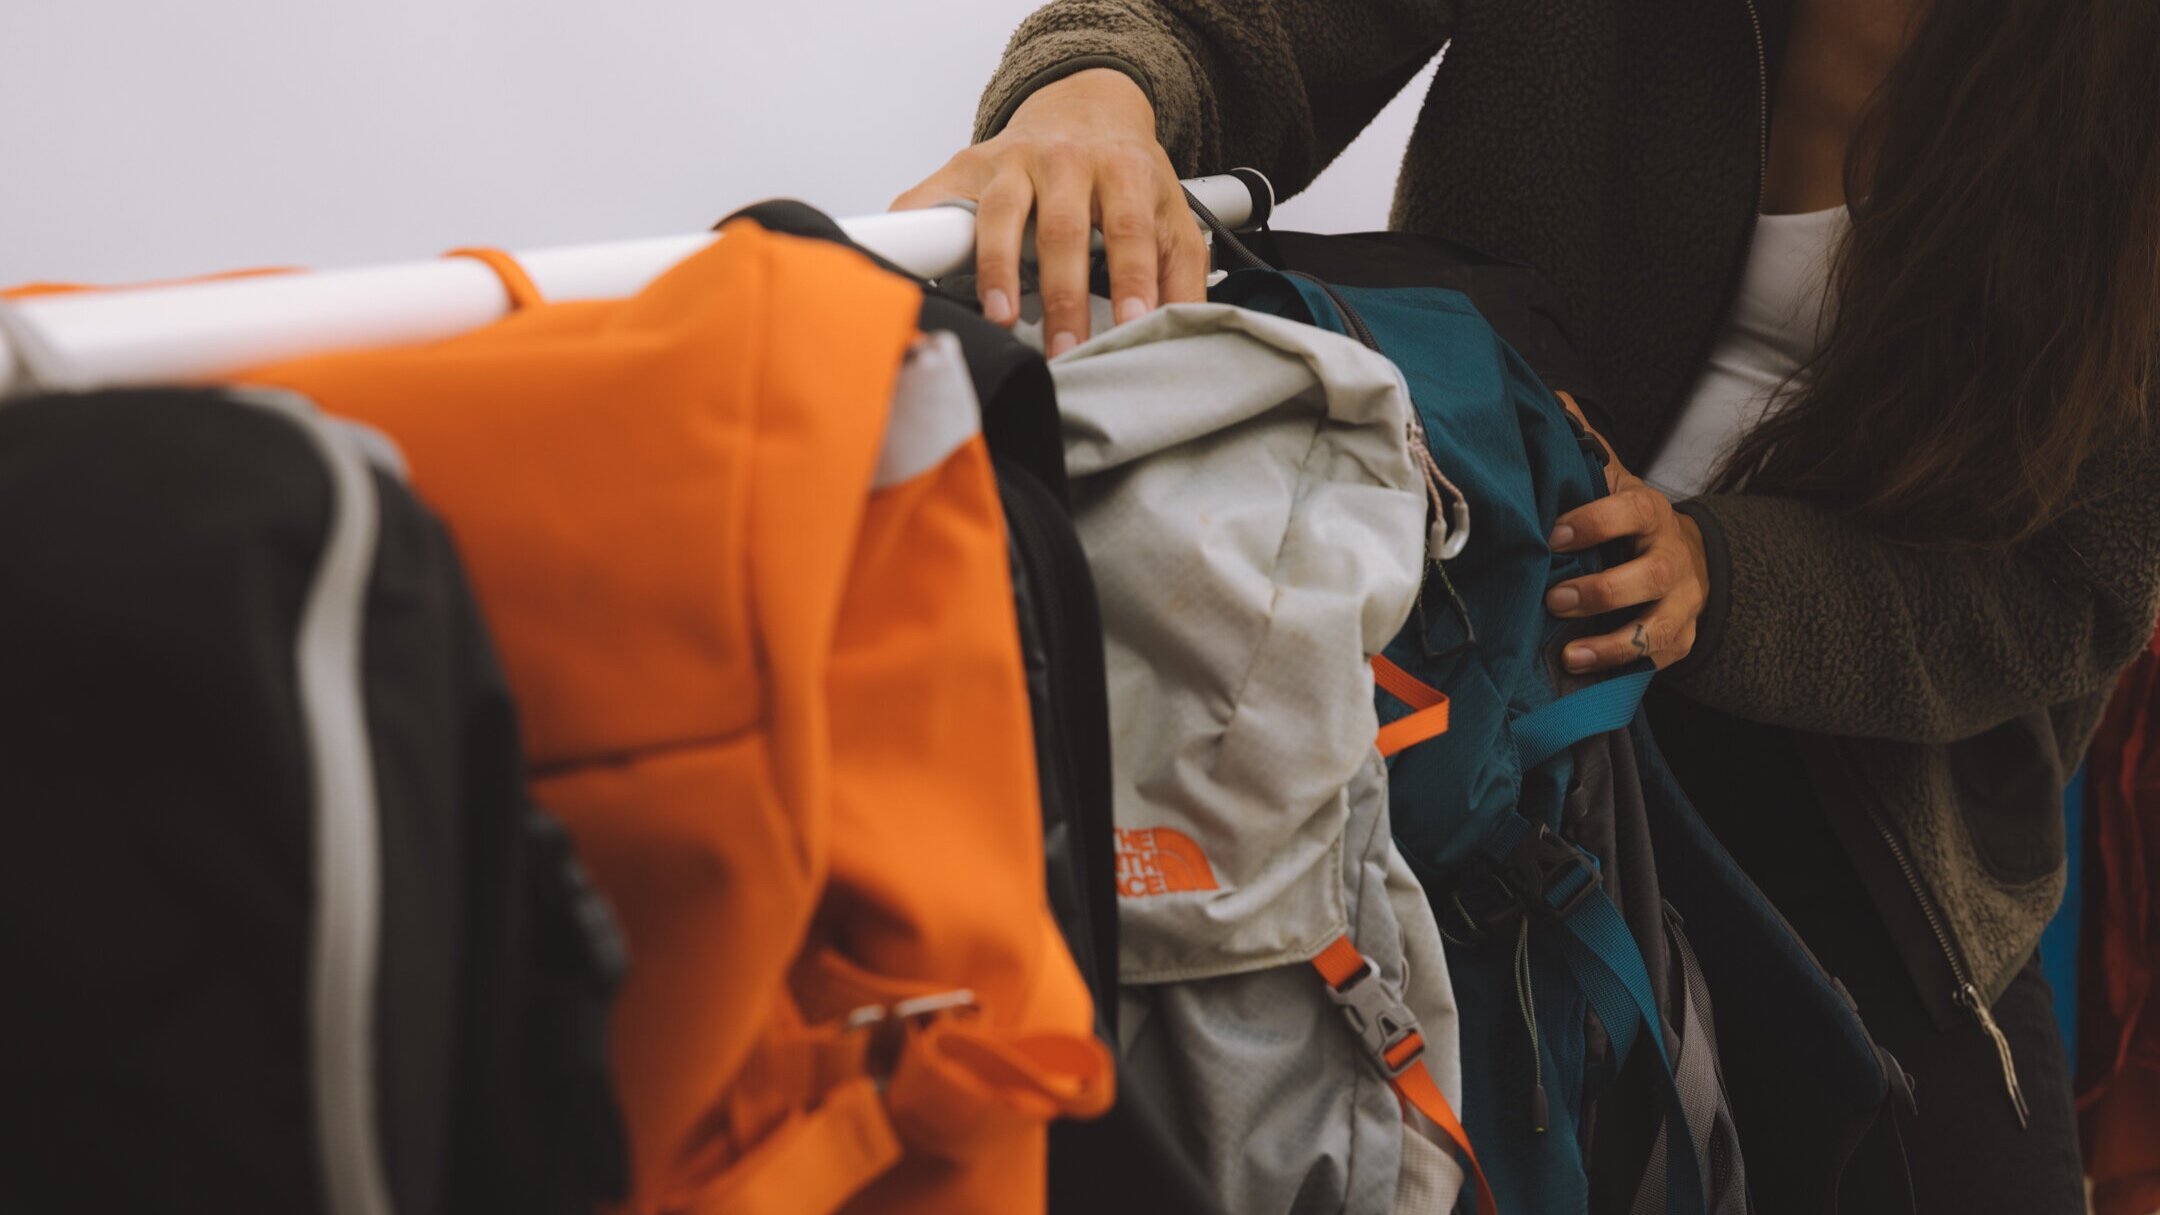
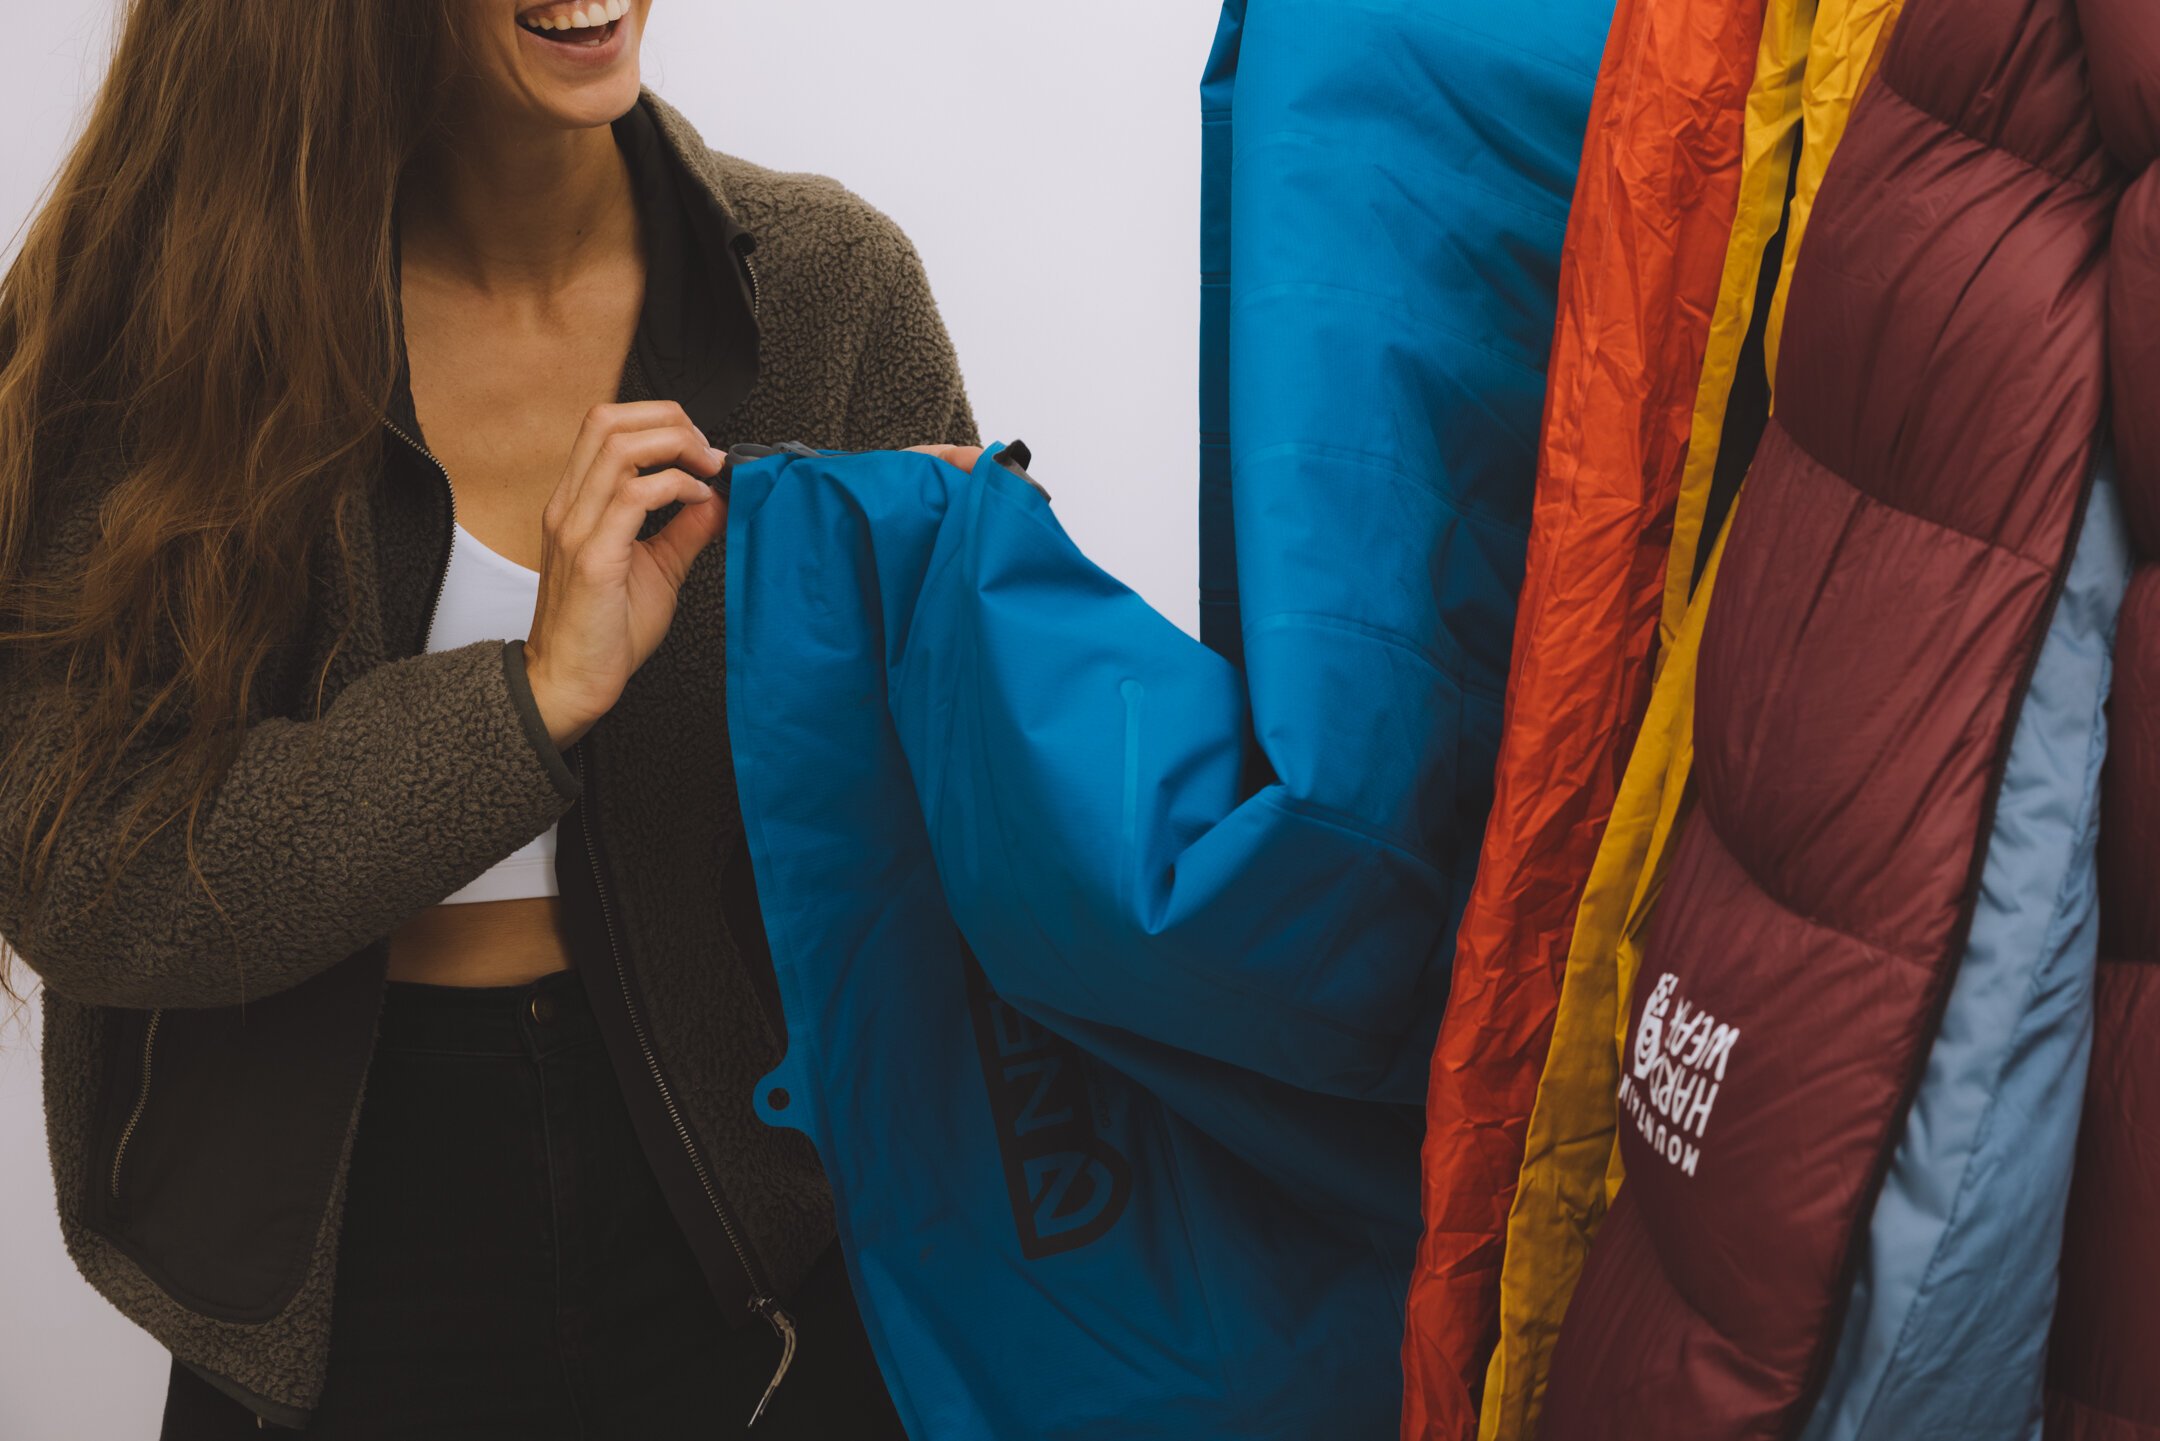
Backpacks
Remove everything from the pack and give it all once over.
Wash in your bathtub with a biodegradable, non-scented detergent. Do not scrub. Take your time, let it soak and knead gently to allow the sweat dirt and grime to dislodge. You may need to repeat this several times until the water is clear.
Rinse thoroughly.
Hang to dry - I keep it hung in my shower/bathtub until it is mostly dry and then move it to my patio. It must be completely dry before storing it.
Hang in your closet from hooks or stack horizontally or vertically in your closet or under your bed. Some people store in sealed bins or garbage bags. I don’t personally endorse this because I feel they need ventilation.
Boots and shoes
Before storing your boots ensure they are cleaned and completely dry:
Remove insoles and leave boots out to dry at a normal temperature, away from direct sunlight.
Do not use a heat source (fireplace, campfire, wood stove, radiator, heater, etc.). But you can use a fan or a hairdryer on no-heat setting.
If you would like to speed up the process - stuff newspaper into the boots to speed drying; change the paper whenever it becomes damp.
Once they are completely dry, store your boots, like with all of your other gear, where humidity is low and temperatures remain stable. I like to leave my insoles out of my boots (I stick them vertically in the shaft of my boots to remember what goes together). If they are completely dry you can store them in a large rubber bin.
*Please note that some of the links above are affiliate links, and I may earn a small commission on any purchase made - at no additional cost to you. As always, all ideas and opinions expressed in this post are entirely my own. Thank you for your support!


