
Beginners Guide to Packing a Backpack
Written in partnership with REI
My very first backcountry camping trip was to the bottom of the Grand Canyon and one of my favourite memories from that trip happened before it even started. The night before we set out, on the floor of a hotel lobby in Flagstaff, AZ with the guides we hired going piece by piece through our gear - them laughing and veto’ing my third pair of clean clothes, the hardcover novel my mother packed and the plethora of full sized toiletries we thought that we needed for the trail. It was in that lobby that I came to the realization that I was in over my head. But they held our hands and showed us step by step how to intricately fit our gear into the bags that we would be slinging on our backs for the subsequent four days on the trail. That not only what we brought matters but how we jenga’d it all together would make or break our trip.
And although every backcountry camping trip is different and therefore requires packing different items, I wrote this as I packed for a recent one night trip out into the Superstition Wilderness just outside of Phoenix, Arizona. The items listed are those that I brought with me with a small asterisk(*) denoting things that I did not need for this trip, including a bear canister, but included them for the sake of where it would fit into my bag, if needed. For my full summer backcountry camping packing list(made for a two night/three day trip into the Canadian Rockies) click here. I also would like to note that am writing this as though I am camping alone and therefore carrying all shared items (tent, cooking gear, first aid kit, bathroom supplies, bear canister, water purification, sunscreen, bug spray, inReach etc) - if camping with someone else these items would be split between our backpacks.
As a general rule of thumb, for a 1-2 night trip I will use a 50-60L backpack (on the lager size for colder trips, rain or any inclement weather when you require more gear or warmer (less packable) items or when going out solo) for anything longer I will use a 65-75L backpack. Generally speaking, past two nights you are only adding additional food and not gear or layers so the size of the backpack increases only slightly. The size of your bag will also depend on the gear that you have - if you have small, lightweight (typically more expensive) pieces you will be able to use a smaller bag (or bring more treats) - if you choose comfort and have a larger sleeping bag or thicker sleeping mat, need to double up your mat or are using gear that is less packable, you will want or need a larger bag or opt to tie items on the outside of your pack. There is a note about hat at the bottom of this blog.
The backpack that I used for this trip is the REI Co-op Traverse 60 Pack (Women’s Version). I am 5ft9 and my waist (belly button): 27”, iliac crest: 31.25", length C7- iliac crest: 18.5” and use a size medium.
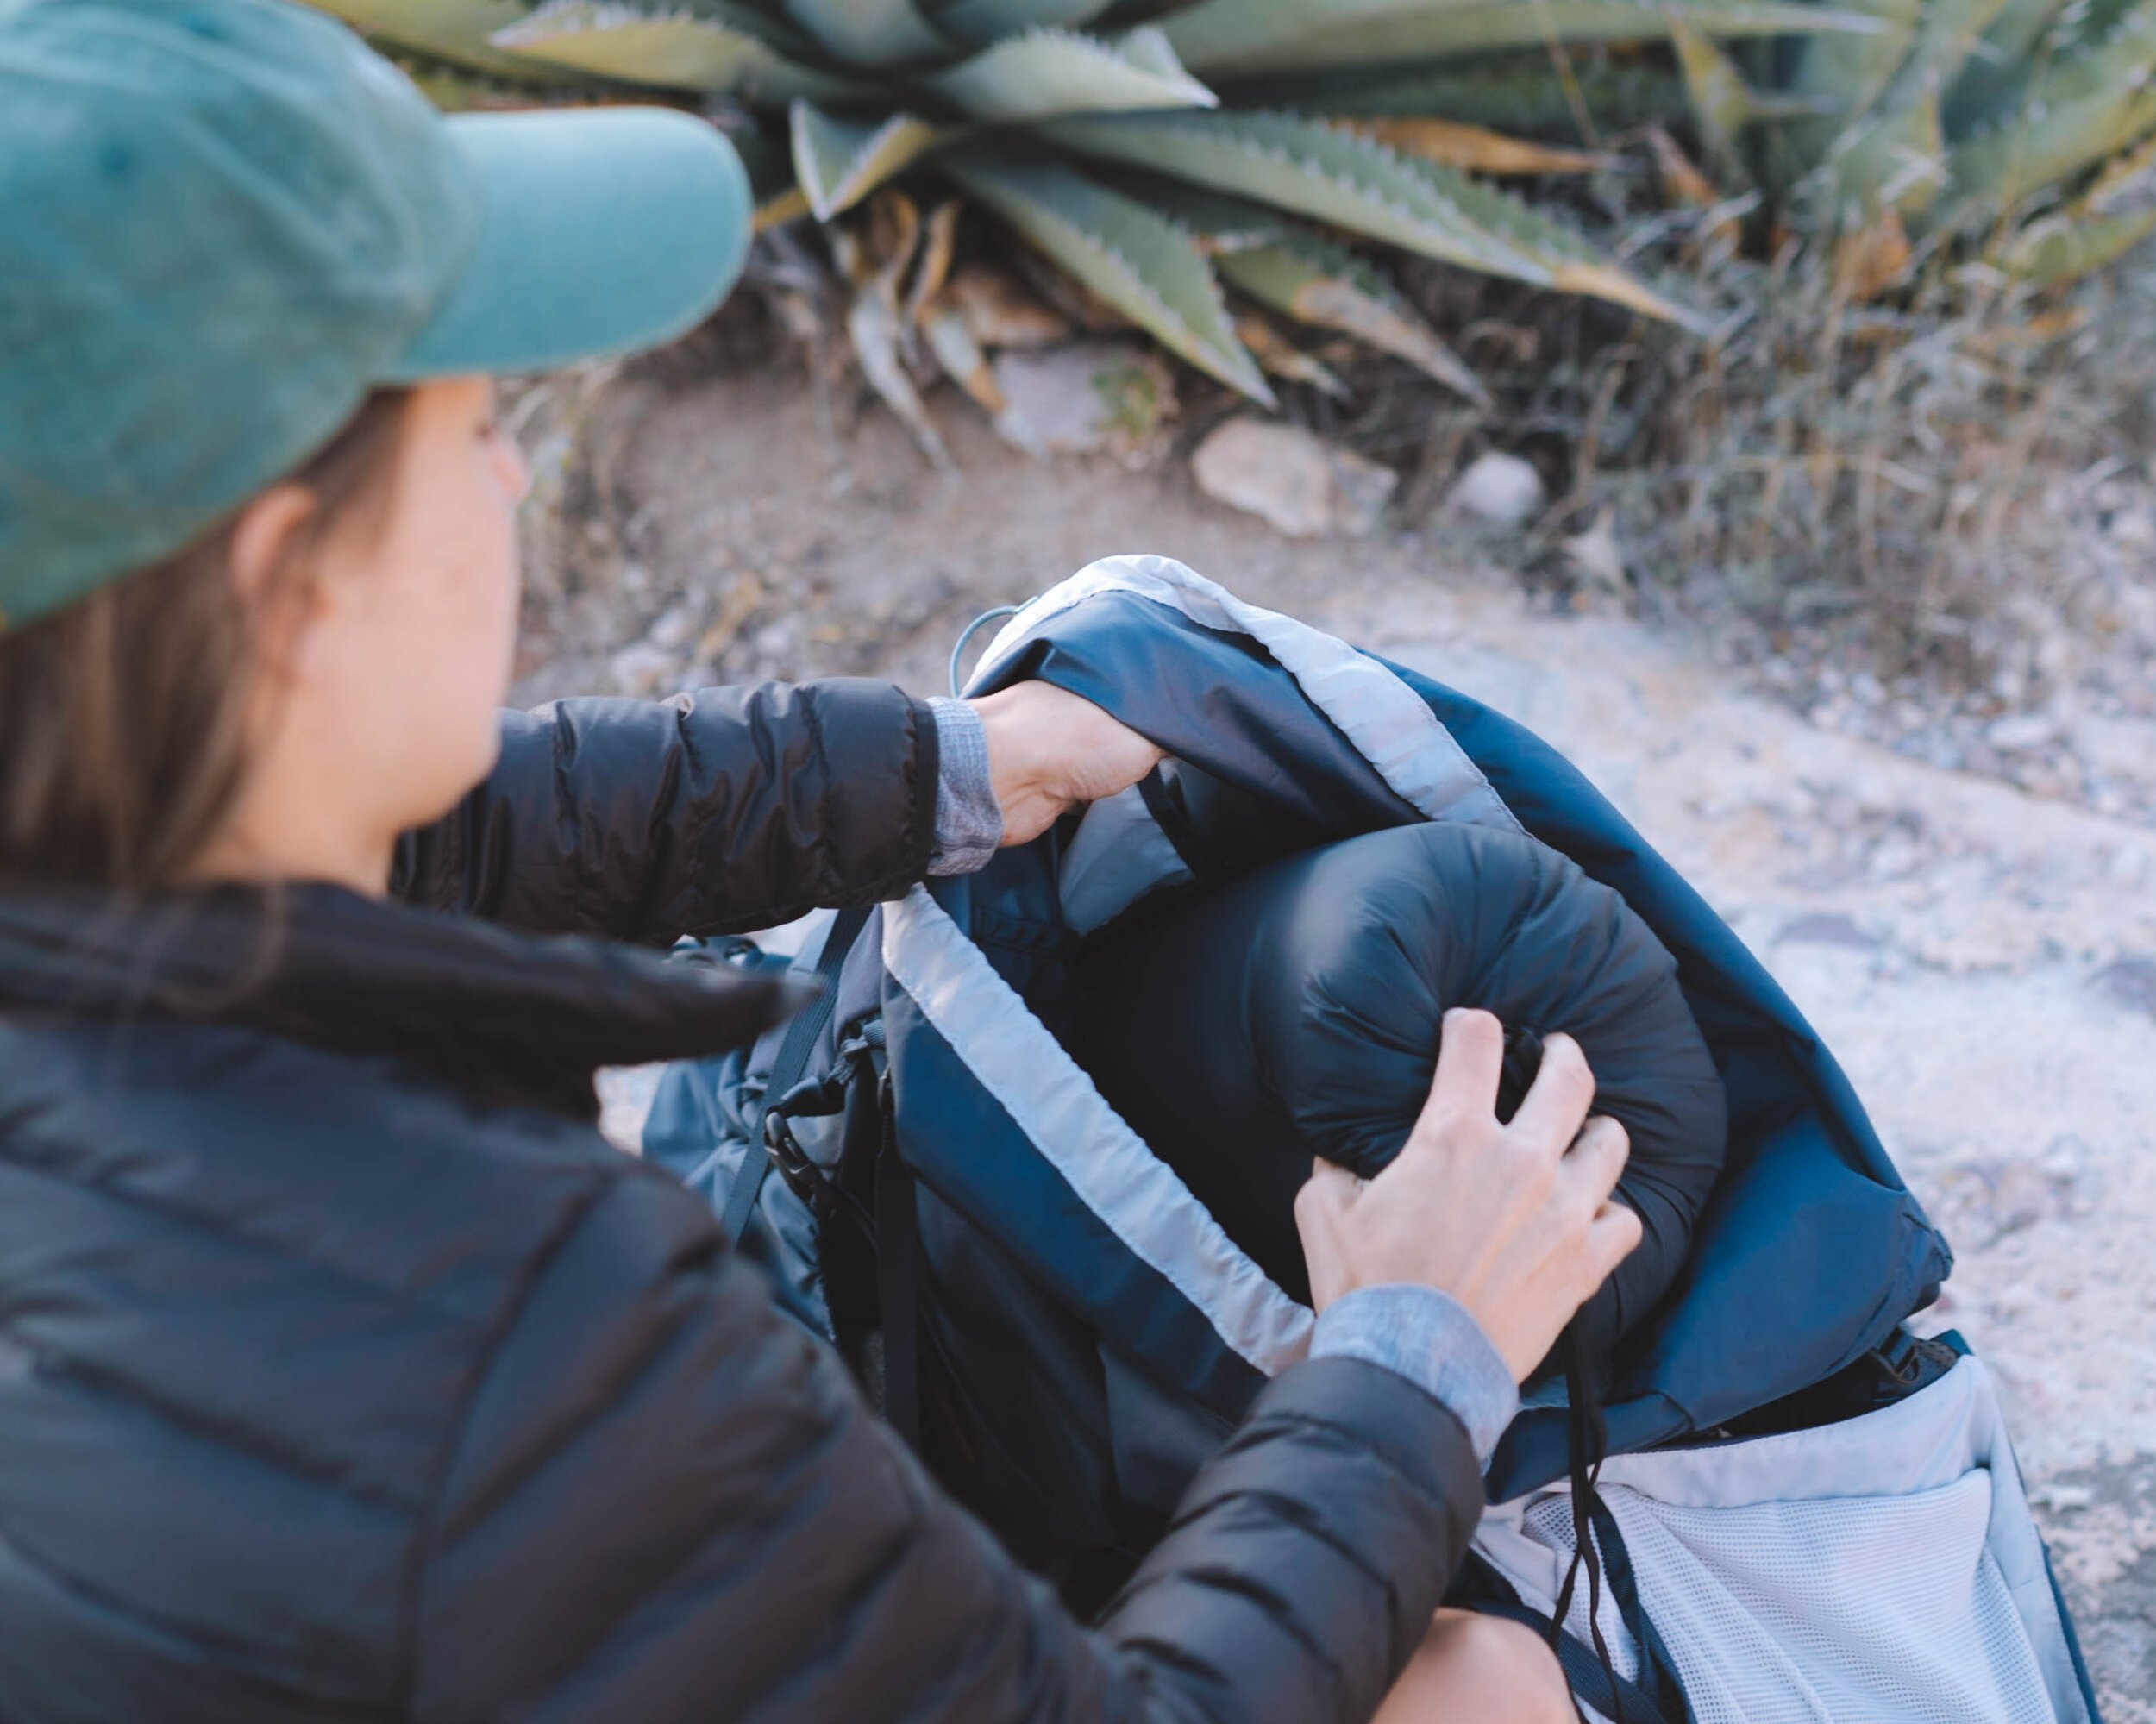
1. Bottom-of-Pack Items
Bulky items you won’t need before making camp include:
Sleeping bag - some backpacks have separate compartments for this and/or bottom access zippers.
Sleep bottoms/sleep top/sleep cap (sometimes I will stuff these into my sleeping bag compression sac)
Packing this kind of soft, squishy gear at the bottom also creates a kind of internal shock-absorption system for your back and your pack.

2. Core-of-Pack Items
Heavy, dense gear you won't need to access during your hike, you want the heaviest closest to your mid back and shoulders to balance your centre of gravity. If your pack is bottom heavy it will feel as though it is dragging you down. If your pack is top heavy it will feel unbalanced and a little bit tippy. If your have things are far away from your body it will pull you backward.
Food
Water reservoir (this should have its own pocket right against your back - this should be the first thing to go into your pack after your sleeping bag)
Bear canister (fill this with all of your attractants - food, toiletries and other items you will not keep in your tent over night, try to stuff it as full as possible)*
Fill all of the gaps here with extra clothing, this will also help you get the heaviest items (for me, generally my bear canister) high enough in my pack to rest tight against my shoulder blades.
Carrying liquid fuel? Make sure your fuel-bottle cap is tight. Pack the bottle upright and place it below (separated from) your food in case of a spill.

3. top-of-pack items
These are the items you don’t necessarily anticipate needing but are good to have accessible. Also anything you would want before setting up camp, like a lunch or dinner depending on when you plan to stop for the day.
Extra clothes, down jacket, layers that didn’t get used to gap fill the middle of my pack (I will normally layer down riiiiight before packing my bag ^ so that I am warm packing but cool hiking out)
Extra camera gear*
Some people also like to stash their tent at the top of the pack for fast access if stormy weather moves in before they've set up camp - I store my tent vertically down the side of my bag, so I can easily pull it straight out.

4. in your brain (top lid compartment)
These are the things you want easily accessible.
Trail snacks
Sunscreen
Rain cover if my bag does not have its own pocket for this*
Interior pocket of my brain:
Keys (there is a small clip to secure)
ID
Credit card and trail cash

5. Accessory Pockets
This depends on the backpack. Mine have hip belt pockets (this is mandatory for me), side pockets and a large front pocket and this is what goes in each of those:
Hip belt:
Lip chap
Cell phone
Snacks
Side pockets:
Nalgene with electrolytes
Water sandals (if there are river crossings)

6. Tool Loops and Lash-On Points, strap clips
Some of the most common gear to strap on the outside of your pack includes:
Wet sandals/clothing*
Tent if it will not fit inside of my backpack*
Trekking poles (if that is your jam)*
Ice axe and Crampons (I keep my crampons in a crampon safe bag in my large front pocket)*
Strap clips
Secure my water line
Peak Design Camera clip*
However, because this gear can snag on branches or scrape against rocks, you should minimize how many items you carry on the outside of your pack.

*Please note that some of the links above are affiliate links, and I may earn a small commission on any purchase made - at no additional cost to you. As always, all ideas and opinions expressed in this post are entirely my own. Thank you for your support!


