
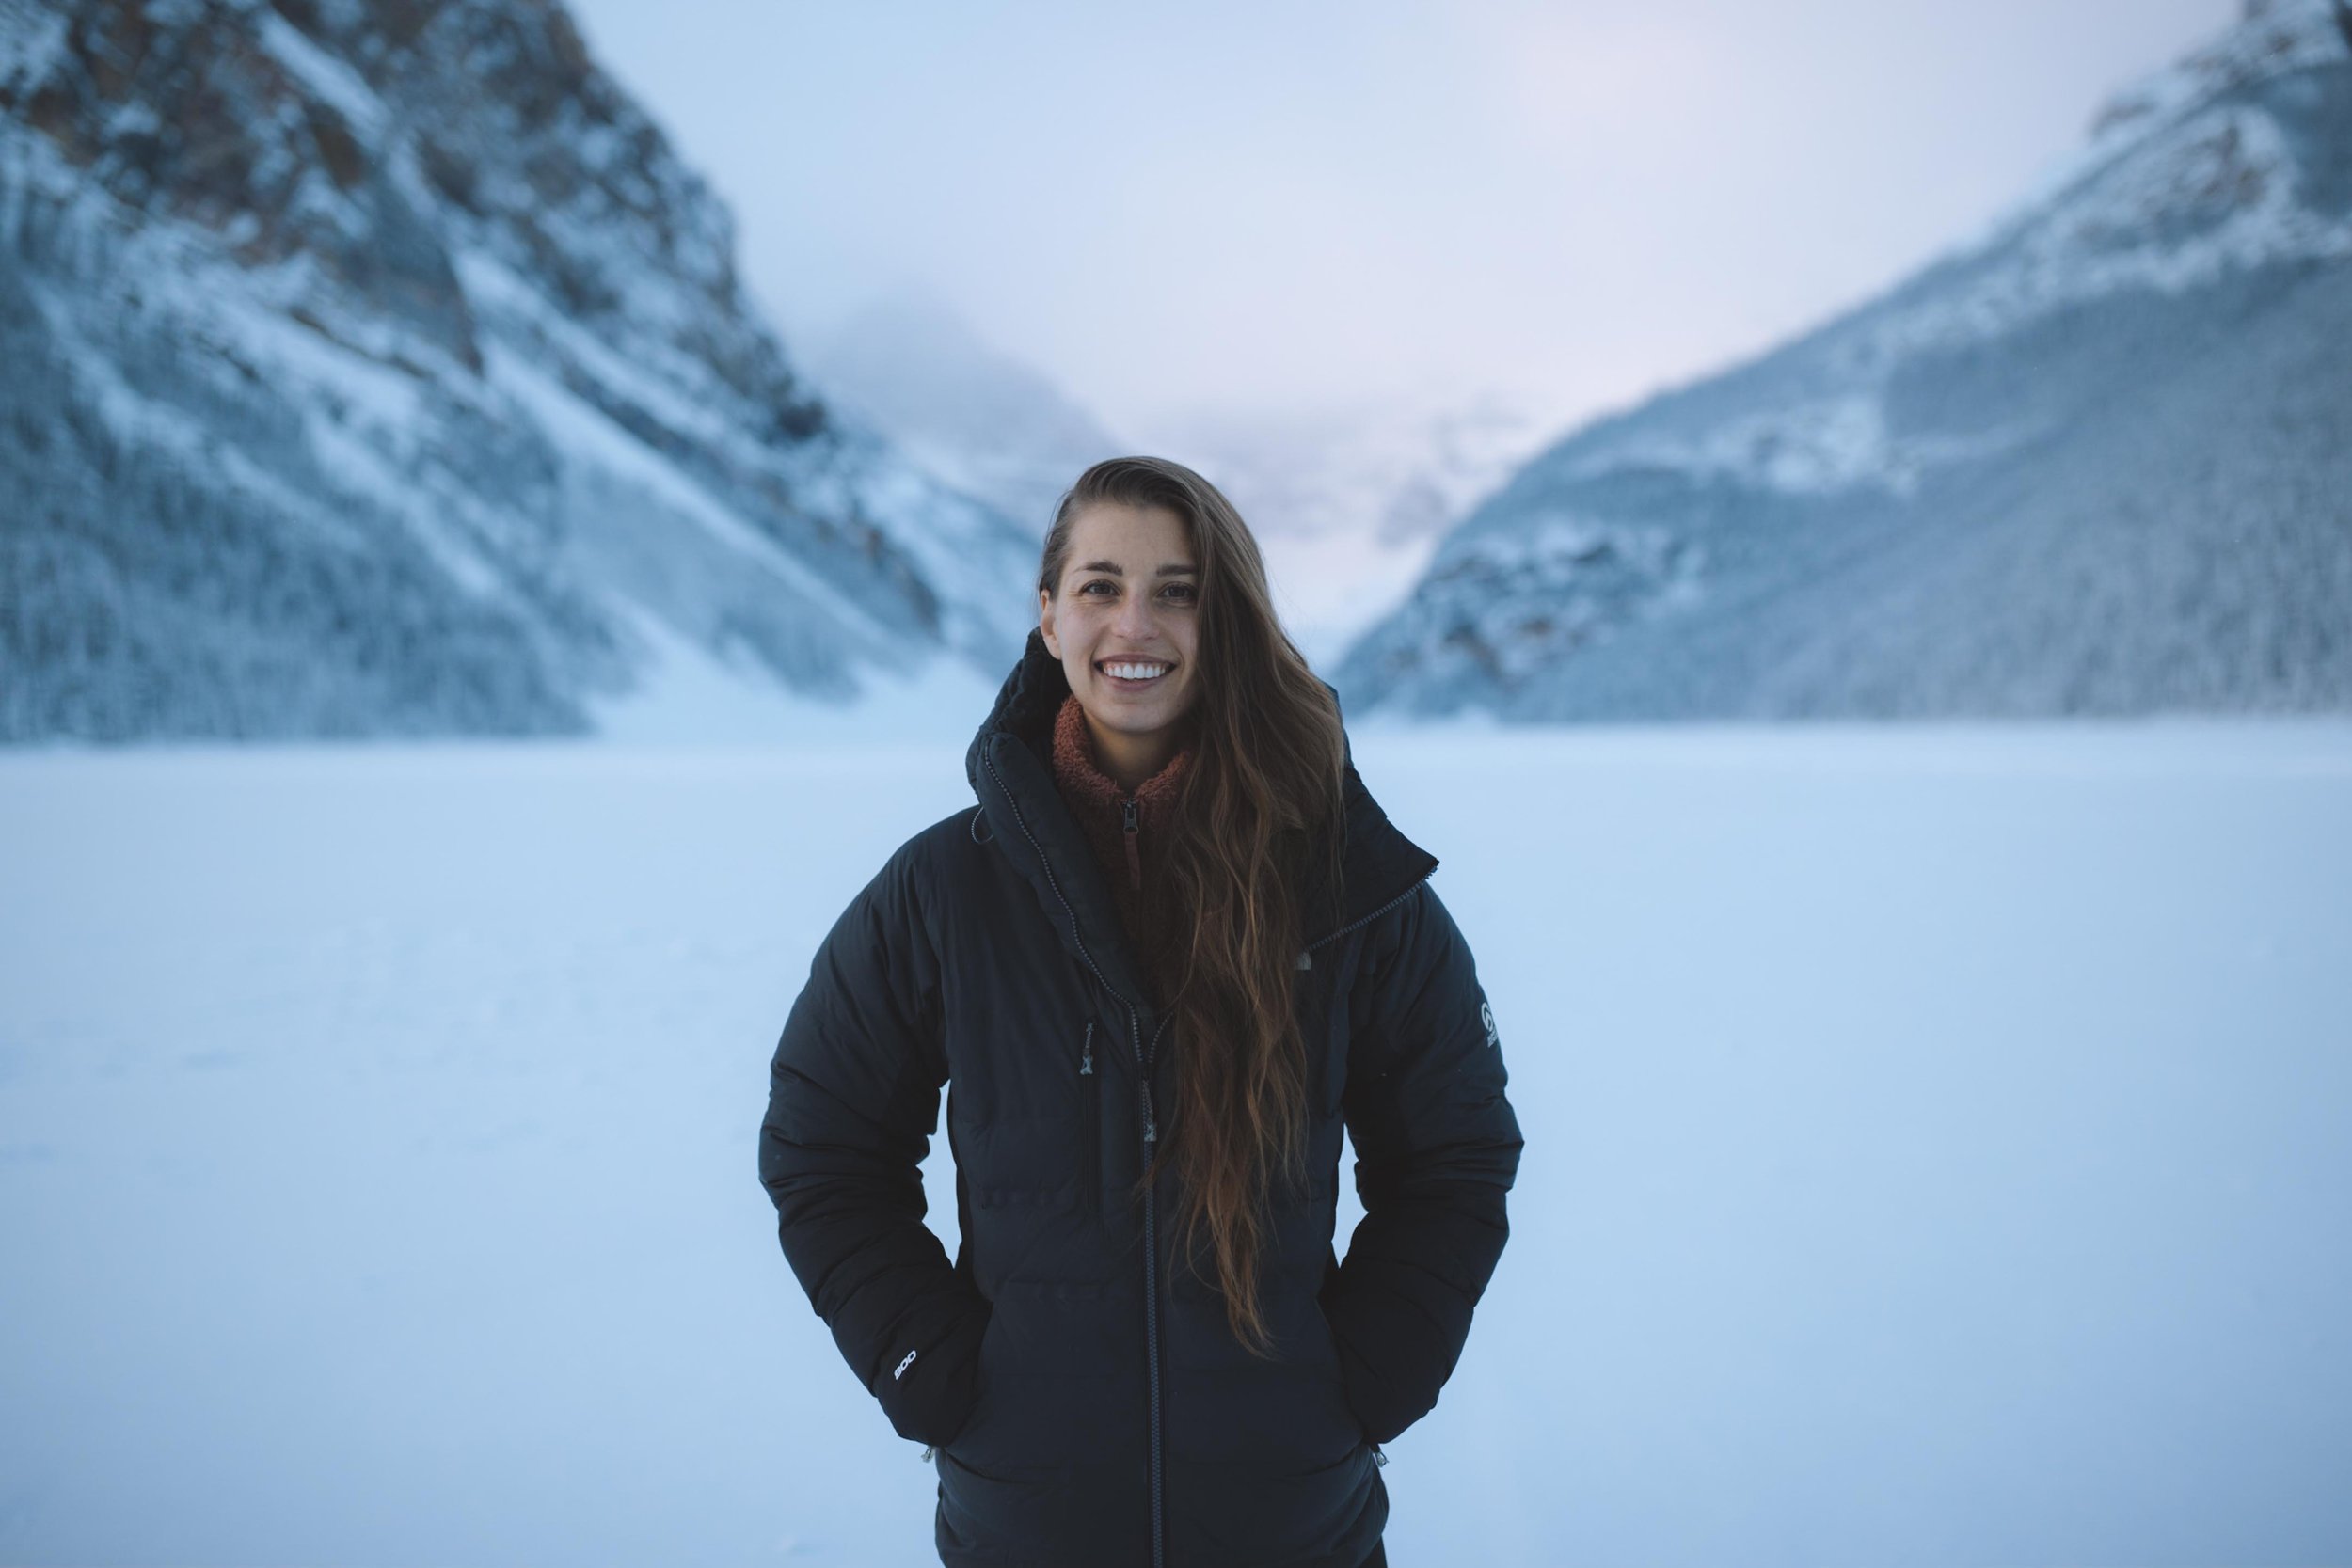
Beginners Guide to Layering for Winter Hiking

Growing up in the Canadian Rockies where temperatures often reach as low as -50°C (-58°F - but at temperatures that low… cold is just cold) and stick well below freezing for a good portion year - learning how to layer properly and keep warm in even the harshest of conditions was pivotal for surviving and recreating. And as much as I hate to admit it - there truly is something magical about getting outside and playing in the snow. And with just a few extra layers, and preparation, it does not need to leave you frozen to the core.
Cold weather recreating simply comes down to proper layering. There are three basic layers you will want to ensure you have on every outing (even if you don’t think you will need them):
Base layer (closest to the skin after your underwear): made to wick sweat, typically merino or synthetic (never cotton)
Mid layer (insulating layer): retains your body heat and insulates you from the cold
Outer layer (shell layer): wind and weather protection.
Your aim is to stay warm… but not to sweat. Unlike warm weather hiking where sweat will simply evaporate, in the cold it will freeze leaving you much colder. In the beginning this can be a little hard to navigate and constantly stopping to layer up and down will feel tedious but I promise it will get easier with practise and be so so worth it!
clothing

base layer
The biggest decision with your base layers will be if you want to go with a merino (natural fibre and generally more popular) or synthetic set. Both will provide a low level of insulation from the elements but more importantly will wick sweat away from your body keeping you as dry as possible. I have quite sensitive skin and find that some merino will often cause me irritation so I typically stick to synthetic layers but recently have found some high quality (short fibre) merino base layers that work for me.
base layer tops
Smartwool Classic All-Season Merino Quarter-Zip Base Layer Top (merino)
Arc’teryx Rho LT Zip-Neck Base Layer Top (synthetic)
Smartwool Classic All-Season Merino Base Layer Long-Sleeve Top (merino)
REI Co-op Merino 185 Long-Sleeve Base Layer Top (merino)
REI Co-op Midweight Long-Sleeve Base Layer Top (synthetic)
lululemon Swiftly Tech Long Sleeve Shirt 2.0 (synthetic)
base layer bottoms
Arc'teryx Rho Heavyweight Base Layer Bottoms (synthetic)
REI Co-op Midweight Base Layer Tights (synthetic)
lululemon Keep the Heat Thermal High-Rise Tight (synthetic)
REI Co-op Merino 185 Base Layer Bottoms (merino)
Smartwool Classic Thermal Merino Base Layer Bottoms (merino)

mid layer
This one is all about keeping you warm and trapping as much of your body heat in as possible. Which of the layers you choose (below) will be dictated by personal preference and a little bit of style. I don’t personally wear a lot of vests because my core runs really hot. But know people who swear by them - so I attached a few that I own on this list. As for the fleece sweater vs down/synthetic jacket - I honestly will generally bring both and worst case scenario one stays in my backpack all day but more likely is that when I stop for a snack or to make coffee (or to take photos) I will want as many layers as I possibly can get! As for bottoms, this is were experience comes into play. If it is not too cold out I will typically grab a pair of thermal/insulated tights, skip the mid later pant and have a pair of rain/snow shell pants in my bag. If I am going to snowshoeing/hiking in deep snow or it’s extra chilly I will layer a pair of trekking pants over a base later bottom (sometimes those extra warm thermal tights).
vest
Patagonia Down Sweater Vest (this is a great option for layering)
Patagonia Bivy Hooded Down Vest (this one is better for warmer winter days where this would be your outermost layer)
fleece sweater
Patagonia Retro Pile Marsupial Fleece Pullover
Patagonia Los Gatos Quarter-Zip Fleece Pullover
Cotopaxi Abrazo Half-Zip Fleece Jacket
Patagonia Better Sweater Fleece Jacket
down/synthetic jacket
Patagonia Fitz Roy Down Hooded Jacket (my favourite - size down in this one)
Black Diamond Access Down Hoodie
The North Face Summit Down Hoodie
thermal tights
lululemon Tech Fleece High-Rise Running Tight
lululemon Fast and Free High-Rise Fleece Tight
Athlete Altitude Tight in Polartec® Power Stretch®
Patagonia Peak Mission Thermal Tights
trekking pants
Fjallraven Nikka Trousers - these are the pants I wear 99% of the time

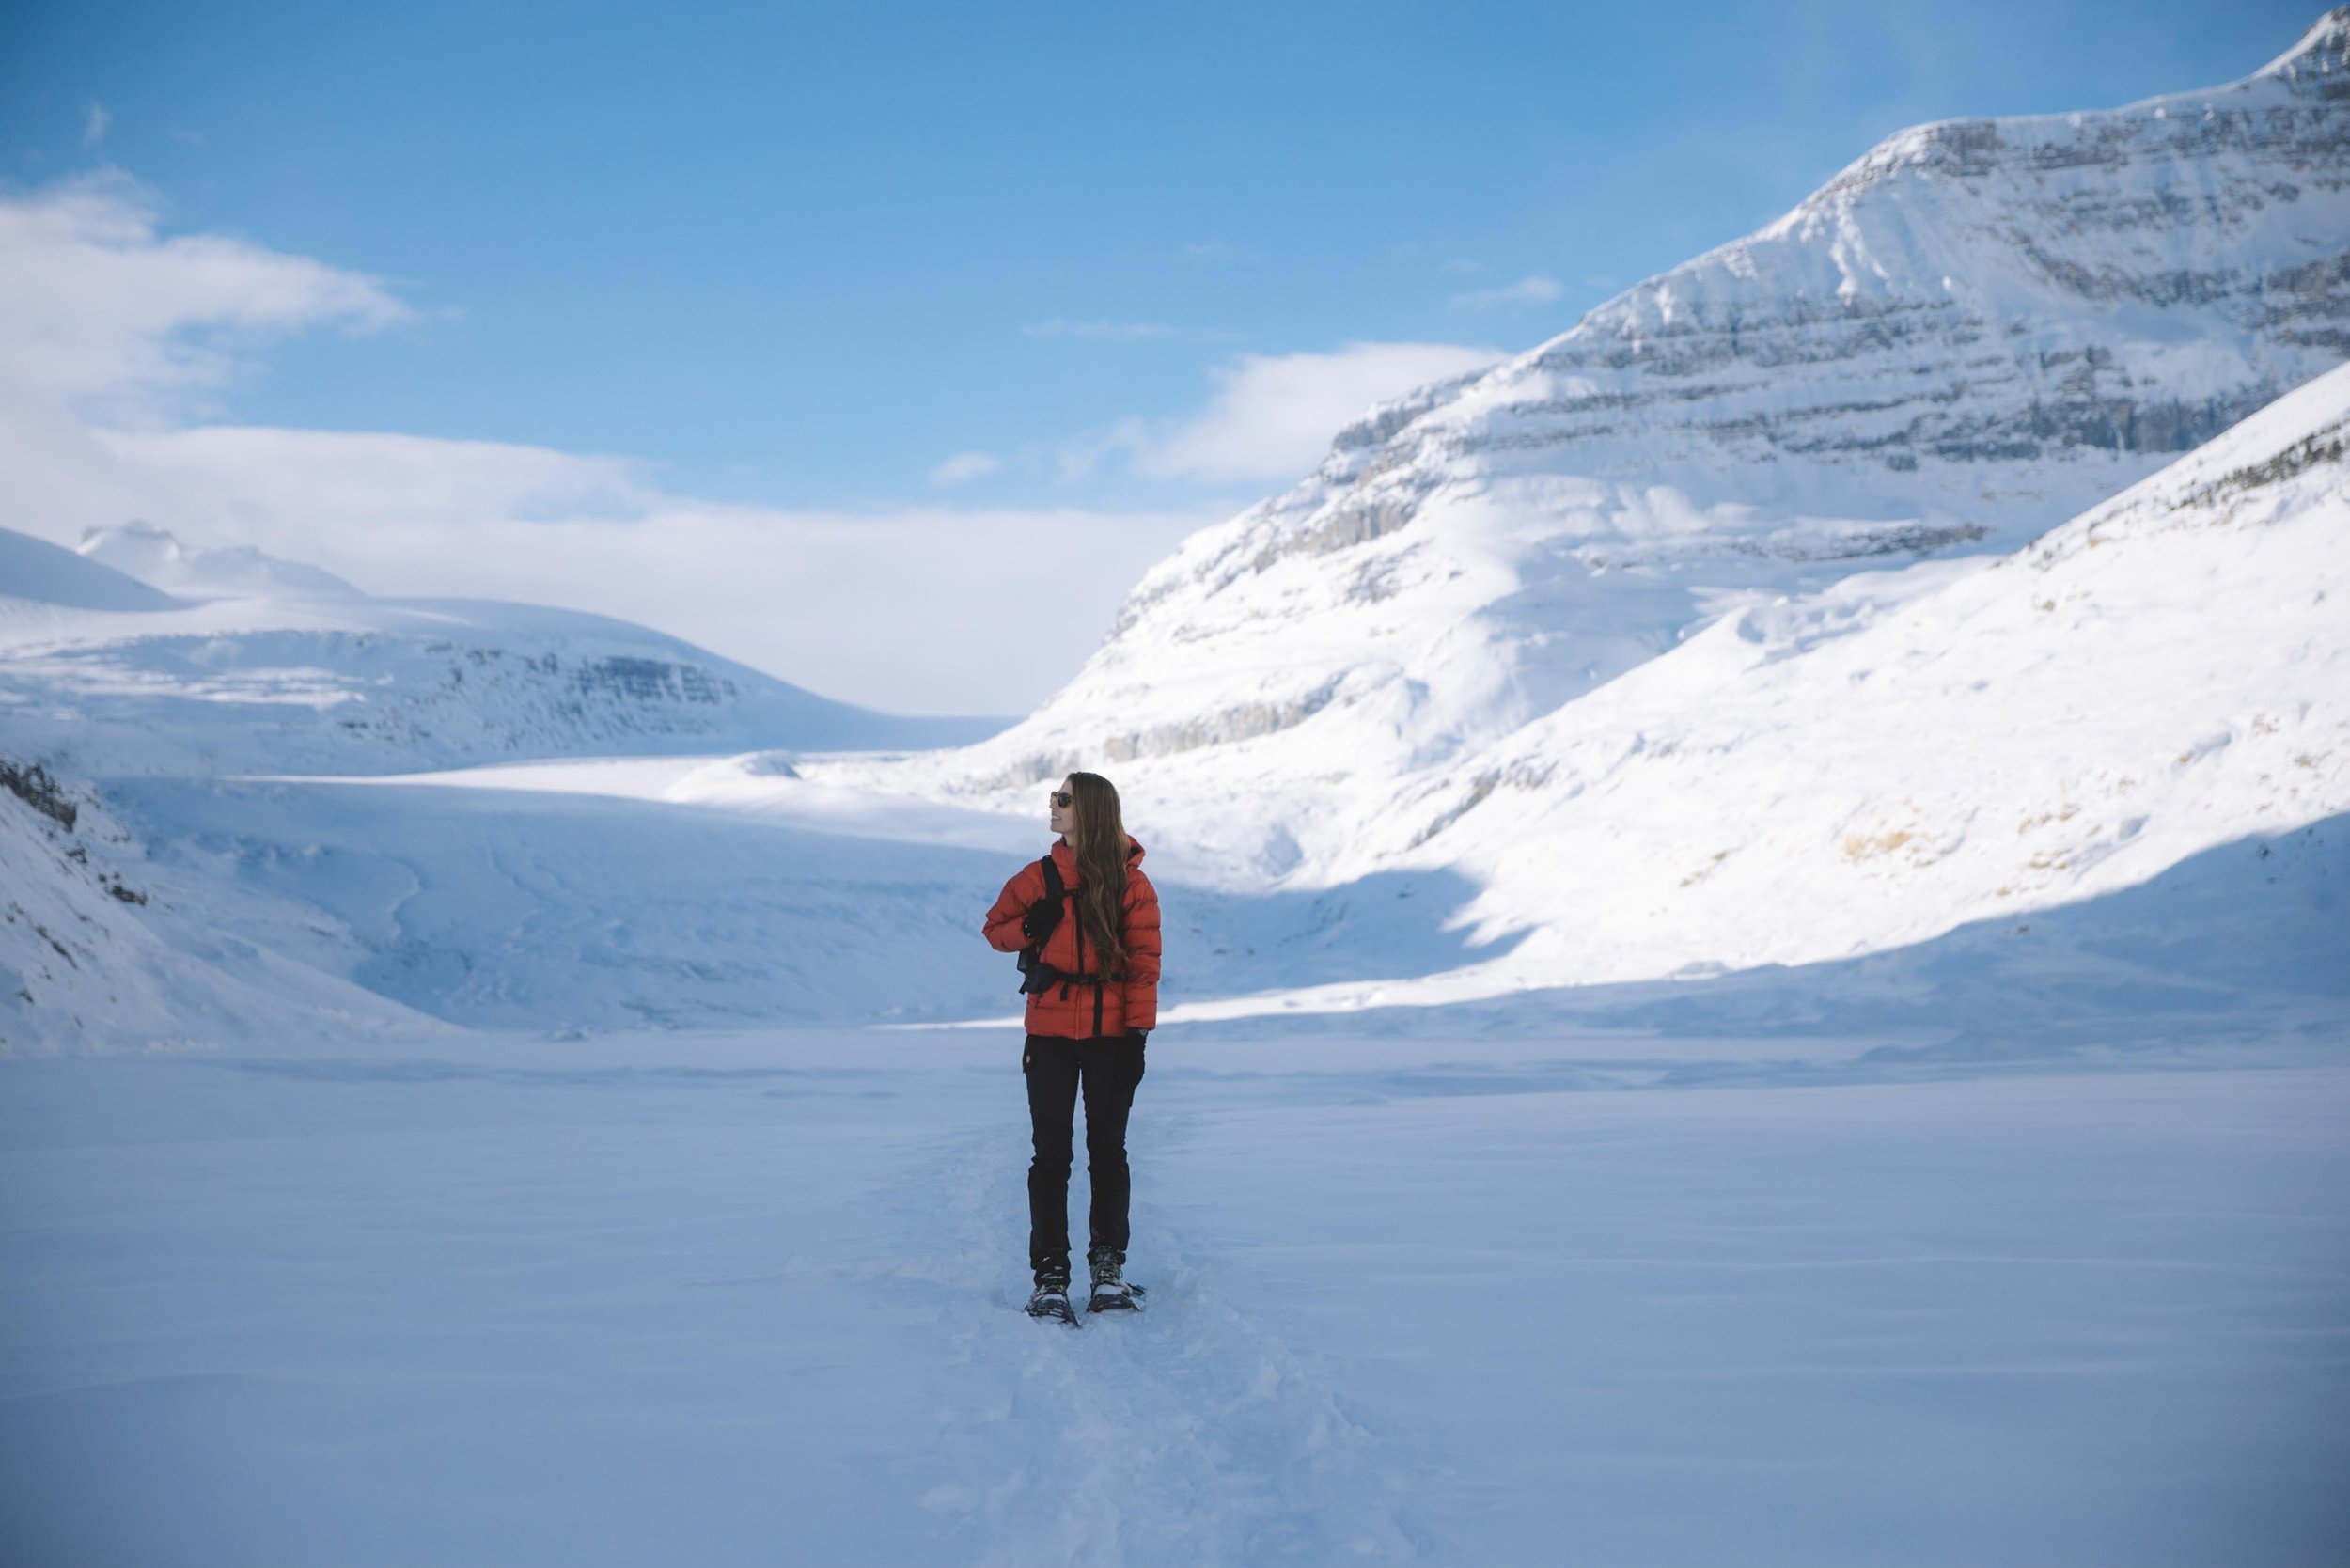
outer layer
Much like hiking in the summer - these will trap everything in and protect you from wind, rain and the elements. I do tend to reach for a thicker outer layer with more ventilation in the winter months. With the constant layering up and down this sometimes opening an arm pit vent will be all of the extra air flow/cooling you need when going uphill (working harder) and then you can quickly zip everything up when you slow down, stop, or head downhill.
jacket
Arc'teryx Beta LT Jacket - this is my go to
Arc'teryx Andessa Shell Jacket
pants
Outdoor Research Skytour AscentShell Bib Pants
Arc'teryx Beta AR Rain Pants - I have ski pants but full disclosure end up bringing my rain pants most of the time because I find them more comfortable and they have thigh high zippers so they easily can be put on and taken off over my boots.
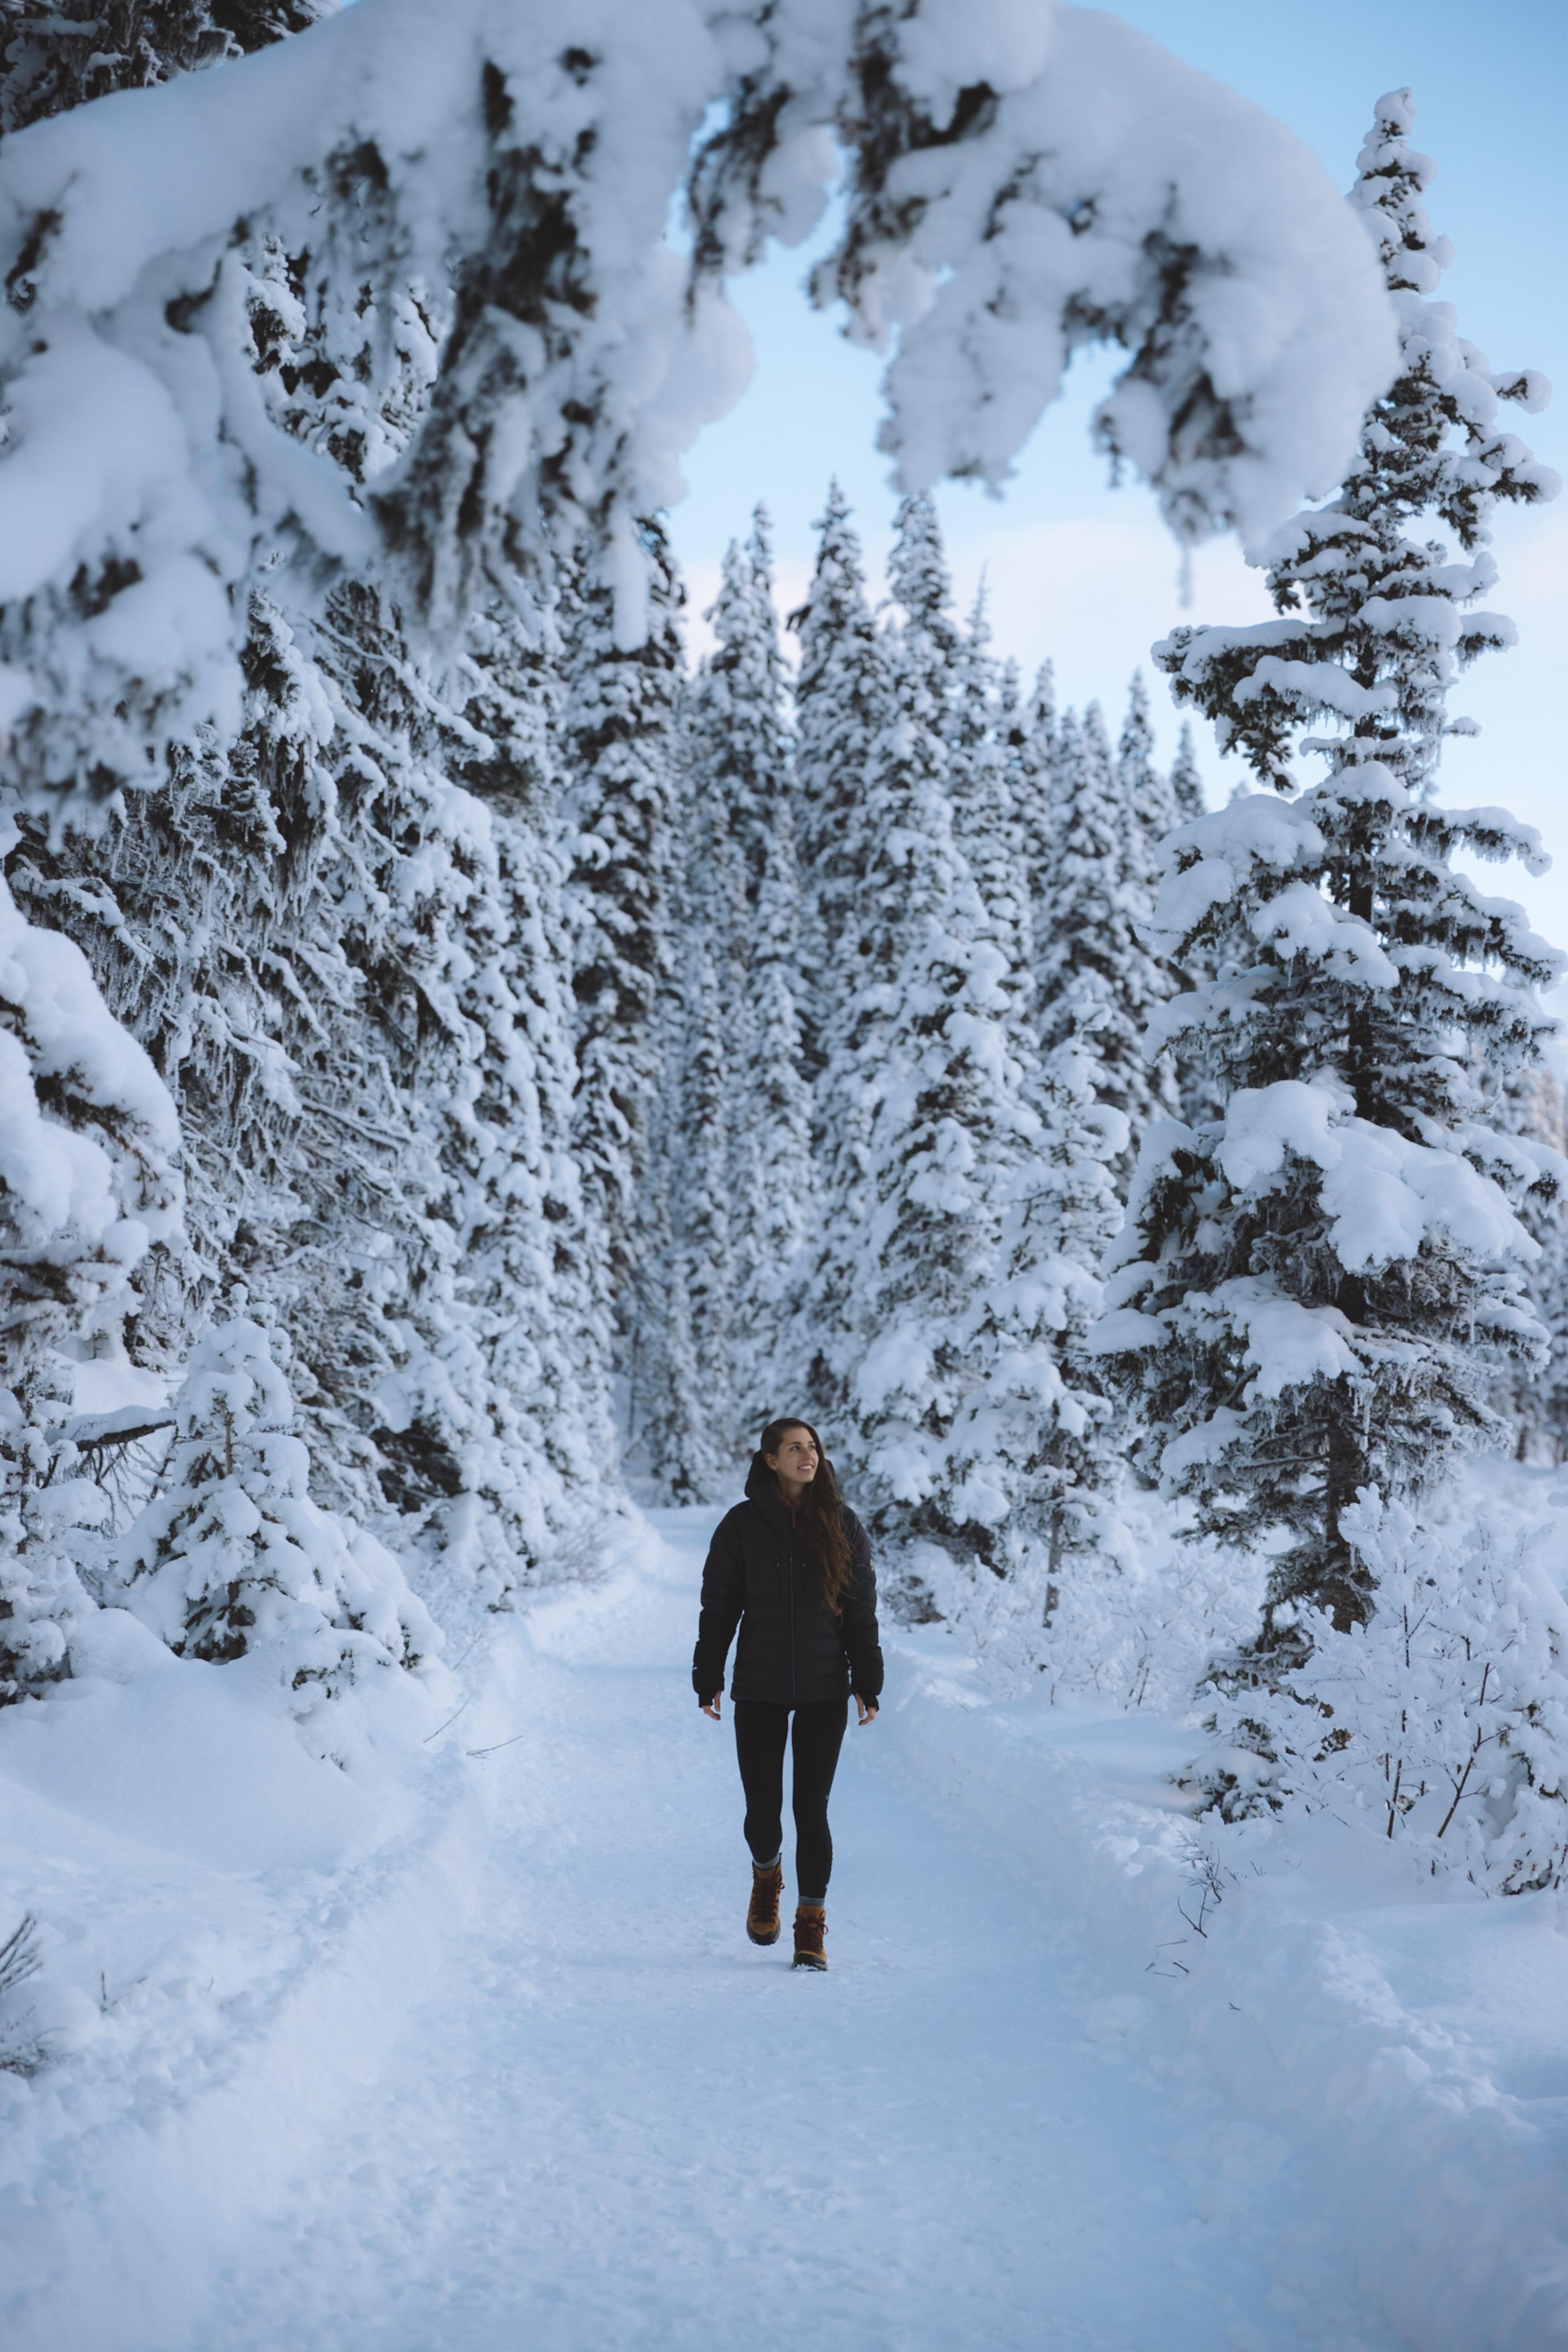
footwear
Size up. That is going to be my guidance with whatever winter boot you use. You will want extra room for your ticker socks but also wearing tight, constraining clothing anywhere, especially your feet, will restrict blood flow/circulation and make you feel so so much colder. This is also the exception to my wool aversion - even though I do find them itchy, there is nothing better than wool socks when out in the cold. I bring a backup pair in my bag just in case - I have never once needed them, and the thought of taking my boots off in the winter terrifies me. But I like knowing they are there.
winter (hiking) boots
Danner Arctic 600 Side-Zip 7" Boots - these are the ones that I use
Oboz Bridger 7" Insulated Waterproof Boots
Sorel Caribou Winter Boots - not hiking, but great warm winter boots
socks
Smartwool Classic Mountaineer Maximum Cushion Crew Socks
REI Co-op Merino Wool Expedition Hiking Crew Socks
Smartwool Classic Hike Extra Cushion Crew Socks - these are also my sleep socks in the summer

accessories
Even if you don’t think you will want or need them - always pack at least two pairs of gloves (or mittens) - one thin liner and one thicker wind and water resistant pair. Ideally you will also have a backup liner just in case they get wet. I use my toque mostly as a fashion piece but know it helps a TON in keeping my head warm - be cognizant of how thick of a hat you wear and make certain that your hoods can fit over them if need be and if you are doing anything that requires a helmet - you will want a toque or headband that can comfortably fit underneath your helmet.
toque (beanie for my American friends)
Arc'teryx Rho Lightweight Wool Beanie
REI Co-op Polartec Fleece Beanie
REI Co-op Polartec Fleece Earband
Smartwool Merino 250 Pattern Reversible Headband
gloves
Smartwool Merino Sport Fleece Wind Training Gloves (thin/liner)
REI Co-op Polartec Wind Pro Fleece Gloves 2.0 (thin/liner)
Smartwool Merino 250 Gloves (thin/liner)
REI Co-op Guide Insulated Gloves (thick)
Hestra Gloves Fall Line Gloves (thick)
Hestra Gloves Wakayama Mittens (thick)
buff
sunglasses
RAEN Remmy 49 Polarized Sunglasses
Smith Bobcat ChromaPop Polarized Sunglasses
miscellaneous gear
Kahtoola MICROspikes Traction System
bonus : mountaineering gear
Crampons:
Climbing Helmet
Ice Axe
Harness
Belay Device
Carabiners
Slings
Accessory Cord
Mountaineering Boots
Here is some info on Sizing Mountaineering Boots - different brands have different fits. I'd recommend looking into the following.
La Sportiva Nepal Cube GTX (a warmer, heavier option)
La Sportiva Trango Tower GTX (3-season boot)
La Sportiva Trango Cube GTX (Recommended 3-season boot if La Sportiva is best fit)
SCARPA Ribelle HD (good 3-season boot from Scarpa)
Mammut Tais Tour GTX (good 3-season boot from Mammut)
Salewa Raven 3 GTX (good 3-season boot from Salewa)
Trinkets

ten tips & tricks for staying warm
Check the weather forecast and trail conditions as well as avalanche reports. It also is a great idea to take and avalanche safety training before going out in the mountains in the winter
Always pack the Ten Essentials.
Be Bold Start Cold - Pack extra layers but a general rule of thumb is to start your hike a little chilly, let the work your body is doing warm you up.
Stay Hydrated - be really mindful to drink lots of water, even when you don’t think you need it. Also do not use water bladders a the lines will freeze quickly. Consider packing a thermos of soup, hot chocolate, coffee or tea.
Eat more than you think you need to. Your body is working hard to keep you warm and alive.
Bring a bigger backpack than you would in the summer - you will have extra gear and layers
Keep moving, if you feel yourself getting cold don’t stop. Walk around, do jumping jacks, get the blood flowing.
Wear sunscreen! The snow will act as a gigantic mirror and reflect the sun onto your fae. And beleive me when I tell you that you can get sun burns on the roof of your mouth (form talking too much like I do) and the inside of your nostrils. Neither are enjoyable. Lather up the sunblock when playing in the snow.
Get an early start - the snow will be harder (easier to walk on top of) and more stable in the mornings. The later the day the higher the chances of avalanches and unstable snow.
If you feel your fingers or toes getting cold, stop and take the time to check on them and warm them up. Placing cold fingers in your armpits or cold toes on a partner’s warm belly are good ways to warm up. Using hand warmer and toe warmer packets is also effective. There can be an early sign of frostbite and hypothermia.

Frostbite
Frostbite is the freezing of tissue. It’s most common on fingers, toes and ears. There are three levels of frostbite: frostnip, superficial frostbite and deep frostbite. All three can look the same while frozen, so it can be difficult to tell how extreme frostbite is until after the skin has thawed.
Signs of frostbite:
Skin is cold, waxy and pale
Tingling, numbness or pain in the affected area
Your skin can feel soft if partially frozen or hard if frozen
After thawing, blisters often form
Treatment of frostbite:
Frostnip, the mildest form of frostbite, can be treated by covering up the exposed skin and taking the time to warm the affected area. Placing cold fingers in your armpits or toes on a partner’s warm belly are both effective techniques. Do not rub the cold skin or place it under hot running water because the tissue is very susceptible to damage.
If the treatment for frostnip results in blistering, then it’s likely you have superficial frostbite or deep frostbite. It’s best to get to a doctor for treatment as soon as possible. As with frostnip, avoid hot water that can burn and don’t rub the injured area as that can damage the tissue. After thawing you need to be very careful to not let the area refreeze.
Hypothermia
Hypothermia is the result of the body’s temperature dropping below normal. Some people assume hypothermia only happens in winter, but a cold rain or the frigid temperature of a rushing river can be enough to cause it. Hypothermia can be life threatening and must be taken seriously.
Signs of mild hypothermia:
Shivering
Minor clumsiness (eg. trouble operating zippers)
Slow thinking, confusion, change in mood
Signs of moderate hypothermia:
Intense shivering
Obvious change in coordination (e.g. stumbling, falling)
Obvious change in mental status (e.g. irritability, forgetfulness)
Severe hypothermia:
Shivering may stop due to energy depletion
Further deterioration of mental status (e.g. disorientation, irrational behavior)
Pulse may be undetectable
Treating hypothermia:
The first step in treating hypothermia is to change the hiker’s environment. That means if you can get the person indoors, do so. If you’re outside and far from shelter, do what you can to get away from whatever is causing the cold stress, such as getting out of the wind and off of snow. If the hiker is wearing wet clothing, swap it out for dry clothes and make sure the hiker is well-insulated. Give the person water and food so they have enough energy to shiver, which is your body’s natural way of producing more heat.
With the right treatment, hikers with mild hypothermia can possibly recover and continue on the trip. Hikers with moderate and severe hypothermia should be treated and evacuated as soon as possible.
*Please note that some of the links above are affiliate links, and I may earn a small commission on any purchase made - at no additional cost to you. As always, all ideas and opinions expressed in this post are entirely my own. Thank you for your support!


